Why Condensed Milk Might Not Be the Best Choice for Your Fudge
Discover why condensed milk is often avoided in professional fudge recipes and how to achieve a true, creamy texture using traditional confectionery methods.
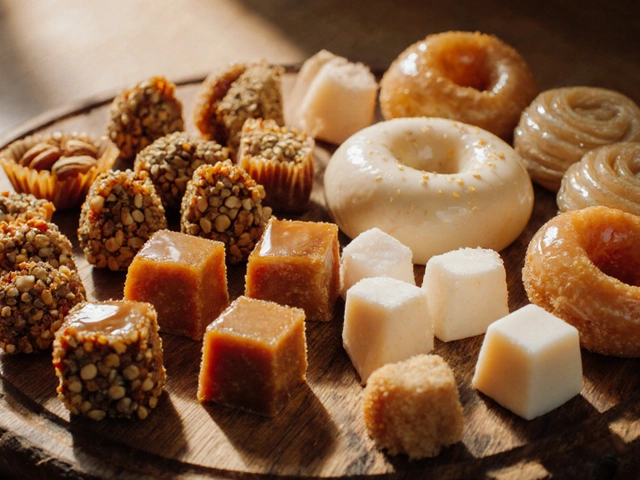
If you love sweet, buttery fudge but hate a gritty bite, you’re in the right place. This page gathers the most useful advice from our articles so you can skip the guesswork and get smooth, melt‑in‑your‑mouth results every time.
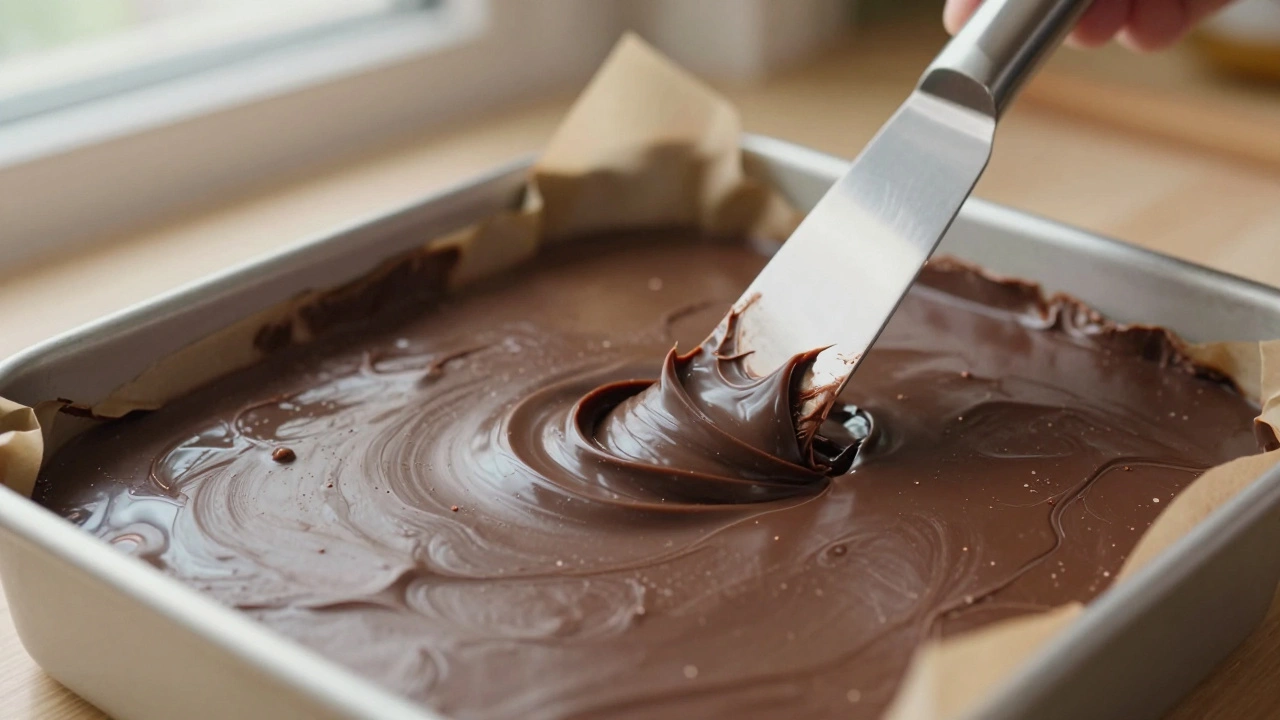
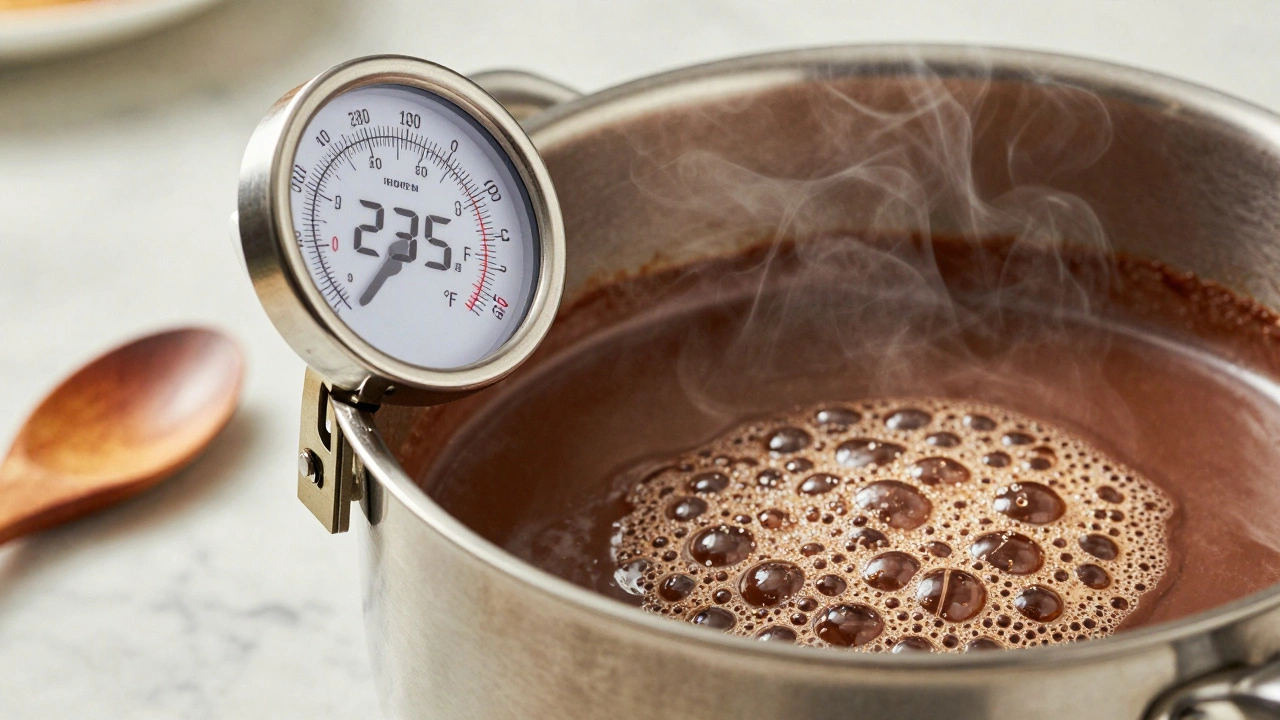
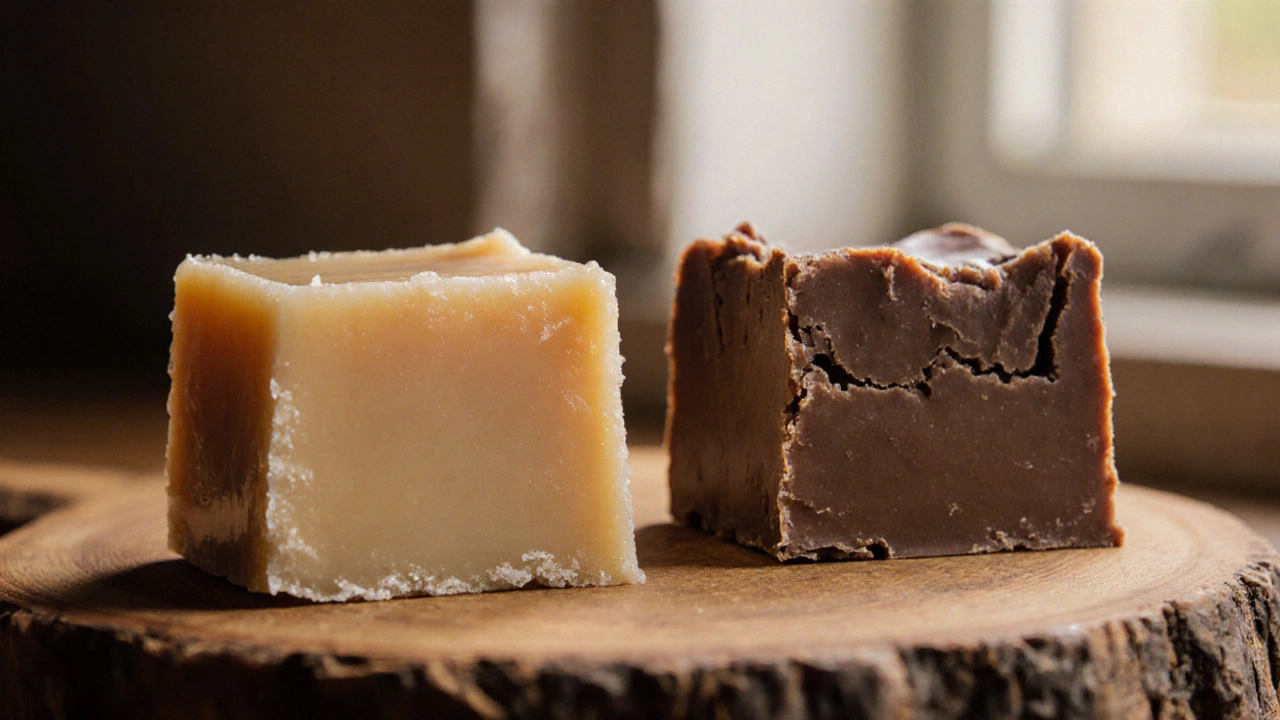
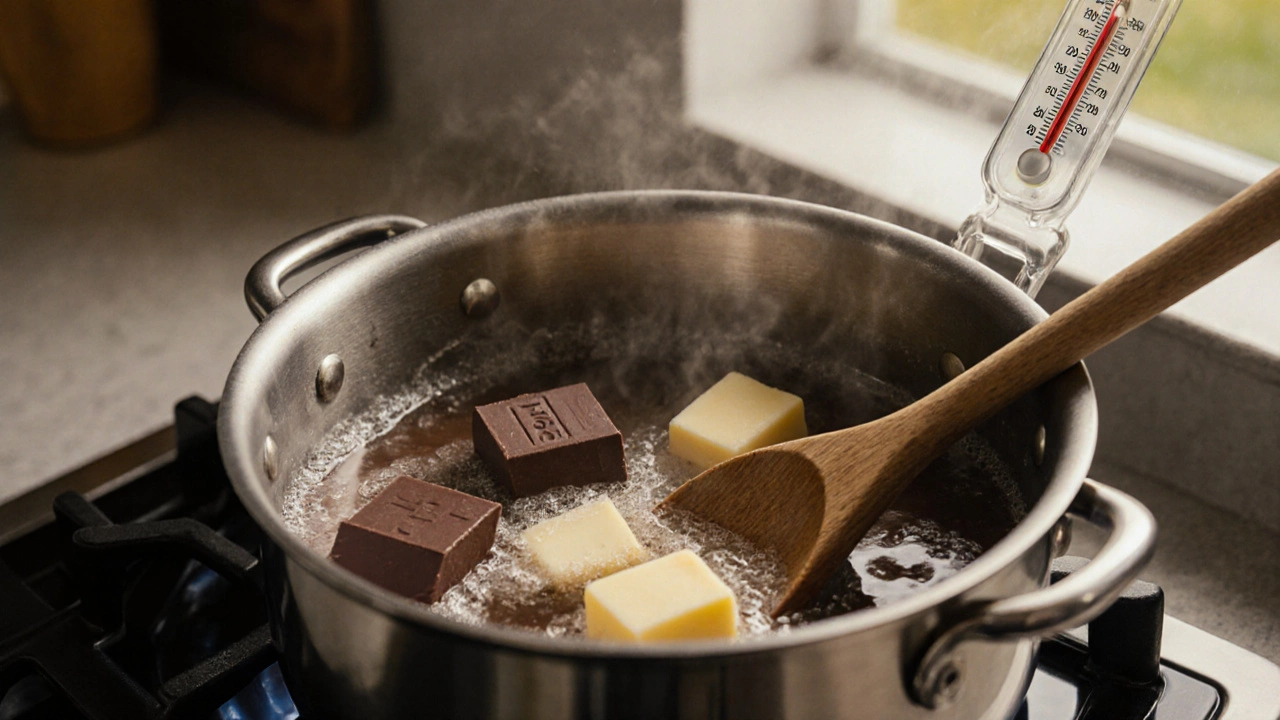
Grainy texture is the biggest complaint. It happens when sugar crystals form too early. To avoid that, stir constantly once the mixture hits the soft‑ball stage (around 235°F). Stop stirring as soon as the batter thickens and starts to lose its shine – that signals the candy is ready to set.
If you end up with a soft, gloopy batch, don’t panic. You can rescue it by reheating to the soft‑ball stage again, then let it cool a bit before the final stir. Another rescue trick is to fold the fudge into a crust‑filled pie or use it as a sauce for ice cream.
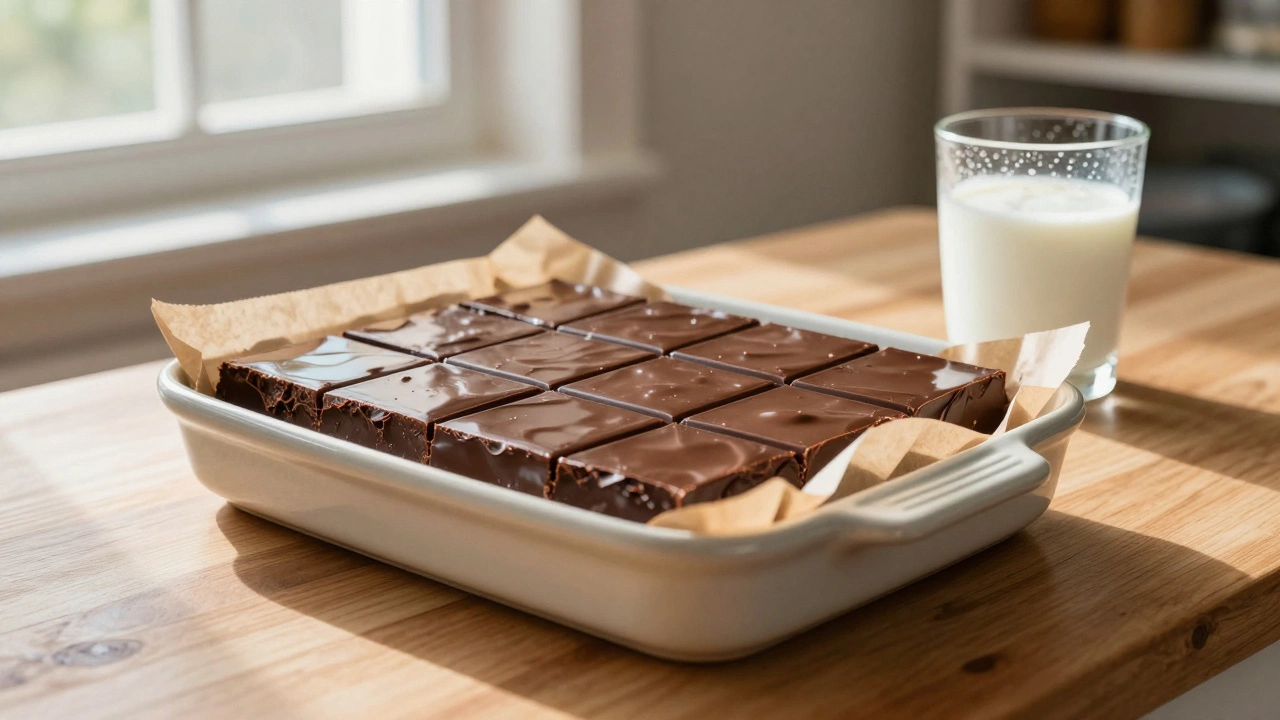
Storing fudge in the fridge sounds logical, but the cold can make it hard and sticky. Instead, keep it in an airtight container at room temperature for up to two weeks. If you need to firm it up quickly, a short chill in the freezer (15‑20 minutes) does the trick without ruining the texture.
When you’re ready to serve, let the fudge sit out for about 10 minutes. That brings back its soft bite. Cutting with a warm knife gives clean slices – just dip the blade in hot water, wipe dry, and slice.
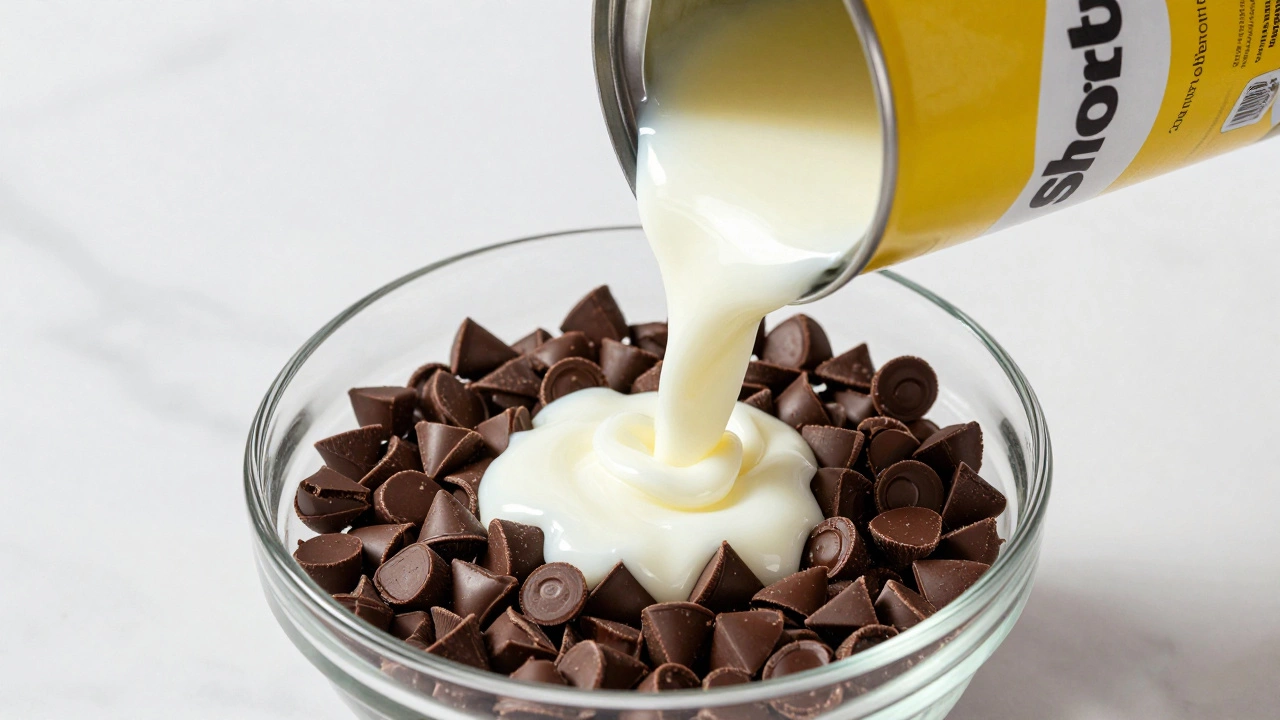
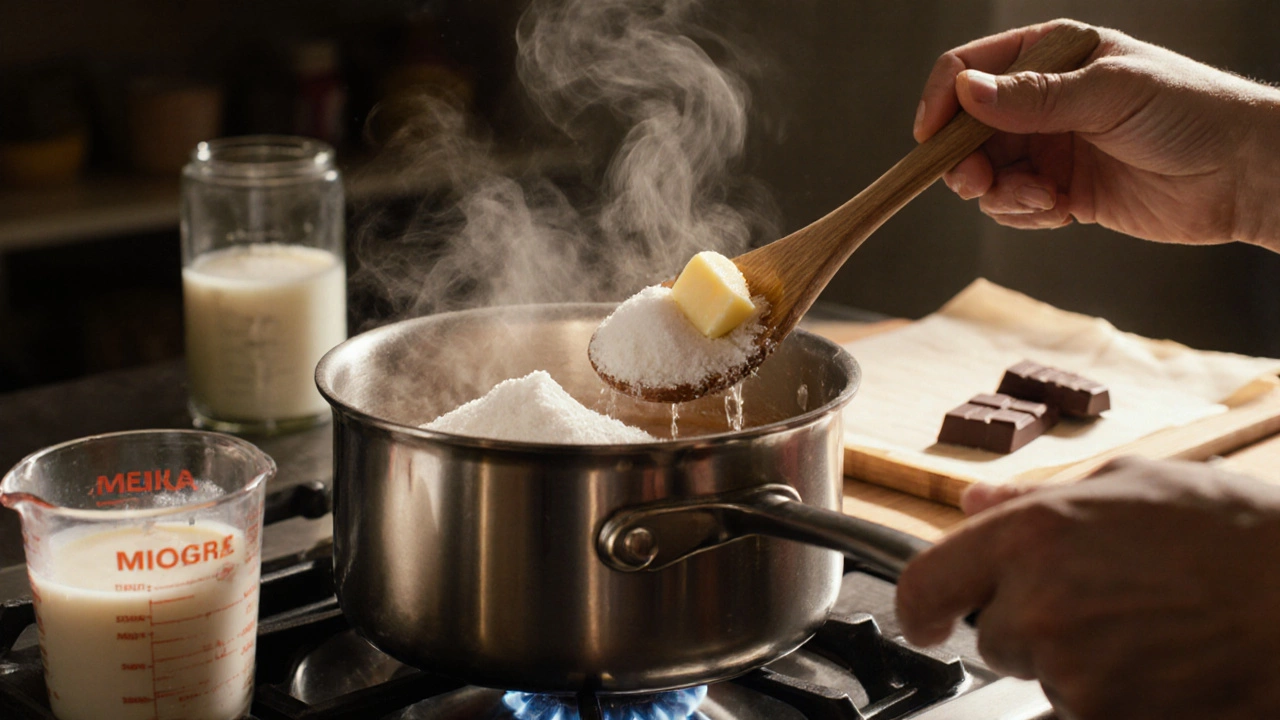
Want to jazz up plain fudge? Mix in toasted nuts, dried fruit, or a swirl of caramel. For a dairy‑free twist, replace sweetened condensed milk with coconut cream; the flavor changes a bit but the texture stays creamy.
Weather matters too. High humidity can pull moisture into the candy, causing graininess. On rainy days, use a dehumidifier or bake in a low‑humidity kitchen. A dry environment helps the fudge set properly.
Finally, remember the basics: use evaporated milk for richness, watch the temperature, and stir at the right moments. Follow these simple steps, and you’ll turn any batch into a crowd‑pleaser.
Discover why condensed milk is often avoided in professional fudge recipes and how to achieve a true, creamy texture using traditional confectionery methods.
Wondering why your fudge stayed gooey? Discover the common culprits like temperature errors, over-stirring, and humidity, plus a guide to fixing soft fudge.

If your fudge isn’t setting, it’s not a recipe failure-it’s a temperature or technique issue. Learn the five common reasons why condensed milk fudge stays soft and how to fix it for perfect results every time.
Fudge can fail in many ways - grainy, sticky, or not setting at all. Learn why temperature, stirring, chocolate quality, and humidity ruin fudge, and how to fix it every time.
Learn how long homemade fudge lasts and how to store it properly to keep it creamy and fresh for weeks. Tips for room temperature, fridge, and freezer storage.

Avoid these 8 common mistakes when making fudge to prevent grainy, greasy, or crumbly results. Learn what really causes fudge to fail-and how to fix it for perfect texture every time.

Fudge made with condensed milk doesn't always need refrigeration-but it's safer and lasts longer when stored in the fridge. Learn when to chill it, how to freeze it, and how to tell if it's gone bad.
Learn why fudge can turn chewy and how to fix it with clear steps, temperature charts, and troubleshooting tips for perfect smooth fudge every time.
Learn why fudge hardens and discover practical tips on ingredients, temperature, cooling, and storage to keep your fudge soft and delicious.
Find out if homemade fudge needs refrigeration, how to store it, shelf life tips, spoilage signs, and serving advice for safe, delicious results.

Failed fudge isn't the end! Learn what to do with soft, grainy, or gloopy fudge—fix it or repurpose into new, delicious desserts.

Wondering how often you should stir fudge? Stirring is the key to getting that perfect creamy or smooth texture everyone loves. Mess it up, and you might end up with grainy, sugary lumps instead of melt-in-your-mouth goodness. This article spills the secrets about when to stir, when to stop, and why it all makes a huge difference. Learn how a little patience and perfect timing will work wonders for your fudge game.