

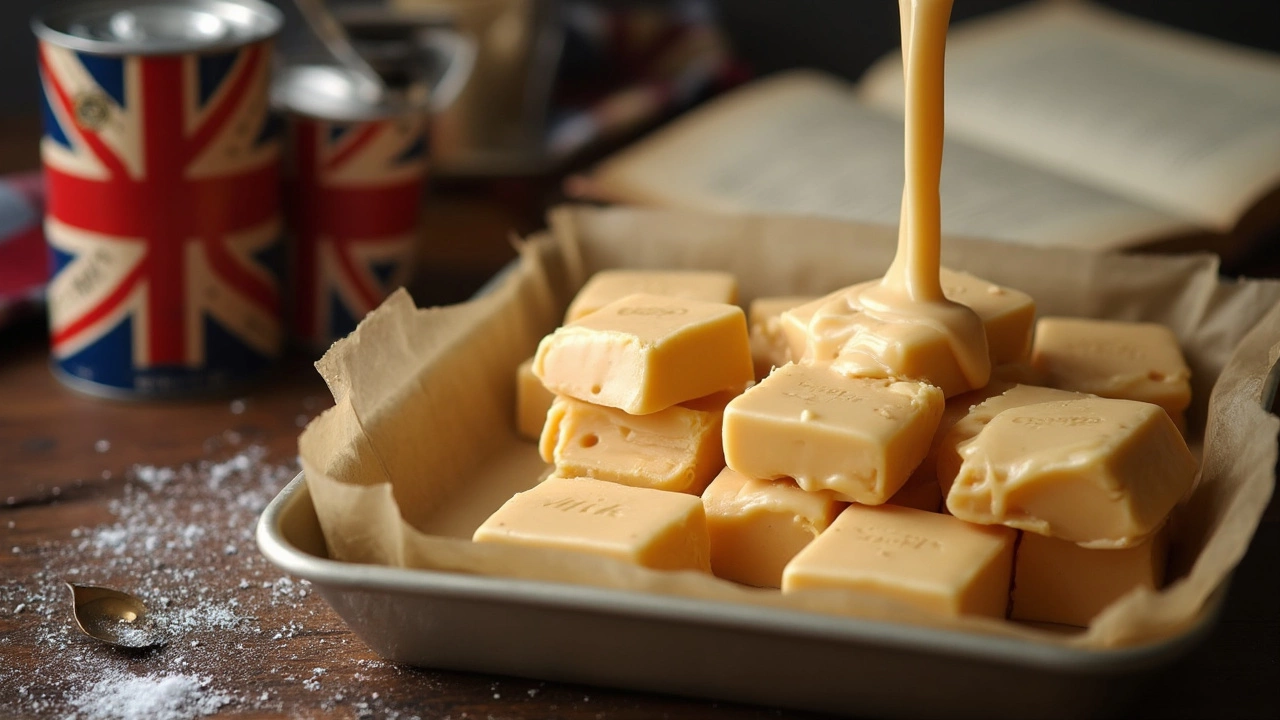
People swap baking tricks all the time, but when it comes to fudge, there’s a reason old-school recipes stick with evaporated milk. It’s not just a leftover can they found in the pantry—it’s about texture, taste, and making sure your fudge turns out smooth instead of sandy.
If you ever tried using regular milk in fudge and ended up with something gritty or runny, you’re not alone. There’s actual science behind why fudge routines call for evaporated milk. The extra water gets pulled out during the canning process, so you get a rich, slightly caramelized milk that won’t mess up the sugar crystals or leave you with a gooey mess.
- What Makes Evaporated Milk Special
- How It Works in Fudge
- Can You Substitute Regular Milk?
- Tips for the Creamiest Fudge
What Makes Evaporated Milk Special
Evaporated milk isn’t just regular milk in a can—there’s some real science behind why it works so well in fudge. It’s basically milk that’s been heated to remove about 60% of its water content. This process turns it thicker and gives it a mellow, almost caramel-like taste that doesn’t overpower other flavors. Plus, it lasts for months unopened, which means you can stash a can in your pantry and whip up fudge whenever the mood hits.
The secret to great fudge really starts here. Regular milk can go weird and separate when boiled with sugar, leading to grainy or oily fudge. Evaporated milk, on the other hand, holds up under heat and helps create that smooth, creamy texture everyone loves. You also don’t get a strong "cooked milk" or sour flavor, because the canning process tones those down.
- Less water equals less chance for sugar to crystallize and ruin your fudge.
- The higher protein and fat content give fudge a richer body.
- That slight caramel flavor from heat-processing makes classic fudge taste extra delicious.
Still not convinced? Just look at the numbers. Evaporated milk packs more punch per ounce:
| Milk Type | Water Content | Shelf Life (Unopened) |
|---|---|---|
| Regular Whole Milk | About 87% | 1 week |
| Evaporated Milk | About 60% | Up to 12 months |
Pretty handy, right? You get the creamy texture, longer storage, and a flavor boost, all in one can. No wonder most family fudge recipes swear by it.
How It Works in Fudge
There’s no secret handshake in fudge-making, but using evaporated milk is about as close as you’ll get to a guaranteed smooth batch. When you heat up your fudge mix, a big goal is to dissolve the sugar perfectly. If there’s too much water hanging around, your sugar can recrystallize as the fudge cools, and that’s how you get that dreaded grainy texture. Evaporated milk has already lost about 60% of its water, so it keeps the sugar under control and lets you get thick, creamy fudge without weird surprises.
Besides the water reduction, evaporated milk brings a slightly caramel flavor because of the way it’s cooked during canning. This adds more depth, so your fudge tastes richer than if you’d just used plain milk. Dairy fat is another key player here. Because evaporated milk is more concentrated, it gives fudge enough body and helps lock in that melt-in-your-mouth feel.
When it comes to boiling, evaporated milk handles the heat better than fresh milk or cream. That means less risk of curdling or burning. You can cook your sugar mixture right up to the magic point (around 234°F/112°C on a candy thermometer) without worrying about ruining the batch, which is great if you’re busy watching kids or wrangling a mischievous cat.
All this boils down to a simple truth: if you want fudge that’s reliably creamy, smooth, and full of flavor, evaporated milk just makes your life easier. No one wants to spend time stirring a hot pot only to end up with fudge that’s more like sandy caramel.
Can You Substitute Regular Milk?
This is one of the most common questions people ask when whipping up evaporated milk fudge: can I just use what’s already in my fridge? Technically, yes—you can use regular milk—but your results won’t be quite the same. Regular milk has way more water, and all that extra moisture messes with the texture. Instead of that classic thick and creamy fudge, you could get something gooey, runny, or gritty.
Why is that? The high sugar and low water combo in evaporated milk help control how sugar crystals form. Without this, sugar can clump into those dreaded crunchy bits. That’s no fun unless you want fudge you have to gnaw on instead of letting it melt in your mouth.
Still feeling brave? If all you have is regular milk, you can fake evaporated milk by simmering it down. Here’s how:
- Start with twice the amount of milk your recipe calls for in evaporated milk.
- Simmer the milk (don’t boil, just gentle bubbling) until it reduces by half. Stir often to prevent scorching.
- Cool it off, then use it in your fudge recipe.
This isn’t a perfect swap. Flavors might differ, and fudge could turn out a little softer or take longer to set. For quick comparison, check out the table below:
| Milk Type | Water Content (%) | Texture in Fudge |
|---|---|---|
| Evaporated milk | ~60 | Thick, creamy, reliable set |
| Whole milk | ~87 | Softer, risk of grainy or runny fudge |
If you’re aiming for fudge that wins you bragging rights at family parties, stick with evaporated milk if you can. The difference truly shows up when you take that first bite.
Tips for the Creamiest Fudge
You want fudge that’s silky, not grainy—like the kind that totally melts in your mouth. Here’s how to get it right, starting with your choice of evaporated milk. Skipping this can easily mess with both texture and taste, so don’t cut corners here.
- Use fresh evaporated milk. Check the date on that can. Old or expired milk can taste off or ruin the batch.
- Keep heat steady. Bring your mixture to a rolling boil and keep it there, but don’t crank the heat, or you’ll scorch the fudge or make it grainy.
- Stir just enough. Once your sugar and milk are combined, stir until dissolved. After you hit the right temperature (usually 234°F or soft-ball stage), don’t stir anymore or the crystals can go weird and ruin the texture.
- Use a candy thermometer. Guesswork is risky. Even a few degrees off can mean the difference between fudge that slices clean and fudge that needs a spoon.
- Add extras at the end. Toss in nuts, vanilla, or chocolate chips after cooking, not before. This keeps flavors bright and stops delicate add-ins from burning or seizing.
It’s surprising how much tiny steps matter. Here’s a quick look at what usually goes wrong and how to fix it:
| Problem | Why It Happens | How To Fix |
|---|---|---|
| Grainy fudge | Sugar wasn’t fully dissolved or over-stirred after boiling. | Stir until smooth before boiling, then hands off after. |
| Sticky or gooey fudge | Didn’t reach soft-ball stage (234°F). | Make sure to use a thermometer every time. |
| Dry or crumbly fudge | Cooked too hot or too long. | Lower the heat and watch the temp closely. |
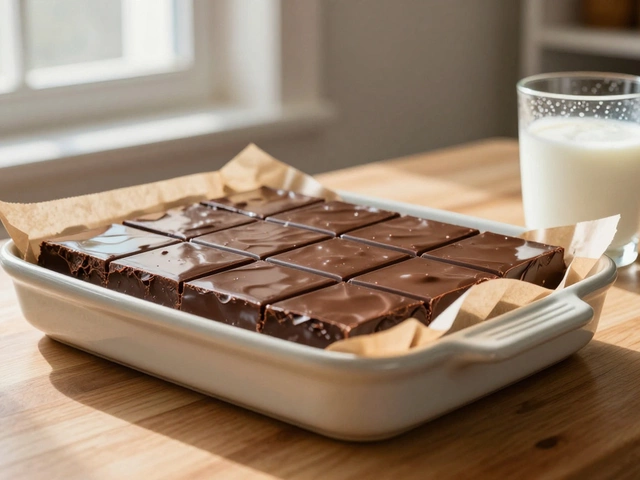
One last trick: line your pan with parchment paper before pouring in the fudge. It’ll lift right out for easy slicing (and no scraping stuck bits off the bottom—been there, done that). If you want to get fancy, sprinkle sea salt, nuts, or mini marshmallows on top while it’s still warm.


Write a comment