

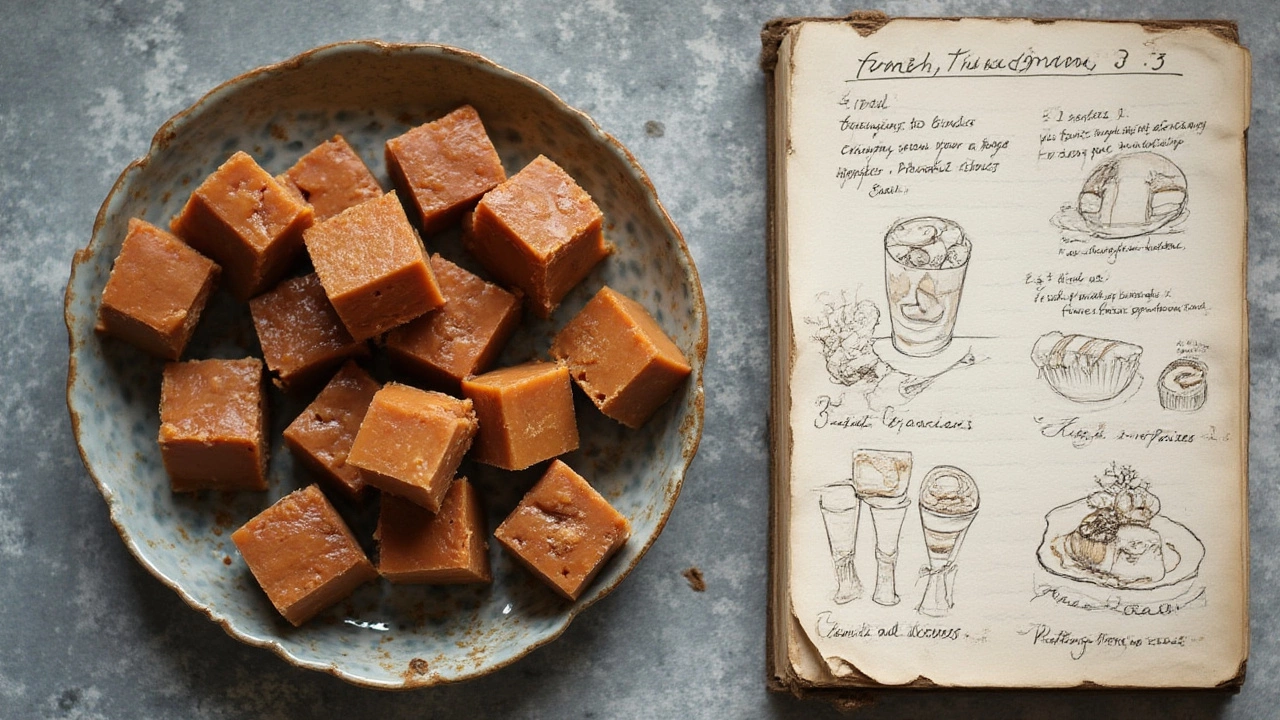
There’s a special kind of heartbreak that strikes when you sneak a hopeful taste from your pan of fudge, only to realize it’s not the dreamy slab you were promised. Maybe it’s gooey when it’s supposed to set, or it’s weirdly crumbly and grainy instead of smooth. Anyone who’s attempted homemade fudge knows that sinking feeling. Sugar, butter, and cocoa aren’t cheap these days—especially if you splurged on the good chocolate from Farro or raided the Countdown baking aisle at just the wrong time. So, should you chuck your failed fudge? Not a chance. There’s a whole sweet universe waiting for you to reclaim those not-quite-right squares.
Common Fudge Fails and Why They Happen
The two fudge fails I see the most: soft and gooey fudge, or the total opposite—fudge that crumbles into a sandy mess. Both disasters have their roots in the science of sugar. Fudge is basically a playground for sugar chemistry: you’re trying to form a specific type of crystal so the mixture sets up smoothly. But if temperatures go even a tad wrong, things spiral. Take soft fudge. If you undercook your mixture or don’t beat it long enough, you end up with a sticky, often runny, blob that honestly could double as caramel. Flip that, and if you overcook your sugar or beat it like you’re exercising a grudge, fudge goes crumbly and dry. Then there’s the oddball: fudge that sets with weird sugar speckles—this happens when you let sugar splash up the sides of the pot and crystalize, which then seeds the whole pan. And humidity has a say, too—Auckland summers can spell doom for fudge, pulling moisture right into the mix.
According to the Kitchen Science Journal (which did a big survey on homemade confections in 2023), about 36% of home fudge makers reported a batch failure in the past year. Nobody’s immune to fudge foibles, not even experienced bakers. Sometimes it’s the thermometer’s fault, sometimes it’s distraction, but it can happen even on your tenth try, so don’t beat yourself up.
Can It Be Saved? Tricks to Fix Fudge
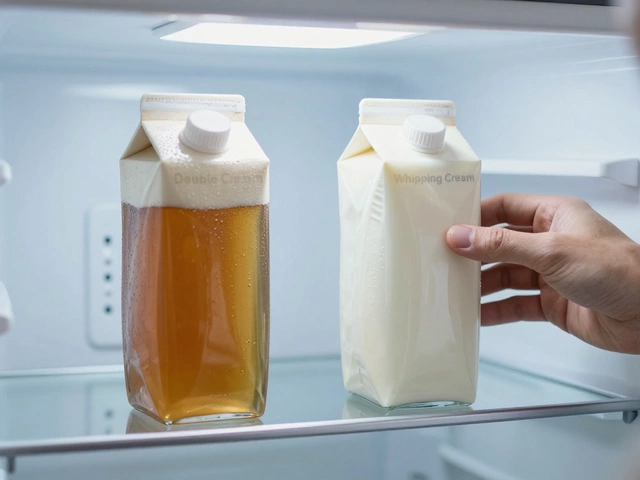
Before you start dreaming up excuses for your fudge flop, let’s talk rescue. If your fudge is soft and refusing to set, you might still have hope. You can scrape it back into a pot, gently reheat it over low heat, and bring it back to the boil. Add a tablespoon or two of cream, bring it to 115°C (239°F), and stir gently. Don’t vigorously beat yet—patience works in fudge’s favour. Once it reaches temperature, take it off the heat. Let it cool without touching (a heatproof spatula is your only friend here), then beat until it thickens and loses a bit of gloss. Pour back into the tin, smooth it down, and check if it sets. Sometimes, it needs an overnight chill in the fridge—sounds simple, but the shock of cold can be just what it needed.
Got crumbly fudge? This one’s tougher, because when sugar goes dry, it can be hard to bring back. But not impossible! Try crumbling your fudge completely, then place it in a saucepan with a splash of milk or cream (about 2 tablespoons per 500g of fudge). Heat slowly, stirring till it melts into a thick paste—not too runny. Once it all looks glossy again, take it over the same beating and cooling process as above. Measure your patience, not just your ingredients.
For both fixes, clean up matters. Make sure your pan is scrubbed shiny-clean, as even a few errant sugar granules can sabotage the process again. If you’re unsure whether your sugar thermometer is lying, check it in boiling water—here in Auckland, with sea level quirks, it should read 100°C. Anything off? You need a new thermometer.
Creative Uses for Fudge That Won't Set
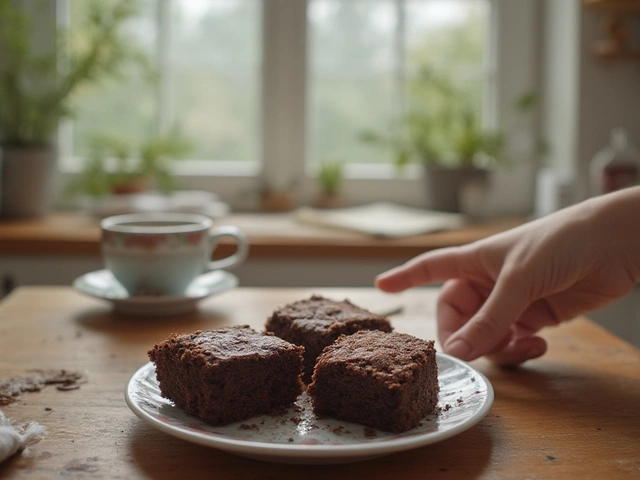
Sometimes a batch is just too far gone to remake as classic fudge. The good news? You can pivot. Soft or sticky fudge can morph into a pile of treats that never fail to disappear from dessert platters. Whip that goo into swirls: fudge sauce for ice cream (vanilla bean pairs brilliantly), or drizzle it over pancakes. You can even stir it into brownie batter before baking, creating molten fudge ribbons. Auckland foodies swear by fudge-swirled cheesecake—just blend soft fudge with cream cheese and a splash of lemon juice, then ripple it through your usual cheesecake mix.
Another win? Truffles. Roll spoonfuls of soft fudge into balls, then coat them in cocoa powder, coconut, or crushed biscuit crumbs. You’ve just made instant fudge truffles—no one will suspect your dessert started with a kitchen disaster. Or, blend it through no-churn ice cream base. Dump pieces into softened vanilla ice cream, swirl, refreeze, and you’ve got a fudge ripple that tastes like you paid $10 a scoop from Duck Island.
If you’re feeling extra, bake the fudge into cookie bars—press the goo into a lined tin, top with salted peanuts or pretzels, and bake until set. The salt does wonders for bringing out the remaining chocolate flavors. Kids love them, and adults pretend they don't.
New Life for Crumbly or Grainy Fudge
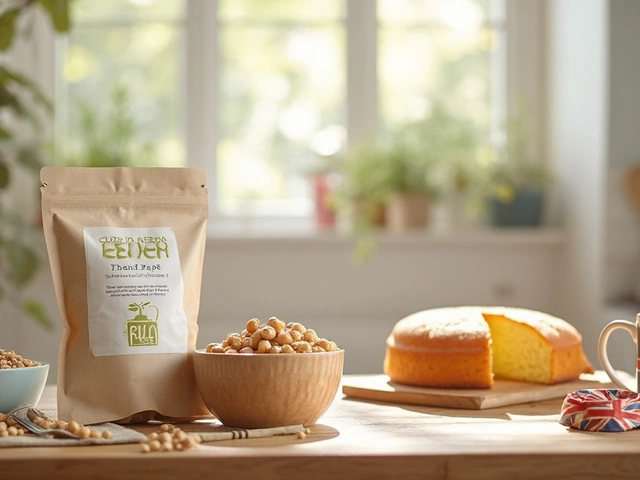
Crumbling fudge doesn’t have to be binned, either. Think about mix-ins. Crumble your fudge over a hot bowl of porridge, especially on chilly mornings in June. Stir bits through yoghurt, or even mix them into granola bars—homemade muesli bars are forgiving, and fudge crumbs add a chewy, surprising texture. Some home bakers keep pots of fudge crumbs in the freezer, sprinkling them over cupcakes, muffins, or even roasted fruit for quick dessert toppings.
Cookie dough is another fudge fail-safe. Use crumbly fudge as a cookie filling; work the bits into your dough along with chocolate chips, oats, or walnuts. The fudge will melt slightly, creating gooey pockets. You can also heat it down with a touch of cream to make a pie filling—layer it between two shortcrust rounds and you’ve got a “fudge tart” that looks and tastes far more intentional than it was.
And, if you’re in the mood to experiment, drop fudge bits in muffin or pancake batter, or even bread dough. The fudge softens up during baking and gives little bursts of sweetness—right where you want them.

How to Nail Fudge Next Time (and Avoid the Heartbreak)
With all the creative rescue options, it’s easy to forget that homemade fudge can actually work—if you treat it right. Key tips from Auckland’s best home bakers: measure your sugar by weight, use a digital thermometer, and cook in a heavy-bottomed saucepan. Don’t rush the mixing stage—once it’s cooled to 43°C (110°F), beat it gently but steadily until it starts thickening.
Humidity really does mess with fudge. Make it on a dry day, or, if you’re like me and can’t control New Zealand’s sporadic winters, run a dehumidifier while you’re cooking. And never skip the cooling step before beating—if the fudge is still piping hot, your crystals form too fast and turn gritty quickly.
| Temperature (°C) | Texture |
|---|---|
| 110-112 | Runny, sauce-like |
| 114-116 | Slightly soft, holds shape |
| 118-120 | Classic, sliceable fudge |
| 122+ | Dry, crumbly, grainy |
One last rule: Don’t multitask. Fudge waits for no one, not even a phone call from your mum or a neighbor at the door. When your fudge starts boiling, stay put and stir. If you get distracted, that’s when things (literally) go south.
Remember, failed fudge is just a plot twist, not a dead end. If you can’t fix it, you can always transform it. Even the best fudge makers in New Zealand have had to improvise once or twice. So pull out your apron, trust your instincts, and enjoy the sweet surprises along the way.


Write a comment