

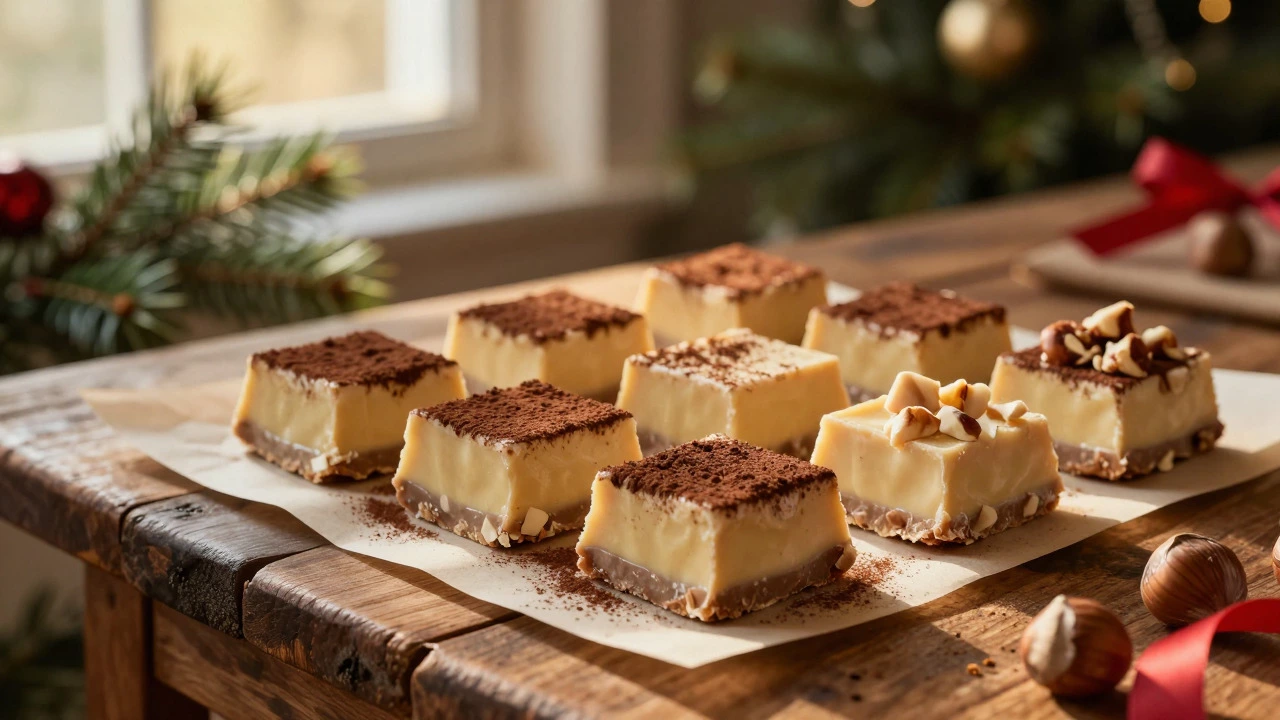
American Fudge Temperature & Texture Guide
Temperature Tracker
Texture Prediction
Perfect Fudge
Smooth, creamy, and slightly grainy. The ideal consistency.
Cooking Process Steps
Picture this: you’re at a holiday market or a county fair. You pick up a square of something dense, creamy, and intensely sweet. It doesn’t snap like chocolate. It doesn’t melt instantly on your tongue like a truffle. Instead, it yields softly, coating your mouth with a rich, buttery flavor. That is American fudge. But what exactly makes it "American"? And why does it taste so different from the British fudge you might find in a London tea shop?
The short answer lies in texture and technique. While the name is shared across the Atlantic, the product is worlds apart. Understanding the difference isn't just trivia; it’s the key to making the stuff yourself without ending up with a bowl of hard candy or a sticky mess.
The Great Divide: American vs. British Fudge
If you’ve ever been confused by recipes calling for "fudge," this is where the confusion starts. The word has two distinct meanings depending on which side of the ocean you’re standing on.
British fudge is a soft, chewy confection made primarily from milk, sugar, and butter, often cooked to a lower temperature than its American counterpart. It relies heavily on evaporation to thicken the milk, resulting in a texture that is somewhat similar to a very firm caramel or a soft nougat. It’s often studded with nuts or dried fruit and has a distinct dairy-forward flavor.
American fudge, however, is a crystallized sugar candy known for its smooth, grainy-yet-creamy texture and intense sweetness. It is not just thickened milk; it is a precise chemical reaction between sugar, water, and heat. The goal is to create tiny crystals of sucrose suspended in a syrup base. If those crystals are too large, the fudge is gritty. If they don’t form at all, you get fondant or taffy. If they are perfectly small, you get that signature silky bite.
| Feature | American Fudge | British Fudge |
|---|---|---|
| Primary Texture | Smooth, creamy, slightly grainy (micro-crystals) | Chewy, dense, soft |
| Cooking Method | Boiled to specific temperatures (Soft Ball Stage) | Simmered to evaporate moisture |
| Key Ingredient Ratio | High sugar-to-milk ratio | High milk-to-sugar ratio |
| Flavor Profile | Intense sweetness, vanilla, chocolate | Dairy-rich, subtle sweetness |
| Shelf Life | 1-2 weeks (low moisture) | 3-4 weeks (higher moisture) |
A Brief History: From Accident to Icon
Where did this treat come from? Surprisingly, no one knows for sure. Food historians have debated the origins of American fudge for decades, leading to several competing theories. What we do know is that it became a staple of American culture in the late 19th century, particularly among college students and church groups.
One popular theory points to Vassar College in Poughkeepsie, New York. Legend says that in the 1880s, a student accidentally dropped cream into a batch of boiled sugar meant for candy. The result was a softer, creamier substance. Whether true or not, Vassar students began selling "Vassar Fudge" as a way to raise money.
Another contender is Middlebury College in Vermont. Students there claimed to be making fudge as early as 1886. They even published recipes in their yearbooks, helping to spread the technique across the Northeast.
Then there’s the theory involving Bethesda-by-the-Sea in Maine. This coastal community claims that a local woman named Mrs. Mary Lee invented fudge in 1895 after a similar cooking accident. Today, Bethesda-by-the-Sea still hosts an annual Fudge Festival, drawing thousands of visitors who want to taste the original recipe.
Regardless of the exact origin, fudge exploded in popularity during the early 20th century. It became a symbol of homemade goodness, sold at Christmas markets, school fundraisers, and county fairs. By the 1920s, it was everywhere. Then, oddly enough, it disappeared from mainstream commercial production for decades, only to make a comeback as a gourmet artisanal treat in the 1990s.
The Science of Smoothness: Why Temperature Matters
Making American fudge isn’t just about mixing ingredients; it’s about controlling physics. The entire process revolves around the concept of supersaturation and crystallization.
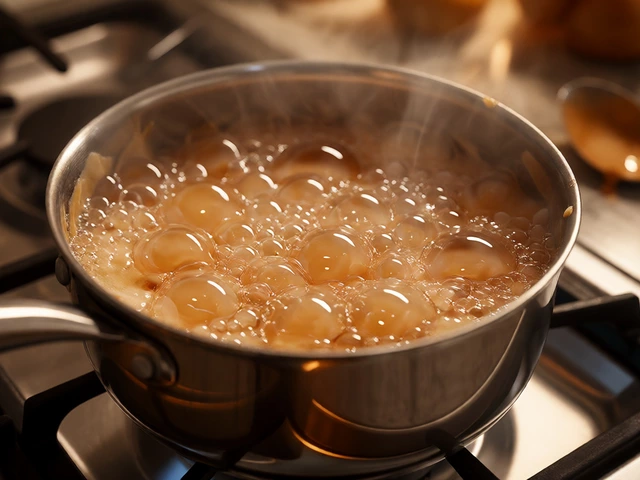
When you boil sugar and water, you’re driving off the water. As the mixture gets hotter, more sugar dissolves into the remaining liquid. Eventually, you reach a point where the solution can hold no more sugar. This is called saturation. But if you keep heating it, you create a supersaturated solution-one that holds more sugar than it theoretically should.
Here’s the critical part: when you cool this hot syrup, the sugar wants to crash out of the solution and form crystals. If you let it cool slowly, large crystals form. Large crystals mean grit. You want tiny crystals. Tiny crystals mean smoothness.
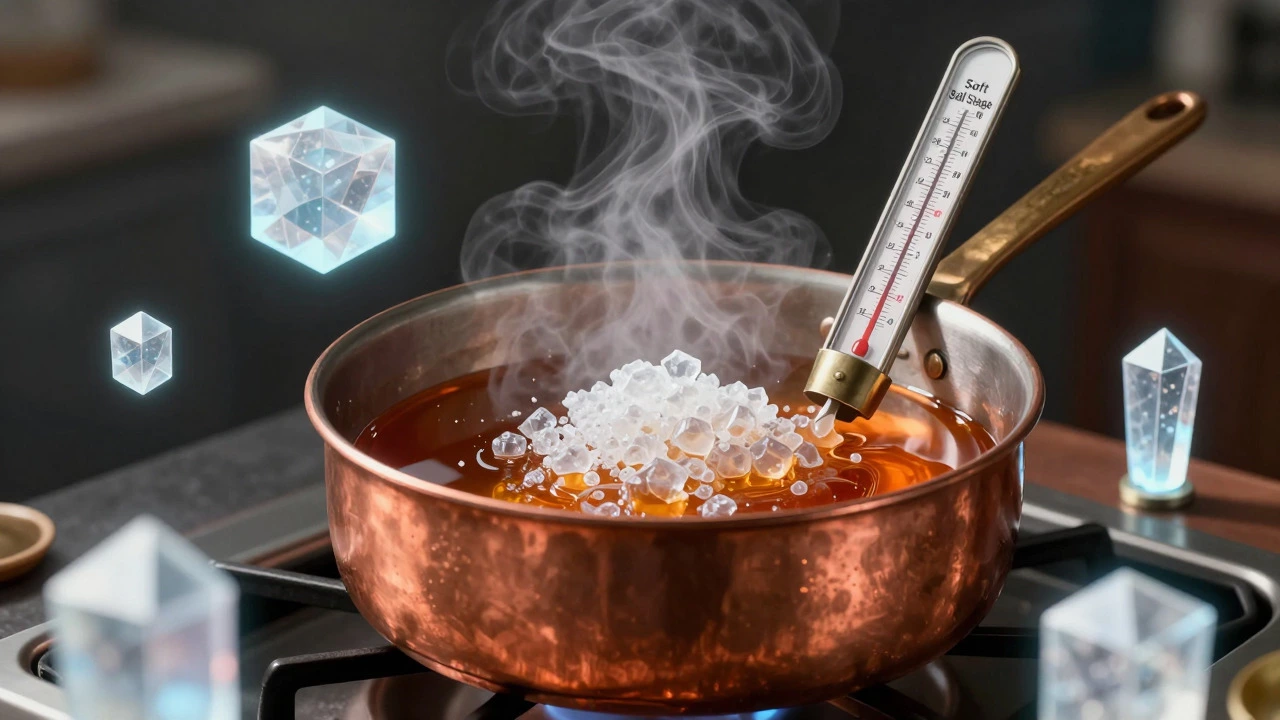
To achieve this, you need to cook the mixture to the Soft Ball Stage. In candy making, this refers to a temperature range of 234°F to 240°F (112°C to 116°C). At this temperature, if you drop a bit of the syrup into cold water, it forms a soft ball that flattens when you pick it up. This specific concentration of sugar ensures that when you agitate the mixture later, it will set into a creamy solid rather than a hard rock or a runny syrup.
Agitation is the other half of the equation. Once the syrup reaches the right temperature, you remove it from the heat and beat it vigorously. This mechanical action encourages the formation of millions of microscopic crystals simultaneously. If you stop beating too soon, the fudge won’t set. If you beat it too long, the crystals become too large, and the fudge becomes dry and crumbly.
Essential Ingredients for Classic Fudge
You don’t need a lot of fancy equipment to make fudge, but you do need the right ingredients. Quality matters here because there’s nowhere to hide flaws in such a simple recipe.
- Sugar: Granulated white sugar is the standard. It provides the structure and sweetness. Some recipes use brown sugar for a deeper, molasses-like flavor, but this changes the crystallization process slightly due to the invert sugars in molasses.
- Butter: Unsalted butter is preferred. It adds richness and helps prevent the sugar from crystallizing too quickly during the boiling phase. The fat coats the sugar molecules, keeping them separate until you’re ready to beat the fudge.
- Milk or Cream: Heavy cream creates a richer, denser fudge. Milk results in a lighter, slightly less intense product. Evaporated milk is also common because its concentrated solids help stabilize the emulsion.
- Vanilla Extract: Pure vanilla extract is essential. It rounds out the sharp sweetness of the sugar and adds complexity. Artificial vanilla can leave a chemical aftertaste that stands out in such a simple dessert.
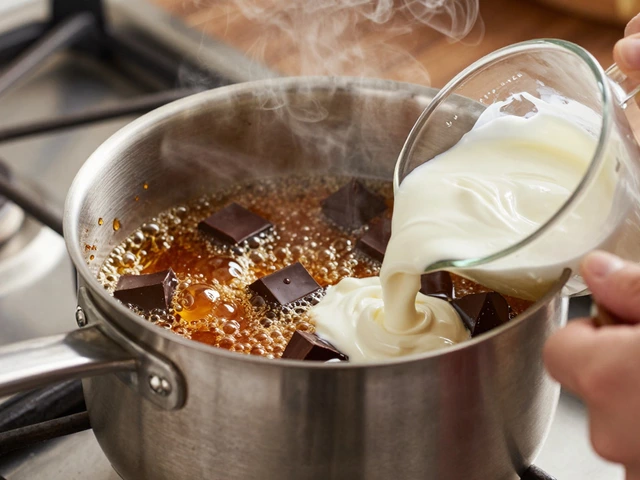
- Chocolate (Optional): For chocolate fudge, you can add cocoa powder or melted chocolate. Cocoa powder is easier to work with because it doesn’t introduce extra liquid, which can throw off the temperature readings.
Step-by-Step: How to Make Perfect American Fudge
Ready to try it? Here’s a reliable method for making classic vanilla or chocolate fudge. Remember, precision is key.
- Prepare Your Pan: Line an 8x8-inch baking pan with parchment paper. Butter the paper lightly. This ensures easy removal once the fudge sets.
- Combine Ingredients: In a heavy-bottomed saucepan, combine 3 cups of granulated sugar, ½ cup of butter, ⅔ cup of milk, and ¼ teaspoon of salt. A heavy pan prevents hot spots, which can cause uneven cooking.
- Heat Slowly: Place the pan over medium heat. Stir constantly until the butter melts and the sugar dissolves. Once the mixture begins to bubble, stop stirring. Scrapping the sides of the pan with a wet pastry brush helps prevent premature crystallization.
- Cook to Temperature: Attach a candy thermometer to the side of the pan. Bring the mixture to a boil. Cook without stirring until it reaches 234°F-240°F (the Soft Ball Stage). This usually takes 10-15 minutes. Do not guess the temperature; use a thermometer.
- Cool Slightly: Remove the pan from the heat. Let it sit undisturbed until the temperature drops to 110°F. This cooling period is crucial. If you beat it while it’s still hot, the crystals will be too large.
- Add Flavorings: Stir in 1 teaspoon of vanilla extract and any optional mix-ins like chopped nuts or chocolate chips.
- Beat Vigorously: Using a wooden spoon or an electric mixer, beat the mixture continuously. It will start to look glossy, then lose its shine and become pale and thick. This can take 10-15 minutes. You’re looking for a consistency that holds its shape when you lift the spoon.
- Pour and Set: Quickly pour the fudge into the prepared pan. Spread it evenly. Let it cool at room temperature for at least 4 hours, or until firm.
- Cut and Store: Cut into squares. Store in an airtight container at room temperature for up to two weeks.

Troubleshooting Common Fudge Failures
Even experienced cooks can run into issues with fudge. Here’s how to fix the most common problems.
- Grainy Texture: This happens when large sugar crystals form. It’s usually caused by stirring the mixture while it’s boiling or not beating it enough after cooling. To prevent this, ensure your pan is clean and free of sugar crystals before starting, and avoid stirring during the boil.
- Hard or Brittle Fudge: If your fudge is hard like rock candy, you likely overcooked it. Cooking beyond the Soft Ball Stage drives off too much water, resulting in a harder final product. Next time, check the temperature earlier.
- Soft or Runny Fudge: If it doesn’t set, you undercooked it. The syrup didn’t reach a high enough concentration of sugar. You can sometimes salvage this by returning it to the stove, reheating it to the correct temperature, and re-beating it.
- Greasy Separation: If oil pools on top, the emulsion broke. This can happen if you added cold ingredients to the hot syrup too quickly or if you didn’t beat it enough to incorporate the fat. Re-beating gently can sometimes bring it back together.
Variations on a Theme
Once you master the basic technique, the possibilities are endless. Fudge is incredibly versatile.
Chocolate Hazelnut: Add finely chopped hazelnuts and ½ cup of cocoa powder to the base recipe. The nuts add crunch, while the cocoa deepens the flavor profile.
Peanut Butter Swirl: Make a batch of vanilla fudge and a separate batch of peanut butter fudge (using peanut butter instead of some of the butter). Pour them into the pan alternately and swirl with a knife for a marbled effect.
Spiced Maple: Replace the vanilla with pure maple syrup and add a pinch of cinnamon and nutmeg. This variation is perfect for autumn gatherings.
Coconut Lime: Use coconut milk instead of dairy milk and add lime zest. Top with toasted coconut flakes for a tropical twist.
Why Fudge Still Matters
In a world of mass-produced chocolates and industrial sweets, American fudge remains a testament to the joy of homemade food. It requires patience, attention, and a willingness to learn the basics of candy making. But the reward is a treat that feels personal, luxurious, and deeply satisfying.
Whether you’re making it for a holiday gift, a school fundraiser, or just because you crave something sweet, understanding what American fudge is-and how it works-empowers you to create something truly special. So grab your thermometer, fire up the stove, and give it a try. Your taste buds will thank you.
What is the difference between fudge and fondant?
While both are sugar-based candies, fudge is cooked to the soft-ball stage (234°F-240°F) and beaten to create a creamy, semi-solid texture. Fondant is cooked to a lower temperature and allowed to cool without agitation, resulting in a smoother, more pliable paste often used for icing cakes or filling chocolates. Fudge has a distinct graininess from micro-crystals, while fondant aims for complete smoothness.
Can I make fudge without a candy thermometer?
Yes, but it’s riskier. You can use the "cold water test." Drop a small amount of the boiling syrup into a glass of ice water. If it forms a soft ball that flattens when you press it between your fingers, you’ve reached the soft-ball stage. However, this method is less precise than using a digital candy thermometer, which is highly recommended for consistent results.
Why did my fudge turn out grainy?
Graininess is caused by large sugar crystals forming. This usually happens if you stirred the mixture while it was boiling, which encourages crystal growth. It can also occur if there were sugar crystals stuck to the side of the pan from previous batches. Always wipe the sides of the pan with a wet pastry brush during cooking to dissolve any stray crystals.
How long does homemade fudge last?
Homemade fudge typically lasts 1 to 2 weeks when stored in an airtight container at room temperature. Because it has low moisture content, it doesn’t spoil easily, but it can absorb odors from the fridge. Avoid refrigerating it unless your kitchen is extremely hot and humid, as cold temperatures can cause condensation and affect the texture.
Is American fudge gluten-free?
Basic American fudge made with sugar, butter, milk, and vanilla is naturally gluten-free. However, if you add mix-ins like cookies, cake pieces, or certain types of cereal, you need to check those ingredients for gluten. Always verify that your chocolate or cocoa powder is processed in a gluten-free facility if you have celiac disease or severe sensitivity.
Can I freeze fudge?
Yes, fudge freezes well. Wrap individual pieces tightly in plastic wrap, then place them in a freezer-safe bag or container. They can be frozen for up to 3 months. Thaw them at room temperature for a few hours before eating. Note that freezing may slightly alter the texture, making it a bit softer upon thawing.




Write a comment