
Fudge Temperature & Stage Checker
Status
Details go here.
Reference Guide
Hover over cards to see details
215–230°F
102–110°C
Thin threads form when dropped in water.
234–240°F
112–116°C
Forms a soft, flexible ball in cold water. Target for Fudge!
250–265°F
121–130°C
Forms a firm ball that holds shape.
270–290°F
132–143°C
Breaks easily but bends slightly.
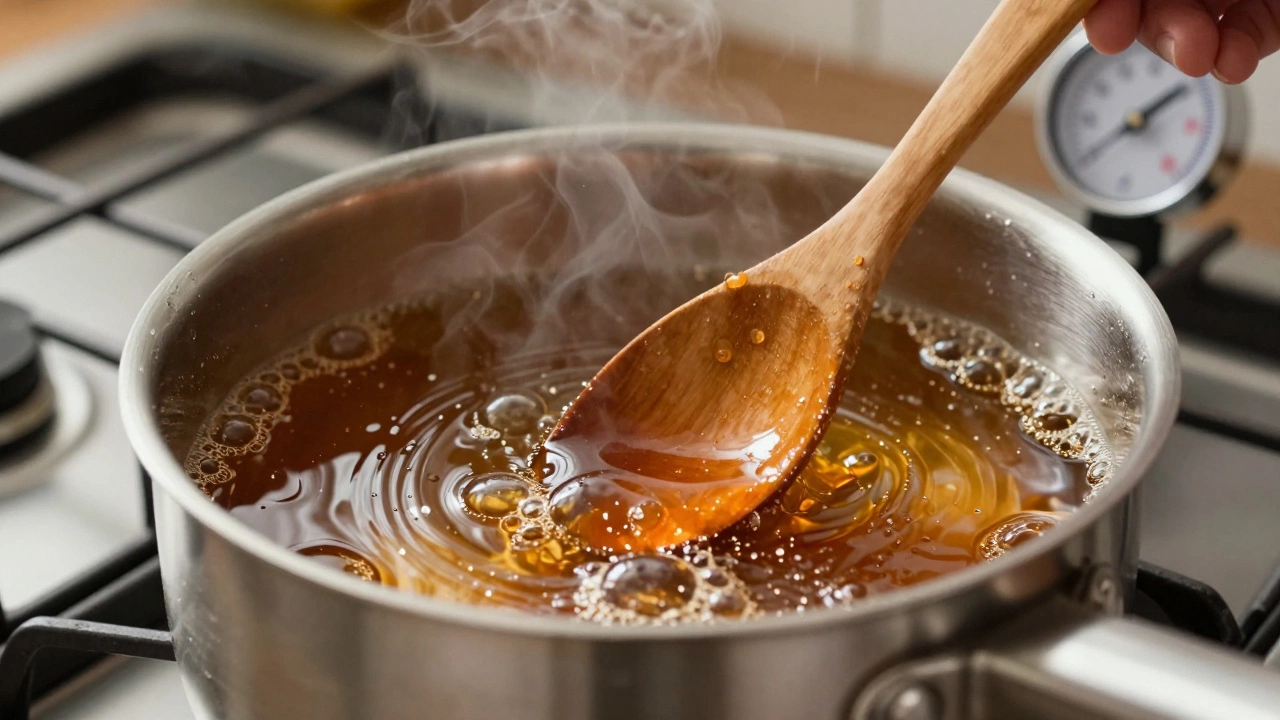
You’ve spent twenty minutes watching a pot of sugar, butter, and milk bubble away on your stove. Your kitchen smells like heaven. Then, you get impatient or distracted, give the mixture a quick stir before it hits the right temperature, and suddenly your smooth, creamy fudge turns into a bowl of gritty sand. It’s frustrating, but it’s also completely fixable if you understand why it happened.
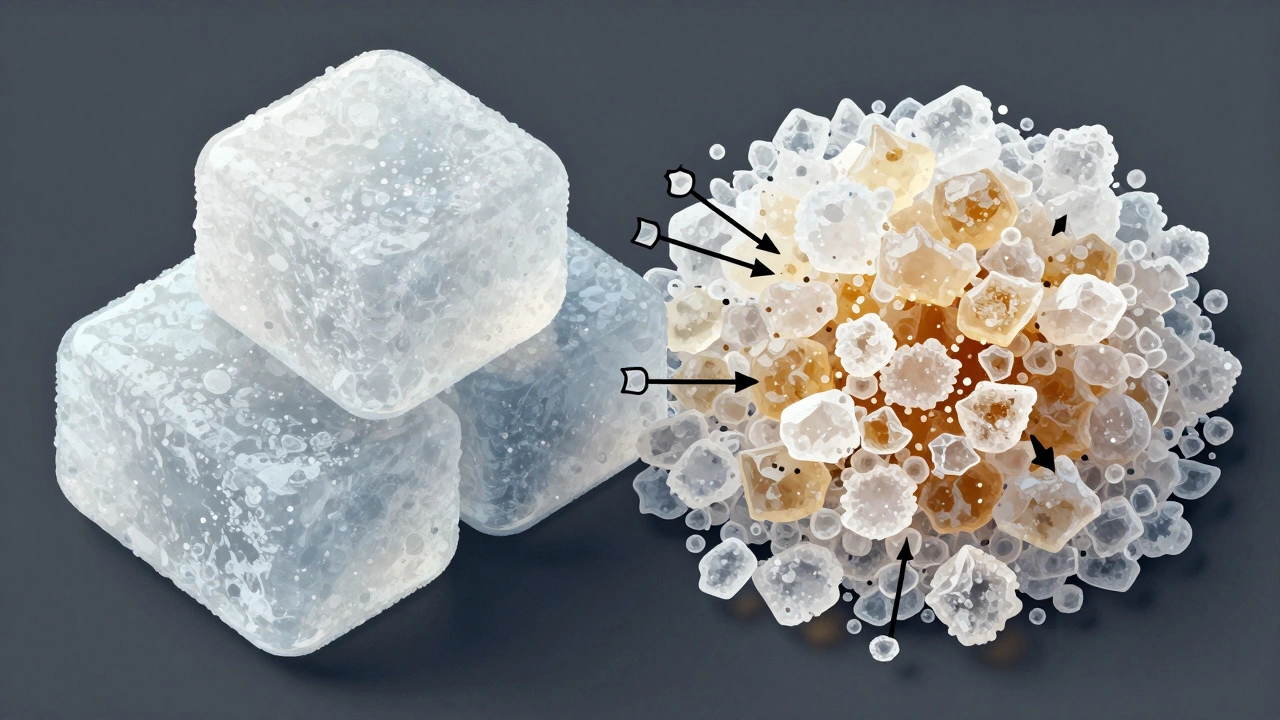
The short answer is that stirring fudge too early introduces premature sugar crystallization. When you agitate the hot syrup before it has cooked to the proper stage, you encourage tiny sugar crystals to form. These microscopic grains create a texture that feels rough and sandy on your tongue rather than smooth and melt-in-your-mouth. But don’t throw that batch out just yet. Understanding the chemistry behind this mistake will help you save the current batch and perfect your next one.
Why Timing Is Everything in Fudge Making
Fudge isn’t just a recipe; it’s a controlled chemical reaction. At its core, fudge is a supersaturated sugar solution. To make it, you dissolve sugar in water (or milk) and heat it until most of the water evaporates. As the temperature rises, the concentration of sugar increases dramatically.
The goal is to reach what candy makers call the Soft Ball Stage, which occurs at 234°F to 240°F (112°C to 116°C). At this specific temperature, if you drop a bit of the syrup into cold water, it forms a soft, pliable ball. This consistency allows the sugar to set into a firm but tender confection once cooled.
If you stir the mixture while it is still below this temperature-specifically during the initial dissolution phase or while it is heating up-you disrupt the natural formation of large sugar crystals. Instead of letting the sugar dissolve fully and remain in a liquid state until the end, agitation provides nucleation sites. Think of these sites as tiny anchors where new sugar molecules can latch onto and build structures. The more you stir, the more anchors you create, resulting in millions of tiny crystals instead of a few large ones.
| Stage Name | Temperature (°F) | Temperature (°C) | Texture Test |
|---|---|---|---|
| Thread Stage | 215-230 | 102-110 | Thin threads form when dropped in water |
| Soft Ball Stage | 234-240 | 112-116 | Forms a soft, flexible ball in cold water |
| Hard Ball Stage | 250-265 | 121-130 | Forms a firm ball that holds shape |
| Soft Crack Stage | 270-290 | 132-143 | Breaks easily but bends slightly |
The Role of Interfering Agents
You might wonder why other candies, like caramel or taffy, require constant stirring, while fudge demands silence for most of the cooking process. The difference lies in Interfering Agents, such as butter, cream, and corn syrup.
In fudge recipes, ingredients like butter and cream contain fats and proteins that coat the forming sugar crystals. This coating prevents them from growing too large and sticking together into a hard mass. Corn syrup, which contains glucose and maltose, does the same job by disrupting the uniform structure of sucrose crystals. These agents are your allies in creating a smooth texture.
However, these helpers only work effectively if the sugar has dissolved completely and reached the correct temperature. If you stir too early, you introduce air bubbles and mechanical agitation that override the protective effect of the interfering agents. The result is a chaotic network of micro-crystals that no amount of butter can smooth over later.
How to Save Grainy Fudge
So, you stirred it. You poured it into the pan. Now it’s cooling, and you can already feel the grittiness between your fingers. Don’t panic. There is a reliable method to rescue this batch.
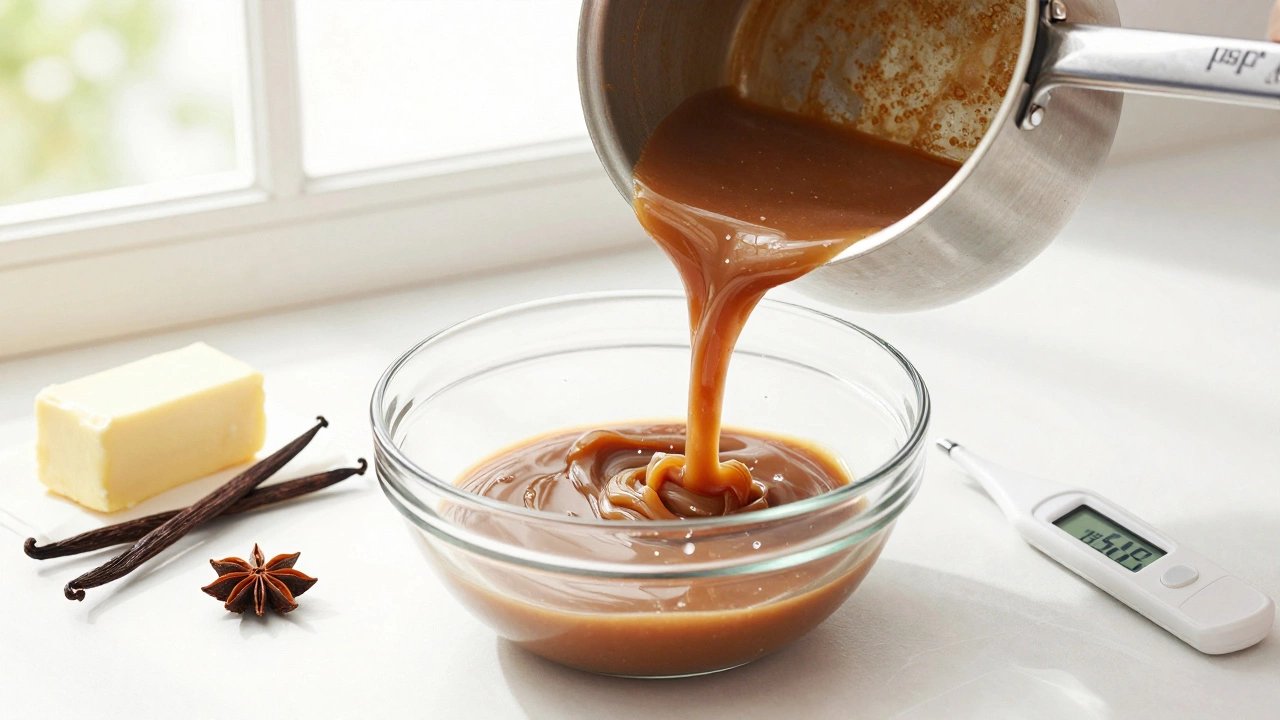
- Return to Heat: Pour the grainy fudge back into the saucepan. Add a small amount of water-about two tablespoons per cup of original liquid-to help dissolve the crystals again.
- Dissolve Completely: Heat the mixture gently, stirring constantly this time, until the sugar is fully dissolved and the mixture is clear. Do not let it boil vigorously yet.
- Cook Again: Once clear, stop stirring. Bring the mixture back to the Soft Ball Stage (234°F-240°F). Use a candy thermometer for accuracy.
- Beat Properly: Remove from heat and beat the fudge immediately. This time, ensure you are beating it vigorously to incorporate air and encourage the formation of those desirable tiny, smooth crystals.
This process essentially resets the crystallization clock. By redissolving the unwanted crystals and reheating to the correct stage, you give the sugar a fresh start. Many home cooks have saved ruined batches using this technique, turning potential trash into treat-worthy candy.
Avoiding the Mistake: Best Practices
Prevention is always easier than cure. Here are some practical tips to ensure your next batch of fudge is silky smooth.
- Use a Candy Thermometer: Guesswork is the enemy of fudge. Invest in a digital instant-read thermometer or a traditional clip-on candy thermometer. Check the calibration by boiling water; it should read 212°F (100°C) at sea level. Adjust accordingly if you live at a higher altitude, like Auckland, where water boils at a slightly lower temperature.
- Wipe the Sides: Before the mixture reaches a boil, use a wet pastry brush to wipe down the inside walls of the saucepan. Any sugar crystals clinging to the sides can fall into the syrup and act as seed crystals, triggering premature crystallization.
- Don’t Peek: Resist the urge to lift the lid or stir the pot while it’s coming to temperature. Let it cook undisturbed. Only stir when you add the butter and vanilla after removing it from the heat.
- Beat at the Right Time: Start beating the fudge when it cools to about 110°F (43°C). If you beat it while it’s still hot, it won’t set properly. If you wait until it’s cool, it will be too hard to mix. The ideal window is when it’s warm but no longer hot to the touch.
Common Variations and Their Risks
Different types of fudge present different challenges. Chocolate fudge, for instance, often includes cocoa powder or melted chocolate. Cocoa powder can sometimes clump if not mixed thoroughly with the sugar before heating. Ensure you sift the cocoa with the sugar to avoid lumps that might tempt you to stir prematurely.
Nut fudge adds another layer of complexity. Nuts release oils when heated, which can interfere with setting if not balanced correctly. Always chop nuts finely and fold them in only after the fudge has begun to thicken but before it sets completely. Stirring too early with nuts can cause them to sink or burn, ruining both texture and flavor.
For those attempting vegan fudge using coconut cream or almond milk, the lack of dairy proteins means there are fewer natural interfering agents. You may need to rely more heavily on corn syrup or agave nectar to prevent graininess. In these cases, precise temperature control is even more critical because the margin for error is smaller.
Understanding Altitude Adjustments
Living in Auckland, New Zealand, means dealing with slight variations in atmospheric pressure compared to sea-level locations. Water boils at approximately 210°F (99°C) in Auckland due to the elevation. This doesn’t change the target temperature for the Soft Ball Stage significantly, but it does mean your syrup will take slightly longer to reach that temperature. Be patient. Rushing the heat can lead to scorching the bottom of the pan, which imparts a bitter taste and ruins the texture regardless of stirring habits.
If you don’t have a thermometer, you can use the cold water test. Drop a teaspoon of syrup into a bowl of ice water. If it forms a soft ball that flattens when removed from the water, you’re ready. If it dissolves or stays liquid, keep cooking. If it forms a hard ball that snaps, you’ve gone too far. Practice makes perfect here.
Can I fix fudge that is too hard?
Yes. Hard fudge usually results from cooking it past the Soft Ball Stage. To fix it, return the fudge to the saucepan, add a little water, and reheat gently until it melts. Then, re-cook it to the correct temperature (234°F-240°F) and beat it again. This process resets the sugar structure.
Why did my fudge turn out runny?
Runny fudge typically means you didn't cook it long enough. The syrup didn't reach the Soft Ball Stage, so there wasn't enough sugar concentration to set. You can try re-cooking it to the proper temperature, but if it has been sitting out for a while, it may be safer to start over to avoid food safety issues with dairy.
Do I need a candy thermometer to make fudge?
While experienced cooks can use the cold water test, a candy thermometer is highly recommended for beginners. It provides an objective measure of temperature, removing guesswork. Digital thermometers are faster and more accurate than analog ones, making them worth the investment for consistent results.
How long should I beat fudge?
Beat the fudge until it loses its glossy shine and begins to thicken. This usually takes 5 to 10 minutes with a wooden spoon or electric mixer. Over-beating can incorporate too much air, making the fudge dry, while under-beating leaves it greasy. Look for a matte finish as your cue to pour it into the pan.
Can I make fudge in a microwave?
Microwave fudge is possible but risky. Microwaves heat unevenly, which can lead to hot spots and premature crystallization. If you choose this method, stir frequently in short intervals and monitor the temperature closely. Traditional stovetop methods offer better control over the heating process and are generally preferred for high-quality results.


Write a comment