

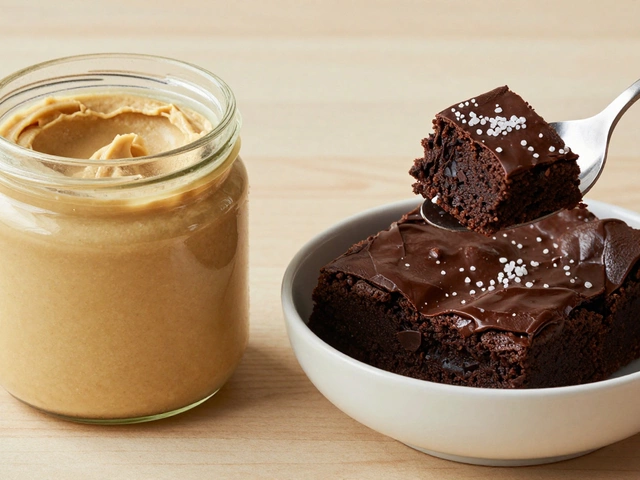
If you’ve ever hovered anxiously over a tray of fudge, waiting for it to morph from sticky goo to that dreamy, sliceable treat, you’ll know the agony of impatience. That pan you lovingly stirred and swirled can feel like a stubborn secret keeper, taking its sweet time to firm up—sometimes not at all. The honest answer to "How long should it take fudge to harden?" isn’t a flat number, because real kitchens are full of quirks. But there’s a science and method to the magic, and knowing what’s actually going on can spare you from disappointment (and save you a lot of time Googling desperate fixes at midnight).
What Actually Happens When Fudge Hardens?
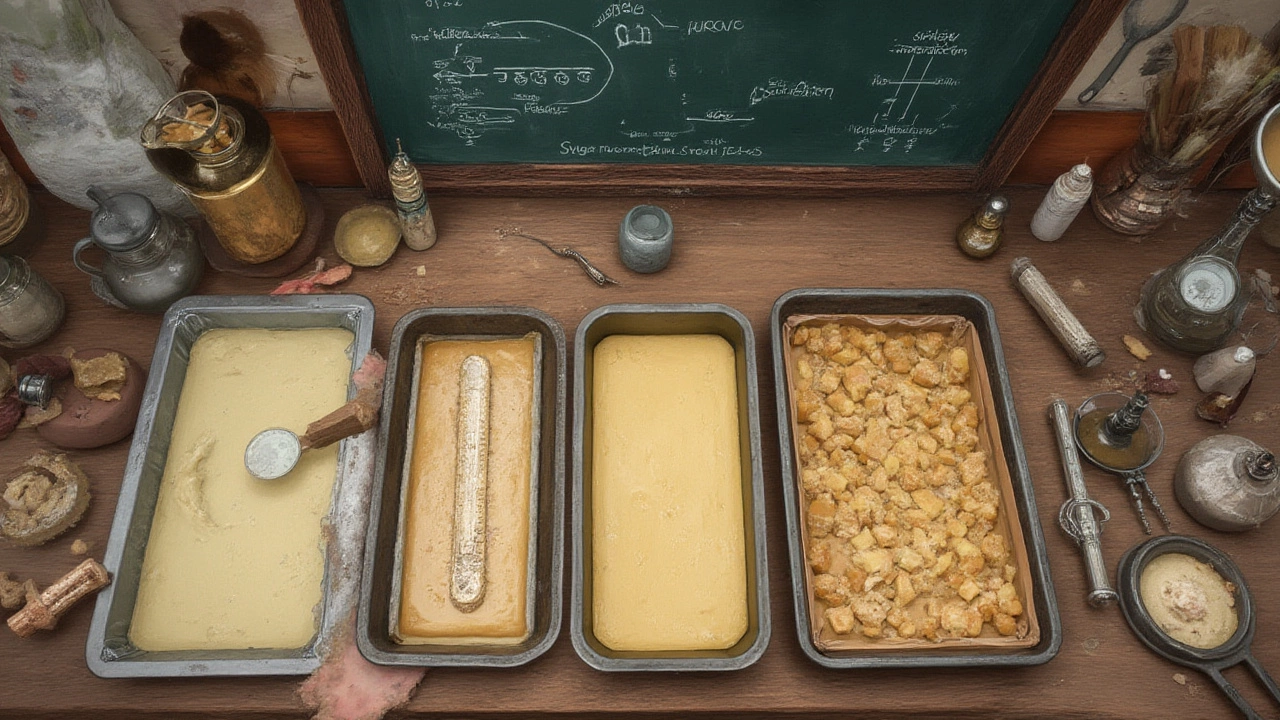
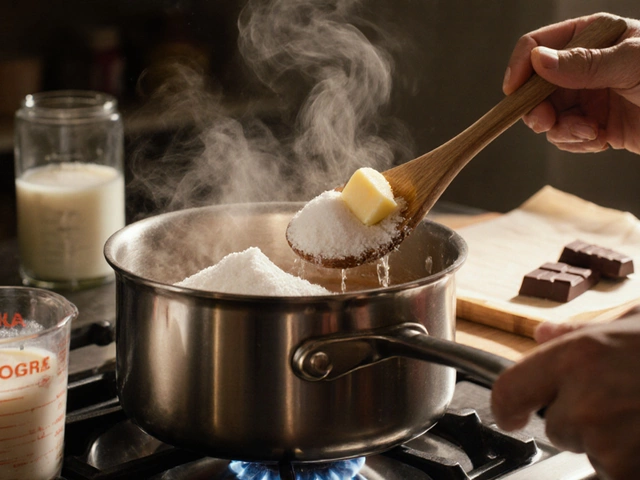
Imagine fudge like a suspended dance—a mixture of sugar, fat, and dairy with everything depending on temperature and timing. What’s happening as it sets? It’s less about mystical kitchen luck and more about tiny sugar crystals forming and linking up. The recipe’s sugar, butter, and sometimes cream, need to boil to a precise temperature (usually 112–115°C or 234–240°F for classic fudge) to trigger the right reactions. Get it too hot, and you’ll have crumbly rocks later; shy of the mark, and you’re stuck with soft sludge. It’s all about sugar molecules stacking up at just the right speed, not too fast, not too slow.
So, once your fudge is cooked, poured, and cooling, it’s the slow disappearance of water—and the tightening of those crystals—that gives you the finished texture. The hardening starts quickly on the surface, but the inside’s a different story. Heat and humidity in your kitchen can mean the difference between smooth, quick-setting fudge and sticky, hours-long puzzles. Even altitude has a say: fudge in Auckland sets a tad differently than in Queenstown or, say, Denver, thanks to air pressure changing the boiling point.
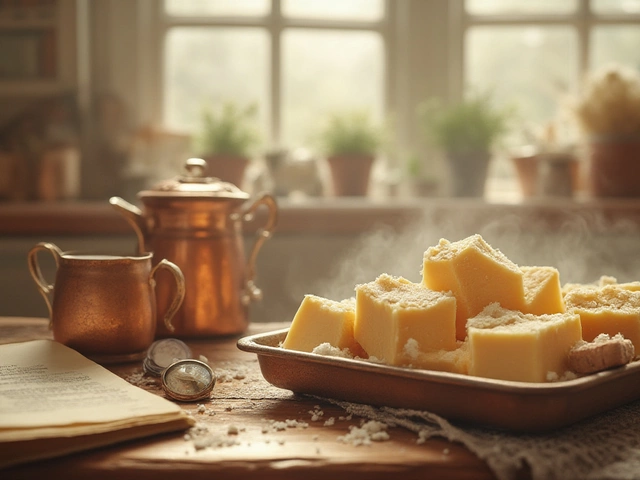
Most classic fudges, when cooled at room temperature and undisturbed, start firming up in 2 to 3 hours. But—and here’s the catch—it isn’t truly solid until at least 4 hours in. Super dense or big-batch fudges can stretch up to 8 hours for the deepest corners to be duel-worthy slabs. If your recipe uses condensed milk or marshmallow crème, it’ll often set a bit faster due to stabilizers, but even then, patience is a big part of the game.
Kitchen pros have measured this on real batches: in a climate-controlled kitchen at around 21°C (70°F), a standard pan of fudge (about 2.5cm or 1 inch thick) goes from pourable to sliceable in around 3 to 4 hours. Speeding it up usually means chilling it in the fridge—more on that in a bit—but classicists will tell you that rapid cooling leads to graininess, so there’s a balance to strike.
Why Does Fudge Sometimes Refuse to Harden?
It’s pure heartbreak when you peel off the parchment after hours and find you’ve got fudge sauce instead of fudge blocks. So, what *really* went wrong? Nine times out of ten, it’s about the cooking temperature. If the mixture didn’t hit that crucial “soft-ball” stage (112–115°C), water didn’t evaporate enough, leaving you with a mushy slab. Forgetting to use a candy thermometer or trusting “bubbling for ten minutes” as a reliable guide is risky business. Even the most seasoned fudge fans have been fooled by a batch that looked ready but wasn’t.
Humidity plays a sneaky role, especially in Auckland where the weather can shift all day long. Too much moisture in the air, and your fudge keeps sucking it up, refusing to set. That’s why fudge disaster peaks in midsummer or on rainy June days. Sometimes, it’s the recipe itself—using too much butter, milk, or sweetener throws off the balance holding the whole thing together. Or mixing in extra toppings (like fruit or caramel) adds more liquid, slowing things down.
There’s also the wild card of stirring. Beat in your butter or marshmallow crème before the fudge cools to about 45°C (113°F), and you get gritty fudge or even a layer of sugary syrup at the bottom. Skimp on stirring and crystals don’t form evenly, so soft centers or weepy sides are pretty much guaranteed.
Ever tried popping your stubborn fudge in the fridge? You’re not alone. Fridge time helps most fudge firm up in about an hour, but if it was undercooked to begin with, even a night in the freezer won’t work miracles. Some experienced bakers in New Zealand say that fudge with added golden syrup takes a little longer, as the syrup keeps it softer, so cracking the right texture can take overnight or even a solid 12 hours sitting out.
Speeding Up or Slowing Down: How (and When) to Intervene
Your fudge isn’t just at the mercy of fate. There are actual tweaks to make it harden faster—or to save it if things go wobbly. After pouring your cooked fudge into its pan, you can speed the process by putting it in the fridge uncovered for 1–2 hours. The cold air draws out heat and nudges the sugar’s transformation along. But if you’re after luxury-smooth texture (you know, no grainy stuff), rapid chilling is risky, as the crystals might set too big. If you want pure show-off fudge for a party, set it at room temp first for at least an hour, then transfer to the fridge for another two—just let it warm a bit before slicing so it doesn’t crack.
Already poured but it’s not setting? Don’t panic. Scoop it back into a pot (yes, even if it’s half-set), gently re-warm, and bring it to that crucial temperature again, then cool as before. This rescue trick works on about two-thirds of batches, according to Kiwi granny lore. You can also add a few tablespoons of icing sugar or a spoonful of cocoa, whisk it vigorously, and repour—the extra solids sometimes jumpstarts those lazy sugar crystals that didn’t want to form during the first go.
If your kitchen is steamy, fight humidity by covering the pan loosely with a cloth instead of clingfilm, and set it somewhere cooler (away from the stove or a sunny bench). Adding a bit of cornstarch while mixing can also help fudge set if your recipe is stubbornly moist. And if it just refuses to cooperate, well, fudge sauce over ice cream never broke anyone’s heart.
On the flip side, if you need fudge to set more slowly—maybe you’re making fancy marbled batches or swirling through peanut butter—cover and leave it at room temp, or pick a cooler room. Some Auckland foodies have even used their chilly basements to get a perfect, gentle set over eight hours, with a creamier finish than fridge-fudge offers.
Pro Tips for Getting Perfectly Hardened Fudge Every Time
Let’s get practical now. How do you guarantee success, batch after batch? Here’s what turns hob-huddled stress into fudge triumph:
- Always use a candy thermometer. Guesswork is the enemy of fudge harden time; aim for 112–115°C, not ‘five minutes of boiling.’
- Let the mixture cool undisturbed before beating. Stirring too soon kills smoothness and hinders setting.
- If your recipe uses condensed milk or marshmallows, it generally sets faster, but still needs at least 2 hours at room temp.
- Butter the pan or use baking paper—sticky trays slow down hardening.
- If you love softer fudge, undercook by just a degree, but understand it might not hold shape long on the table.
- Keep the kitchen around 21°C (70°F) for the goldilocks zone of hardening—not too fast, not too slow.
- For epic parties or gifts, make fudge the night before. Longer setting improves texture and keeps shape for slicing and packing.
- Avoid overmixing—fudge should be stirred only until it just loses shine, otherwise it turns crumbly.
- Package fudge slices only once fully cool and firm to prevent condensation (and sticky, weepy sides).
- Line your storage container with baking paper and keep the fudge covered but not airtight for best texture over a few days.
One cool trick: if your fudge still isn’t setting and you haven’t overcooked (burnt) it, whip in a bit of powdered gelatin or agar-agar. These don’t change the taste, but firm up the texture gently. It’s not quite traditional, but it’s a real lifesaver for humid days—South Auckland fudge sellers have done this for big events for years, when an unexpected warm snap strikes.
There’s plenty you can do once you know the science and have a few fixes up your sleeve. Whether you’re making chocolate fudge on a rainy Auckland afternoon or testing out a batch for homemade gifts, remember: the set time always depends on the recipe, your kitchen, and that all-important boiling point. Trust your thermometer, and don’t be afraid to get creative with the rescue tricks. Waiting for fudge to harden is half the thrill—but with the right techniques, the wait is a lot less nerve-wracking.


Write a comment