
Nothing kills the joy of homemade fudge like pulling it out of the fridge only to find it’s grainy, greasy, or stuck to the pan like glue. You followed the recipe, measured everything, waited patiently-but it still didn’t turn out. The truth? Making fudge isn’t about following steps blindly. It’s about avoiding the little things that sabotage it every single time. Most people blame their stove, their thermometer, or even the brand of chocolate. But the real culprits are habits you didn’t even know were wrong.
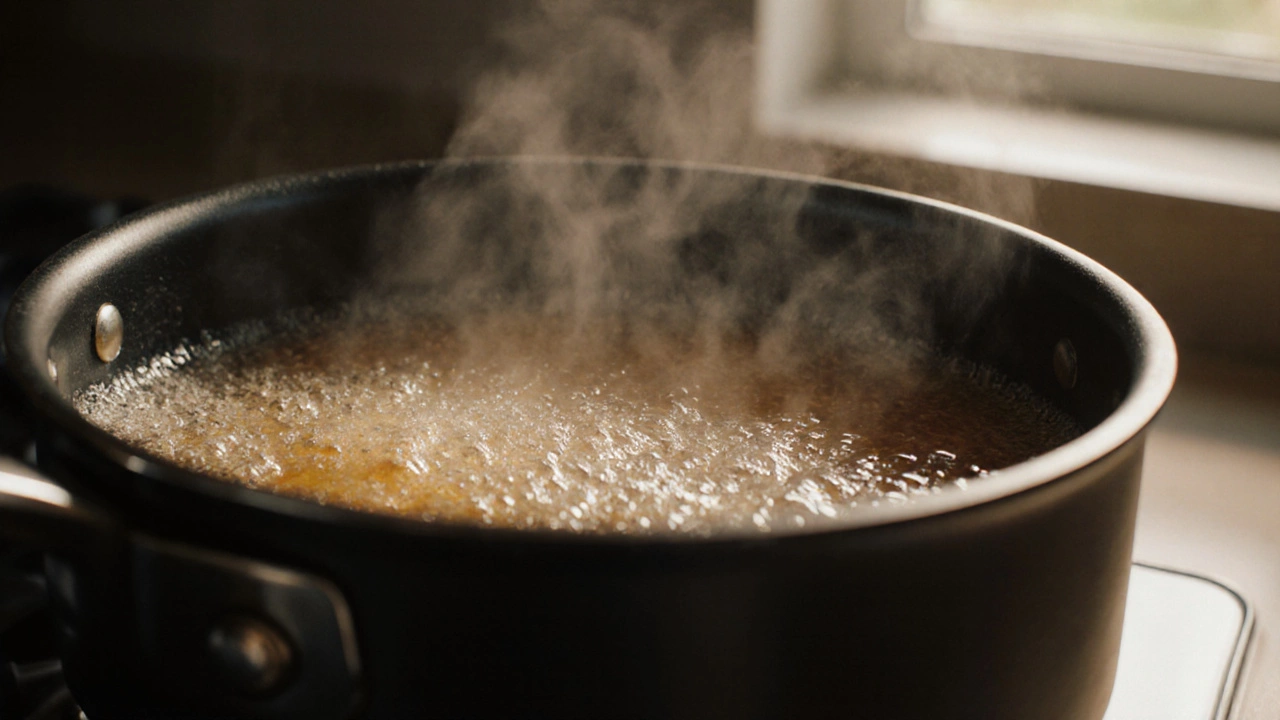
Don’t stir while it’s heating
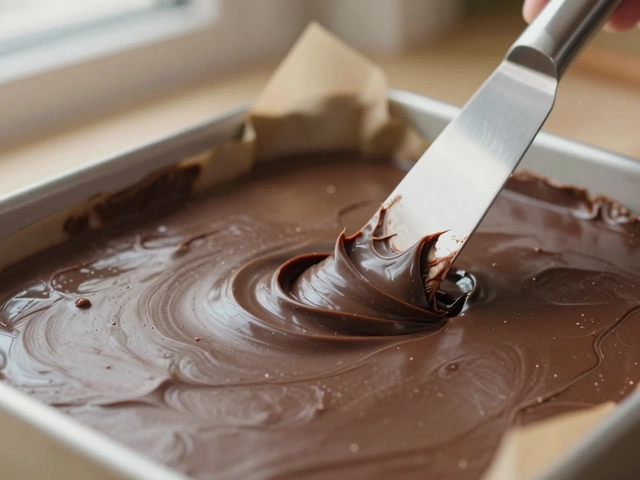
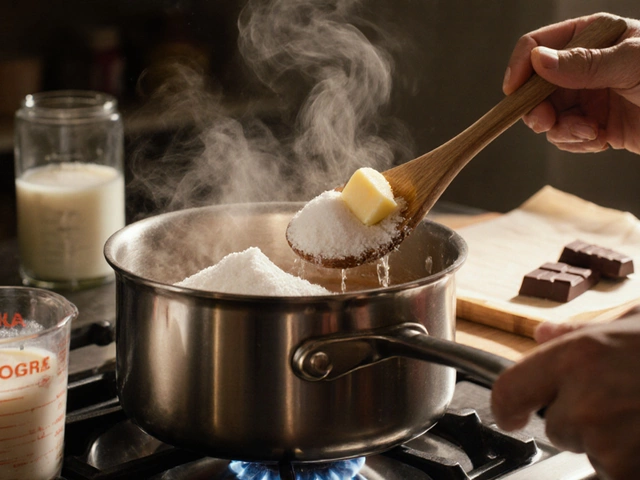
This is the #1 mistake. As soon as you put your sugar, butter, milk, and chocolate on the stove, the urge to stir kicks in. You want to make sure it’s melting evenly. You’re worried it’s burning. But stirring during the heating phase is what turns smooth fudge into a gritty mess.When sugar heats, it dissolves into a supersaturated solution. If you stir too early, you introduce crystals that multiply like wildfire. Those crystals grow as the mixture cools, and boom-you’ve got sand in your mouth instead of silk. The recipe says to stir only after removing from heat. That’s not a suggestion. It’s a rule.
Instead, let it sit. Watch it bubble. Wait until it hits the soft-ball stage (234-240°F). Then, and only then, take it off the heat and stir in the chocolate, vanilla, and nuts. No spoon in the pot until the heat is gone.
Don’t use low-quality chocolate
You might think, “It’s just fudge. Who cares if I use chocolate chips?” But chocolate chips are designed to hold their shape in cookies. They contain stabilizers and less cocoa butter, which means they don’t melt smoothly. When you mix them into hot fudge, they separate. The fat rises to the top. You get oily patches. The texture turns waxy.Real fudge needs real chocolate. Look for bars labeled 60% cocoa or higher. Baker’s chocolate (unsweetened or semi-sweet) works great. If you’re using milk chocolate, make sure it’s high-quality-think Ghirardelli, Lindt, or Callebaut. Chocolate chips? Save them for cookies. For fudge, you need pure cocoa butter to emulsify properly with the dairy and sugar.
Don’t rush the cooling process
You’ve waited 20 minutes for the mixture to reach 238°F. You’ve poured it into the pan. Now you’re thinking, “I’m hungry. Can I put it in the fridge to speed things up?” No. Don’t.Fudge sets through controlled crystal formation. If you cool it too fast-especially in the fridge-the sugar crystals form too quickly and unevenly. Result? A crumbly, dry, or overly firm texture. It won’t slice cleanly. It’ll fall apart like a chalk stick.
Let it sit at room temperature for at least 2 hours. Cover it loosely with a clean towel to keep dust off. If you’re in a hurry, place the pan in a cool spot, like a basement or a shaded countertop. But never, ever put it in the fridge until it’s fully cooled. Patience isn’t optional here.
Don’t use a metal spoon to stir after heating
You’ve taken the pot off the stove. You’re ready to stir in the chocolate. You grab your metal spoon-because that’s what you always use. Bad idea.Metal conducts heat too well. It cools the mixture unevenly at the point of contact. That creates tiny cold spots where sugar crystals start forming. You might not notice it right away, but later, when you bite into the fudge, you’ll taste the grit.
Use a wooden spoon or silicone spatula. They don’t pull heat away. They let the mixture cool slowly and evenly. And when you’re stirring, move gently in a figure-eight pattern. Don’t scrape the bottom or sides. You don’t want to drag any sugar crystals that stuck to the pot into the batch.
Don’t skip the thermometer
“I’ve made fudge five times without one. I just watch for the bubbles.” That’s how most failures start.Fudge is a candy. And candy making is science. The exact temperature determines the final texture. Too low? The fudge stays soft and sticky. Too high? It turns hard and crumbly. The difference between perfect and ruined is just 5 degrees.
A candy thermometer isn’t fancy. It’s $12. It’s reusable. It’s the only way to be consistent. Clip it to the side of the pot so the tip hangs in the liquid, not touching the bottom. Watch for the soft-ball stage: 234-240°F. If you don’t have one, you can do the cold water test-drop a spoonful into ice water. If it forms a soft, pliable ball you can pinch, you’re good. But even that’s unreliable. A thermometer gives you certainty.
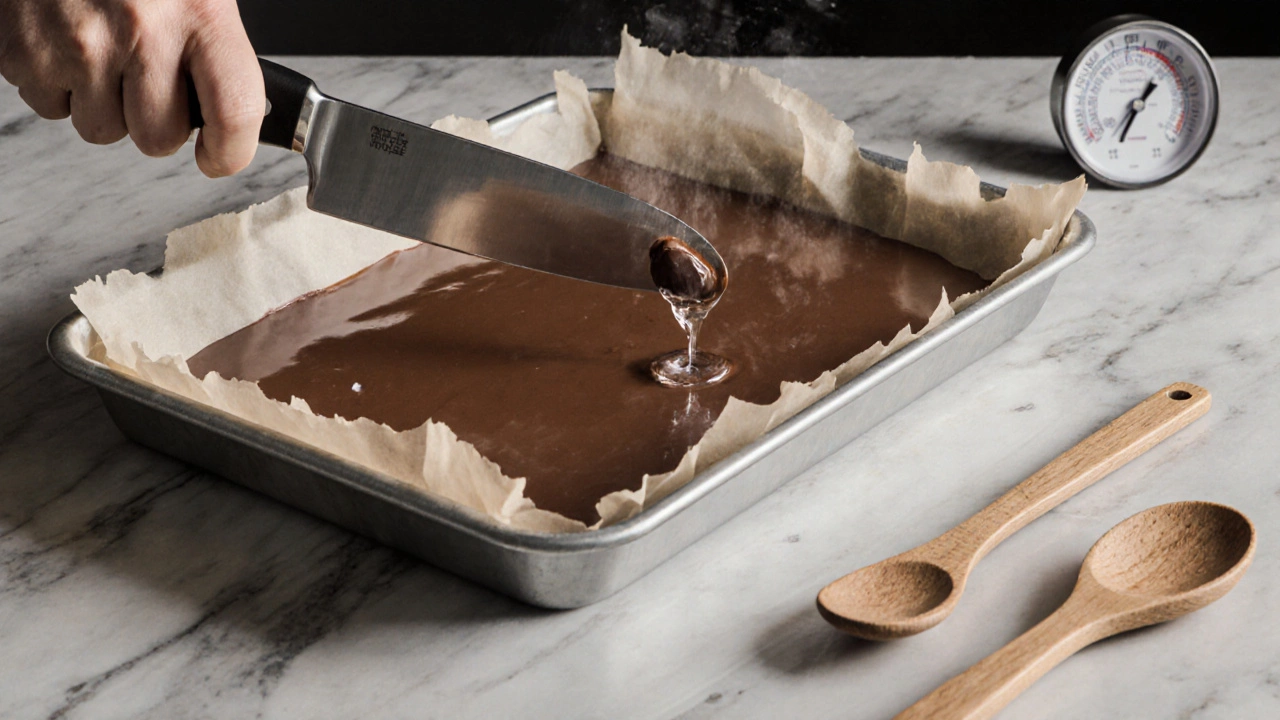
Don’t cut it too soon
You waited two hours. The fudge looks set. It’s cool to the touch. You grab a knife and start slicing. Big mistake.Even if it looks solid, the sugar crystals are still forming internally. Cutting too early disrupts the structure. You’ll get jagged edges, crumbs, and uneven pieces. It’ll look homemade-because it is. But not in the good way.
Wait at least 4 hours, or overnight. Then, use a sharp knife dipped in hot water and wiped dry. That gives you a clean glide through the fudge. Score the surface lightly first, then cut along the lines. Wipe the knife between cuts. It takes a little longer, but your fudge will look like it came from a bakery.
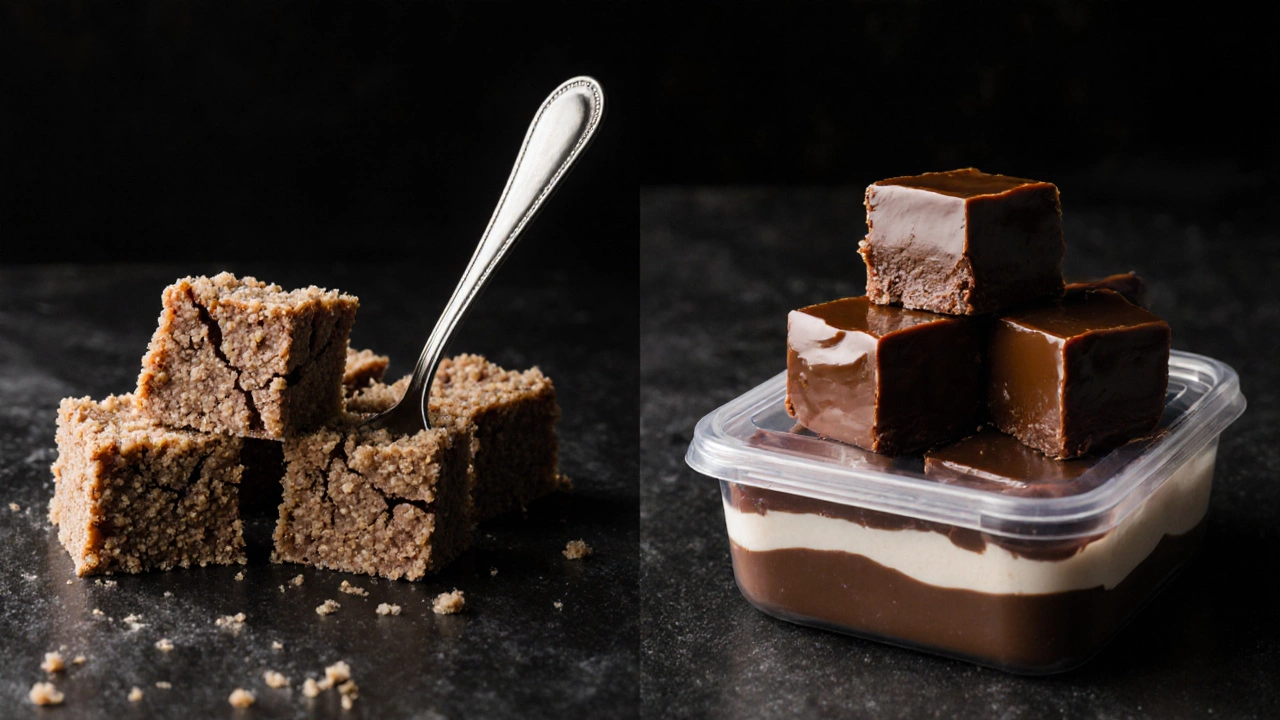
Don’t store it in plastic wrap directly on the surface
You wrap the fudge in plastic to keep it fresh. But if the wrap touches the surface, it pulls moisture out. You end up with a sticky, shiny top that’s dry underneath. Or worse-the plastic sticks, and when you peel it off, you take chunks of fudge with it.Instead, line the pan with parchment paper before pouring. Let the fudge set, then lift it out using the paper edges. Cut it into squares. Place them in a single layer in an airtight container. Put a sheet of parchment between layers. No plastic touching the surface. Store at room temperature for up to 2 weeks. If you live somewhere humid, keep it in the fridge-but only after it’s fully set and wrapped in parchment.
Don’t double the recipe
You want to make enough for the whole office. You double the ingredients. You think, “It’s just twice as much. Should be fine.”It’s not.
Fudge recipes are balanced for a single batch. Double it, and the heat distribution changes. The sugar takes longer to dissolve. The temperature rises unevenly. The mixture might not reach the right stage before the bottom burns. Even if it does, cooling becomes unpredictable. You end up with a thick, uneven slab that’s crunchy on the bottom and gooey on top.
Make two separate batches. Yes, it takes longer. But you’ll get two perfect pans instead of one failed one. Consistency beats quantity every time.
Don’t blame the recipe
When it doesn’t work, you think the recipe is broken. You search for a “better” one. You try three more. Still no luck.Chances are, your recipe is fine. It’s your technique that’s off. Most fudge recipes are variations of the same basic formula: sugar, milk, butter, chocolate. The differences are flavor, not method. If you’re not getting results, look at what you’re doing-not what the recipe says.
Fix the mistakes above, and you’ll start making perfect fudge every time. It’s not magic. It’s physics. It’s chemistry. It’s patience. Once you stop rushing, stop guessing, and stop cutting corners, you’ll realize fudge isn’t hard. It just doesn’t forgive mistakes.

Write a comment