Candy Making: Simple Guides, Recipes, and Pro Tips
Ever wanted to melt sugar in your kitchen and pull off a batch of tasty candy? It’s easier than you think. With the right tools, a few basic ingredients, and a bit of practice, you can whip up treats that rival store‑bought ones. Below you’ll find the essentials to get started, plus three go‑to recipes you can try today.
Getting Started: Tools and Ingredients
The first step is gathering the basics. All you really need is a heavy‑bottomed saucepan, a candy thermometer, a silicone spatula, and a silicone mat or parchment paper for cooling. A wooden spoon works fine, but a heat‑proof spatula makes stirring easier when the mixture gets thick.
For ingredients, keep white granulated sugar, light corn syrup, and a pinch of salt in your pantry. These three form the backbone of most candies. You’ll also want butter or cream for richness, vanilla for flavor, and any add‑ins like nuts, dried fruit, or chocolate chips.
Safety matters. Sugar gets scorching hot—usually between 250°F and 300°F—so never leave the pot unattended. Keep a bowl of cold water nearby in case you need to cool a spill quickly.
Popular Homemade Candy Recipes
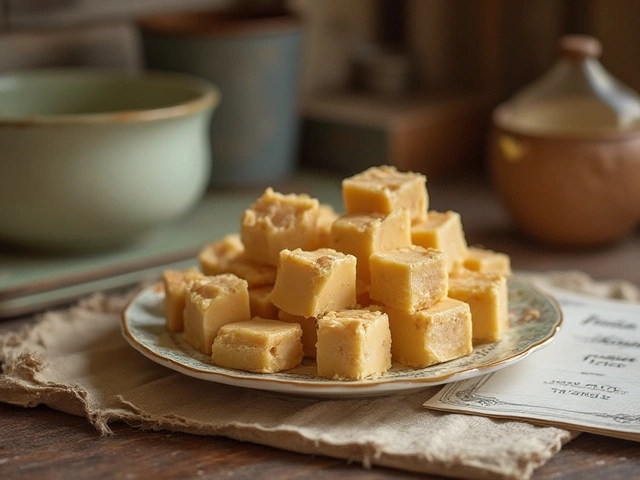
1. Classic Fudge – Combine 2 cups of sugar, ½ cup of butter, and ½ cup of milk in a saucepan. Heat to a boil, then reduce to a simmer for about 5 minutes. Remove from heat, stir in 2 cups of chocolate chips and a splash of vanilla until smooth. Spread on a lined tray, let set, and cut into squares.
2. Soft Caramel Bites – Melt 1 cup of sugar with ¼ cup of water, stirring until it dissolves. Increase heat to a medium‑high boil; when it turns amber, add ½ cup of butter and ½ cup of heavy cream. Stir constantly until glossy, then pour onto parchment and let cool. Cut into bite‑size pieces.
3. Easy Lollipop Sticks – Heat 2 cups of granulated sugar, ⅔ cup of light corn syrup, and a pinch of salt to 300°F. Remove from heat, add a few drops of food‑grade coloring and flavor extract. Pour onto a silicone mat, insert lollipop sticks while still pliable, and let harden.
These recipes cover a range of textures—creamy, chewy, and hard—so you can see how the same ingredients behave differently at various temperatures. Once you’re comfortable with these basics, try swapping flavors or adding crushed nuts for extra crunch.
If you’re curious about different candy styles, check out our other posts on sweet topics like vegan candy options, brownie variations, and even how to store candy so it stays fresh longer. Each article gives extra tips you can blend into your candy making adventures.
Remember, the key to great candy is patience and a reliable thermometer. Skip the guesswork, follow the steps, and you’ll be pulling fresh candy from your own kitchen in no time. Happy making!
