
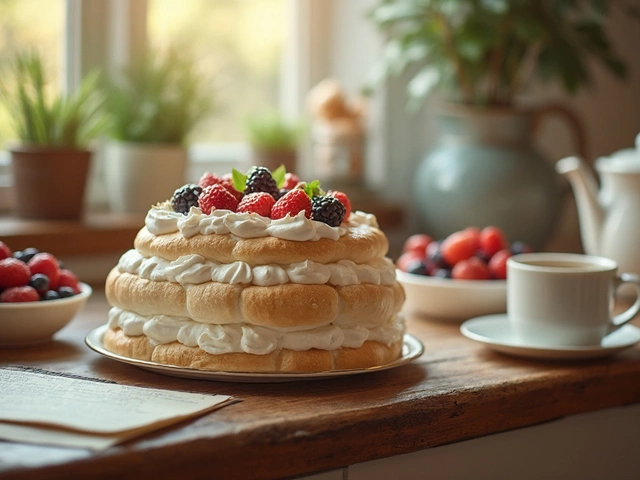
Ever wondered if pavlova can survive a night in your kitchen and still bring that crunchy-on-the-outside, marshmallow-center magic the next day? You aren’t alone—this question pops up every time there’s a need to get ahead before a dinner party or holiday meal.
Here’s the lowdown: you absolutely can make pavlova the day before. But—there’s a catch. Pavlova hates moisture. If it soaks up any humidity in the air or from toppings, say goodbye to that signature crispiness. The secret? Keep your meringue base dry and untouched. Don’t even think about adding whipped cream or fruit until right before you plan to serve.
What does that mean in real life? Bake your pavlova base, let it cool completely (seriously, let it chill on the tray for hours—overnight even, if your oven's cool and dry), then store it in an airtight container or carefully wrapped in clingfilm at room temperature. Never in the fridge! Cold air is a meringue's worst enemy and will turn your pavlova base soft and chewy in no time.
If you live somewhere humid, even wrapping might not save you from a bit of stickiness, but a few basic tricks can give you a fighting chance. And honestly, having your base ready to go the night before is a lifesaver when you want dessert sorted with zero fuss on the day.
- What Happens When You Make Pavlova Ahead
- How to Store Pavlova Overnight
- Biggest Mistakes and How to Avoid Them
- The Best Way to Assemble Just Before Serving
What Happens When You Make Pavlova Ahead
If you bake your pavlova base a day before you need it, a few things can happen—some good, some not so great. The big win? You save yourself the stress of baking on the day you want to impress. But pavlova is all about texture, and that's where things get tricky if you don’t store it right.
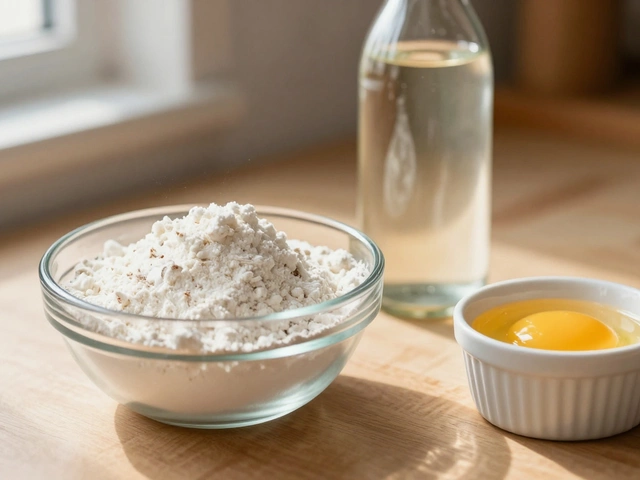
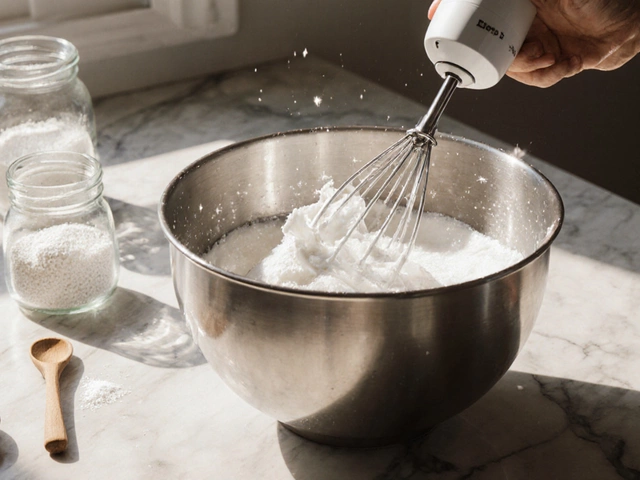
The outer shell of pavlova should be crisp, while the inside stays soft and marshmallowy. This texture comes from the way egg whites and sugar mix and then bake. Right after baking, that contrast is at its best. But the moment the pavlova cools, it's on the clock. Meringue loves to suck up moisture from the air, and this starts to soften the crunchy shell.
Here’s a quick breakdown of what might change as pavlova sits around overnight:
- Softening shell: The outer meringue can go from crisp to chewy, especially if your kitchen is humid.
- Thicker middle: Sometimes, the center gets a little more gummy or sticky, which some people actually prefer.
- Flavor stays fine: The taste usually doesn’t suffer, but texture is what makes or breaks a pavlova.
If you compare pavlova stored right and wrong, you can see real differences:
| Storage Method | Shell Texture (Next Day) | Center Texture |
|---|---|---|
| Airtight container | Crisp or lightly chewy | Soft, marshmallowy |
| Left uncovered | Chewy, often sticky | Very sticky or even soggy |
| Chilled in fridge | Soft, weepy | Dense or rubbery |
So, is making pavlova the day before worth it? If you follow the right steps and let your base cool slowly before storing it airtight, you can keep that wow-factor for your pavlova recipe without last-minute fuss. Just remember—the clock starts ticking the moment your meringue is out of the oven, so don’t push it longer than 24 hours if you want the best bite.
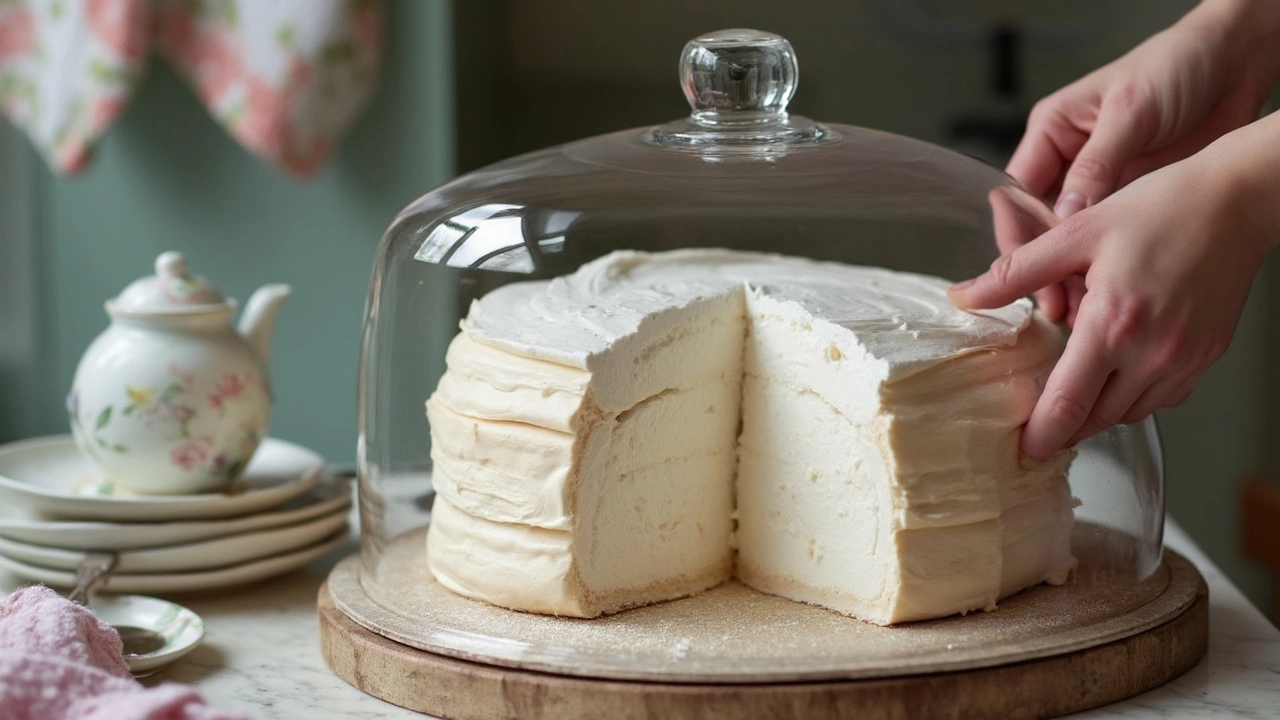
How to Store Pavlova Overnight
So, you’ve baked the perfect pavlova shell and now you’re wondering how to keep it crisp overnight. Meringue is super sensitive to moisture, which means storing it right is make-or-break for holding onto that delicate crunch.
Here's the simplest way to do it: let your pavlova base cool completely—no cheating here. If there’s any warmth left, trapped steam can make your meringue sticky. Once cool, carefully loosen it from the baking paper. You don't want to leave any paper stuck on overnight, because you might end up ripping your base just when you need it most.
- Wrap the completely cooled meringue base in plastic wrap or place it in an airtight container. Try not to squish the meringue—it’s fragile!
- Keep the pavlova at room temperature. Don’t put it in the fridge, even if you’re tempted to clear counter space. Cold air causes sugar in the meringue to absorb moisture, which spells disaster for that crispy crust.
- If you live somewhere super humid, toss in a little silica gel packet (like the type found in new shoes) inside the airtight container—it helps soak up excess moisture. Just don’t let the packet touch the pavlova.
Some folks like to store their pavlova in the oven with the door closed (turned off, obviously!), especially if they baked it at night. This keeps the base safe from kitchen humidity and out of harm’s way. Just don’t forget it’s in there.
For a quick glance at what keeps your pavlova base safe overnight, check out this table:
| Storage Method | Humidity Control | Base Texture Next Day |
|---|---|---|
| Airtight container, room temp | Good | Crisp |
| Plastic wrap, room temp | Decent | Crisp (if well-sealed) |
| Refrigerator | Poor | Soggy/Chewy |
| Oven (off, door closed) | Very good | Crisp |
Bottom line? Storing the pavlova recipe base overnight is a breeze if you keep the air dry and avoid the fridge at all costs. Prep your shells, stash them carefully, and get ready to impress people the next day—no last-minute panic required!
Biggest Mistakes and How to Avoid Them
Messing up pavlova ahead of time almost always comes down to too much moisture or wrong storage. I’ve seen gorgeous meringues wilt and go soggy just from a tiny mistake, but the good news is you can dodge these pitfalls with a bit of know-how.
- Storing in the fridge: Fridges seem like they should keep desserts fresh, but pavlova meringue will suck up fridge moisture and turn sticky, chewy, or even collapse. Room temperature is your safest bet unless you live in the tropics, in which case a super airtight container is your best friend.
- Adding toppings too early: Fresh cream or fruit juices will turn the crispy shell soft and weepy in just a couple of hours. Always wait until right before serving to load up your pavlova, even if it’s a pain when guests are hovering.
- Not using airtight packaging: A loose cover or a stale box won’t do the job. Make sure your container is actually airtight or wrap the pavlova gently but thoroughly in clingfilm to block out humidity.
- Overbaking or underbaking: It’s tough to tell with meringue, but if you bake too long the center dries out and loses that marshmallow texture. Not long enough, and it’ll sag or crack. Stick to the recipe’s time and watch for light golden edges as your best clue.
Check this quick cheat sheet for what works and what doesn’t:
| Action | Result |
|---|---|
| Store in fridge | Soggy, chewy pavlova |
| Leave exposed on counter | Soft, sticky meringue |
| Wrap in airtight container | Crispy shell stays intact |
| Add toppings ahead of time | Leaky, collapsed meringue |
The main trick: treat your pavlova recipe like it hates water and air. Store it right, finish it right before serving, and your pavlova will stay showstopper-worthy every time.
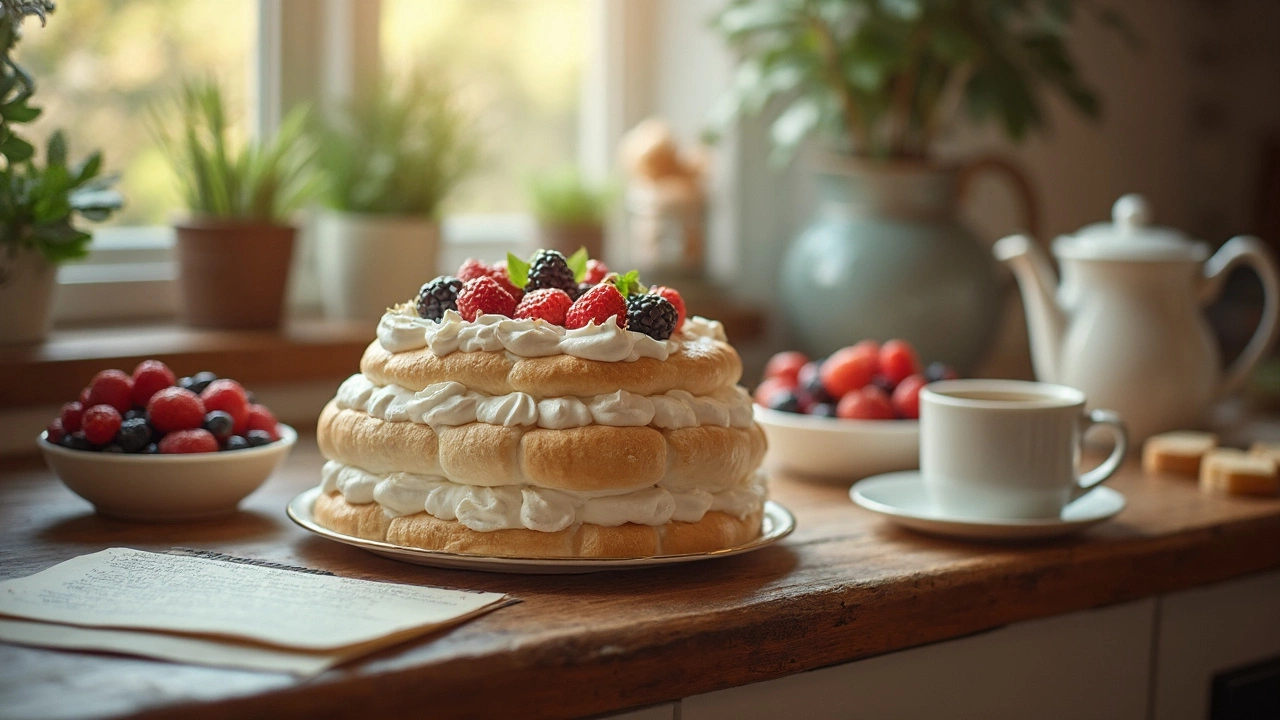
The Best Way to Assemble Just Before Serving
When your plans are riding on the wow factor of your pavlova, timing and technique are everything. No shortcuts here: the base should be completely cool and dry before you even think about toppings. Why? The fresh fruit and cream are loaded with moisture, and that extra hour hanging out will turn your crispy meringue into a sticky mess.
Here’s how to nail the assemble-and-serve moment:
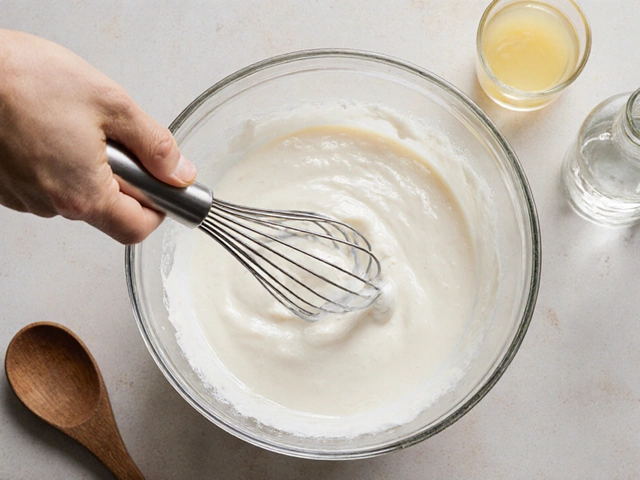
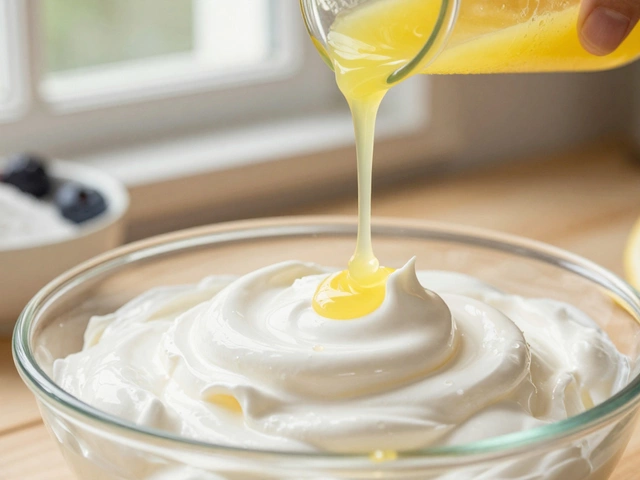
- Get everything prepped: Whip your cream until it’s soft and pillowy, not stiff. Slice and prep your fruit so it’s ready to go. Little bowls or plates make last-minute action a breeze.
- Have your pavlova recipe base at room temperature. Check for cracks—don’t stress if there are a few. They actually make it easier for the cream to sink in!
- Plop on the cream gently—don’t push or spread too hard, just swirl it across the surface. Too much pressure will crush the base.
- Layer on your fruit. Berries, kiwi, passionfruit, and mango are super popular because they give both tang and color. Try to pat wet fruit dry with a paper towel so you don’t add more moisture than needed.
- If you want extra crunch or a little flair, sprinkle over chopped pistachios, shaved chocolate, or even a quick drizzle of passionfruit pulp at the last second.
If you’re keeping it classic (just whipped cream and fruit), you’ll want to eat pavlova within 20–30 minutes of assembly for the best crunch. Wait longer, and even the best meringue will start to soften. Here’s a simple quick-glance breakdown:
| Step | Prep Time | Key Tips |
|---|---|---|
| Whip cream | 5 minutes | Go soft and fluffy, not stiff |
| Prepare fruit | 10 minutes | Slice, pat dry to avoid soggy pavlova |
| Top pavlova | 5 minutes | Be gentle, keep base intact |
Bottom line: Keep cream and fruit off until party time. When you do assemble, be gentle and quick. That way your pavlova hits the table looking—and tasting—like a dream.

Write a comment