

Cookie Texture Configurator
- Fat Choice
- Sugar Ratio
- Flour Type
- Chill Time
Pro Tip:
Why do your homemade cookies sometimes turn out like hard discs, while the ones from your favorite bakery are soft, gooey, and perfectly golden? It’s not magic. It’s chemistry. The difference between a mediocre cookie and a legendary one often comes down to a few specific variables that most home bakers overlook. You don’t need expensive equipment or rare ingredients. You just need to understand how fat, sugar, and flour interact under heat.
Making good cookies is a process of balancing texture, flavor, and spread through precise ingredient ratios and technique. When you get these elements right, you stop guessing and start engineering delicious results every single time. Whether you crave a crispy edge with a chewy center or a thick, cake-like bite, the secret lies in controlling three main factors: moisture content, fat type, and mixing method.
The Role of Fat: Butter vs. Oil vs. Shortening
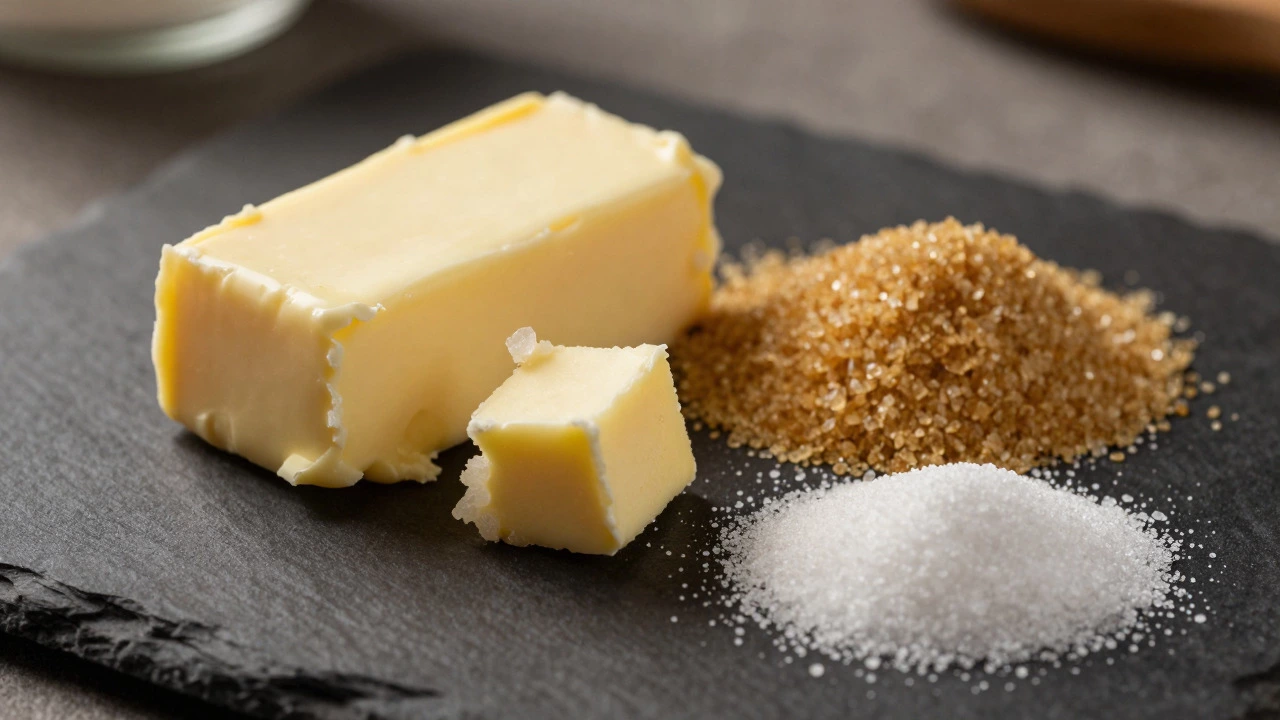
Fat is the backbone of any cookie recipe. It provides tenderness by coating flour proteins, preventing them from forming too much gluten. However, the type of fat you choose drastically changes the final texture. Most classic recipes call for unsalted butter, which adds rich flavor and contributes to a crispier texture due to its water content. Butter contains about 15-20% water. As the cookie bakes, this water turns to steam, helping the dough rise slightly before setting. This creates those desirable little air pockets and a crisper finish.
If you want a softer, more tender cookie that doesn’t spread as much, consider using shortening. Shortening is 100% fat with no water content. Because there is no water to evaporate, the dough spreads less and stays thicker. The trade-off? Shortening has no flavor. Many professional bakers use a blend of half butter and half shortening to get the best of both worlds: the taste of butter and the tender texture of shortening. For a richer, fudgier experience, some recipes incorporate oil, but this usually results in a denser, cakier cookie rather than a traditional flat biscuit.
Sugar Chemistry: White vs. Brown Sugar
You might think all sugar is the same, but in baking, it’s anything but. The ratio of granulated white sugar to brown sugar determines the moisture level and spread of your cookies. White sugar is pure sucrose crystals. It helps cookies spread wider and creates a thinner, crispier texture. It also aids in caramelization, giving you that beautiful golden-brown color.
Brown sugar, on the other hand, contains molasses. Molasses is acidic and holds onto moisture very well. This means cookies made with more brown sugar will be chewier, moister, and have a deeper, toffee-like flavor. They also spread less because the dough is wetter and heavier. If your goal is a thin, crunchy cookie, increase the white sugar. If you want a thick, chewy monster cookie, lean heavily on dark brown sugar. A common professional ratio is equal parts white and brown sugar, which offers a balanced texture with a crisp edge and a soft center.
Flour Types and Gluten Development
Flour provides structure. Without it, your cookie would just be a puddle of melted butter and sugar. But not all flours are created equal. Standard all-purpose flour has a protein content of around 10-12%. Higher protein means more gluten formation when mixed with liquid. Too much gluten makes cookies tough and bread-like. For the tenderest cookies, many experts recommend using cake flour, which has lower protein content (around 7-9%) resulting in a softer, more delicate crumb.
If you only have all-purpose flour, you can mimic cake flour by removing some of the protein. Replace two tablespoons of flour with two tablespoons of cornstarch for every cup of flour used. This simple swap reduces the gluten potential significantly. Another critical rule: mix your dough as little as possible once the flour is added. Overmixing develops gluten, leading to dense, hard cookies. Stir until just combined. Lumps are okay; toughness is not.
The Secret Weapon: Chilling the Dough
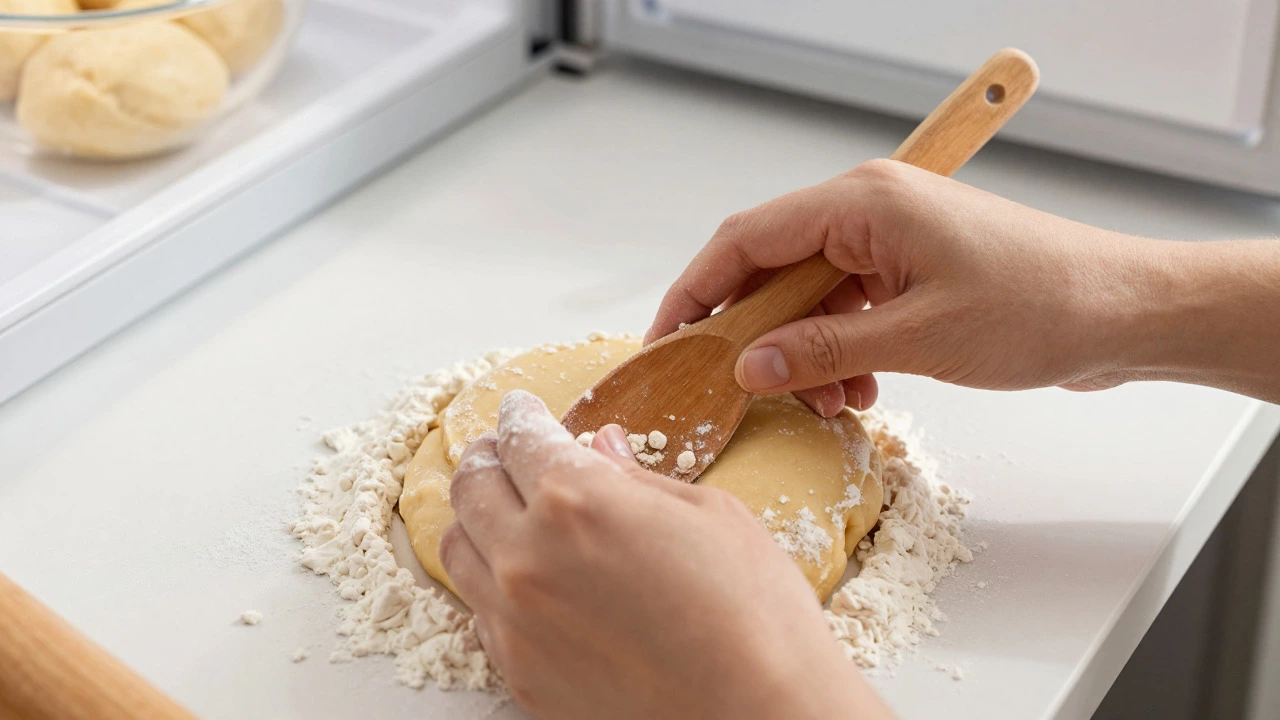
If you take away only one tip from this guide, let it be this: chill your dough. Chilling serves three vital purposes. First, it solidifies the fat. Cold butter takes longer to melt in the oven, which prevents the cookies from spreading too quickly and becoming paper-thin. Second, it allows the flour to fully hydrate. Dry flour absorbs liquid slowly; chilling gives it time to soak up the moisture from eggs and sugars, resulting in a more cohesive dough. Third, it enhances flavor. Resting allows the chemical reactions between ingredients to deepen, creating a more complex taste profile.
Aim for at least two hours in the refrigerator, though overnight is ideal. If you’re in a rush, thirty minutes in the freezer works in a pinch. Scoop your dough into balls before chilling so they are ready to bake immediately. This step is non-negotiable for achieving that restaurant-quality thickness and depth of flavor.
Baking Temperature and Timing
Oven accuracy matters more than you think. Home ovens often run hotter or cooler than the dial suggests. Invest in an inexpensive oven thermometer to verify your actual temperature. Most standard cookie recipes bake at 350°F (175°C). However, if you find your cookies are browning too fast on the outside while remaining raw inside, try lowering the temperature to 325°F (160°C) and extending the baking time slightly. This gentle heat cooks the center thoroughly without burning the edges.
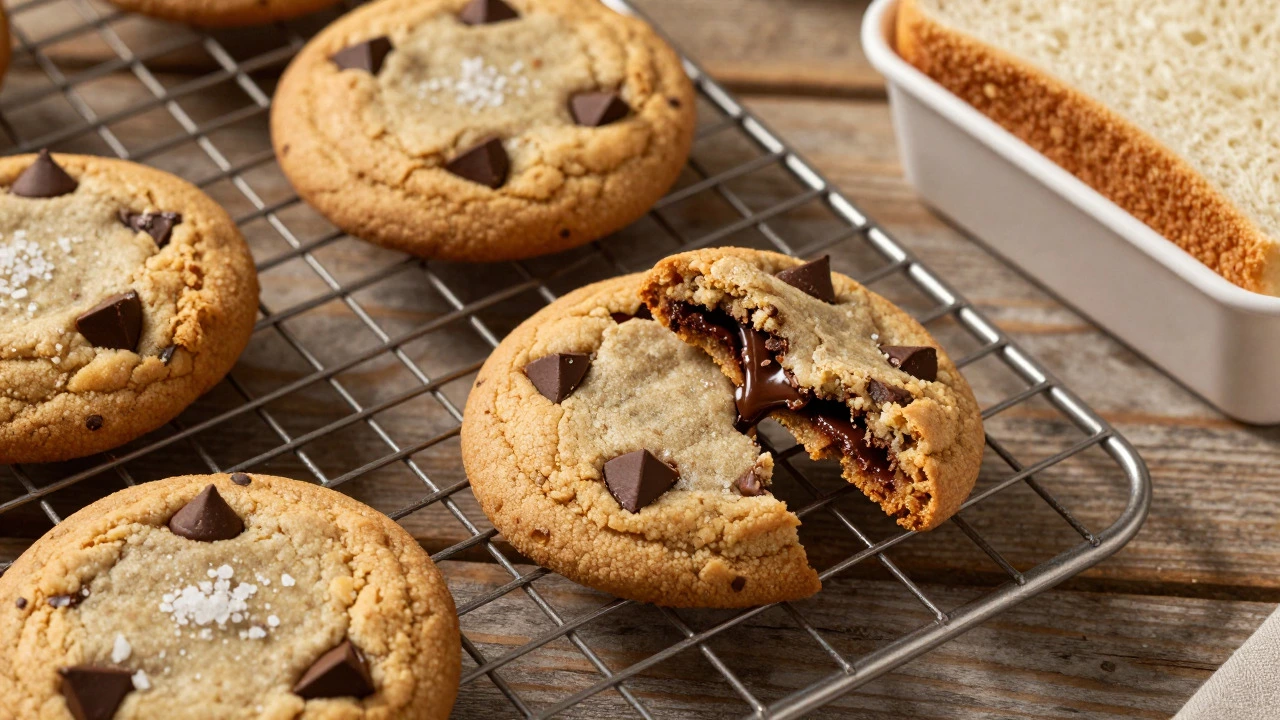
Underbaking is the key to soft cookies. Remove them from the oven when the edges are set and lightly golden, but the centers still look slightly puffy and underdone. They will continue to cook on the hot baking sheet due to residual heat. Let them rest on the pan for five to ten minutes before transferring them to a wire rack. This resting period allows them to firm up without drying out. If you move them too soon, they may break apart; if you leave them too long, they become crisp.
| Desired Texture | Fat Type | Sugar Ratio | Flour Type | Chilling Time |
|---|---|---|---|---|
| Crispy & Thin | All Butter | More White Sugar | All-Purpose | Minimal (15 mins) |
| Chewy & Thick | Butter + Shortening | More Brown Sugar | Cake Flour or AP - Cornstarch | Long (2+ hours) |
| Soft & Cake-like | All Butter | Equal Parts | Cake Flour | Moderate (1 hour) |
Common Mistakes to Avoid
Even with the right ingredients, technique can ruin a batch. One major error is measuring flour incorrectly. Scooping flour directly from the bag packs it down, adding up to 20% more flour than the recipe calls for. This leads to dry, crumbly cookies. Instead, spoon the flour into your measuring cup and level it off with a knife. Even better, use a kitchen scale. Weight measurements are far more accurate than volume.
Another mistake is using old baking soda or powder. These leavening agents lose potency over time. If your baking soda doesn’t fizz vigorously when mixed with vinegar, throw it out. Flat cookies with no lift often stem from dead leaveners. Also, ensure your baking sheets are clean. Grease residue causes uneven spreading and burning. Line your sheets with parchment paper for consistent results and easy cleanup.
Enhancing Flavor Profiles
Salt is not just for savory dishes. A pinch of sea salt on top of your cookies after baking elevates the sweetness and adds complexity. It balances the sugar and brings out the nutty notes in the butter. Vanilla extract is another flavor booster. Don’t skimp here. Use high-quality pure vanilla extract, not imitation. For an extra kick, add vanilla bean paste or almond extract.
Consider adding unexpected ingredients like espresso powder (which enhances chocolate flavor without making it taste like coffee), citrus zest, or toasted nuts. These additions provide layers of aroma and taste that make your cookies stand out. Remember, baking is both a science and an art. Once you master the basics of fat, sugar, and flour, feel free to experiment within those boundaries.
Why did my cookies spread too much?
Excessive spreading is usually caused by butter that is too soft or melted before baking. Ensure your butter is at room temperature but still holds its shape. Another cause is insufficient flour or expired baking soda. Chilling the dough before baking also helps control spread by solidifying the fat.
How do I keep cookies soft for days?
To maintain softness, use more brown sugar than white sugar, as molasses retains moisture. Add a tablespoon of honey or corn syrup to the dough. Store baked cookies in an airtight container with a slice of bread; the cookies will absorb moisture from the bread, keeping them soft. Replace the bread when it becomes hard.
Can I freeze cookie dough?
Yes, freezing cookie dough is an excellent way to prepare ahead. Portion the dough into balls, place them on a baking sheet, and freeze until solid. Transfer to a freezer bag. You can bake them straight from frozen, adding 1-2 minutes to the baking time. This ensures fresh cookies whenever you want them.
Why are my cookies cakey instead of chewy?
Cakey cookies result from too much flour, too much leavening agent (baking powder/soda), or creaming butter and sugar for too long, which incorporates excess air. To fix this, reduce the flour slightly, decrease the baking powder, and avoid over-mixing. Using cake flour also contributes to a cakier texture.
Do I really need to chill the dough?
While not strictly mandatory, chilling is highly recommended for best results. It prevents excessive spreading, improves texture by allowing hydration, and deepens flavor. If you skip this step, expect thinner, flatter cookies with less complex taste. For urgent needs, freeze dough balls for 30 minutes as a compromise.






Write a comment