Different Types of Brownies: Classic, Fudgy, Vegan & More
Discover all the main types of brownies: classic, fudgy, vegan, gluten-free and more. Get baking tips, flavor ideas, and learn what makes each brownie style unique.
If you love brownies but need to avoid gluten, you’re not stuck with bland options. With the right flour blend and a few simple tricks, you can get the same rich, chocolatey bite you expect from a classic brownie.
The foundation of any good gluten‑free brownie is a balanced flour mix. A common combo is 1 cup of rice flour, ½ cup of almond flour, and ¼ cup of tapioca starch. This blend mimics the chew and structure of wheat flour without the gluten. Add a tablespoon of xanthan gum if your blend doesn’t already contain a binder; it helps the batter hold together during baking.
When it comes to sweeteners, stick with regular granulated sugar or brown sugar—both work fine. The sugar also contributes to that fudgy texture many people crave. For extra moisture, substitute one‑third of the butter with a neutral‑tasting oil like canola or use melted coconut oil for a subtle flavor boost.
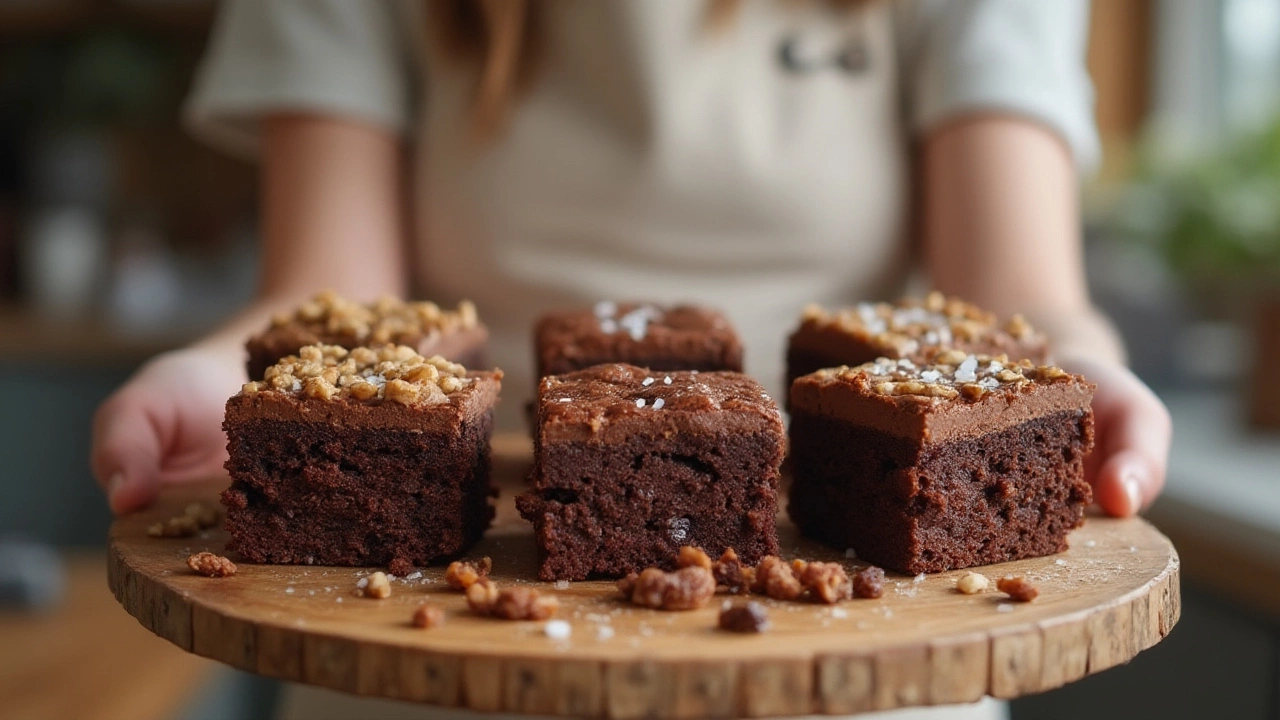
Do you prefer your brownies cakey or fudgy? The answer lies in the ratio of flour to fat and the mixing method. More fat and less flour give you a dense, fudgy crumb, while a higher flour proportion and a little extra baking powder lean toward a lighter, cake‑like result. Adjust the ratios to match your taste and you’ll never wonder which way to go.
Preheat your oven to 350°F (175°C) and line an 8×8‑inch pan with parchment paper. This prevents sticking and makes cleanup a breeze. Pour the batter into the pan, spread it evenly, and pop it in the oven. Most gluten‑free brownies bake in 20‑25 minutes—watch for a firm top and a slight crack on the surface. Overbaking dries them out, so pull them out as soon as a toothpick comes out with a few moist crumbs.
Start by sifting the dry ingredients together. This removes any clumps from the rice flour and evenly distributes the xanthan gum, which is key for a uniform texture. Whisk the wet ingredients in a separate bowl before combining; this prevents pockets of melted butter or oil.
Mix the wet and dry parts just until they’re combined. Over‑mixing can develop a gummy texture because gluten‑free flours react differently than wheat flour. If the batter looks a little thick, thin it with a splash of milk—dairy or plant‑based both work.
Because gluten‑free batters can settle quickly, spread the batter as soon as it’s in the pan. Use a spatula to smooth the top; a level surface helps the brownies bake evenly. If you like a glossy crust, melt a tablespoon of chocolate and drizzle it over the batter before baking.
Test for doneness by inserting a toothpick into the center. It should come out with a few moist crumbs but no wet batter. If you like extra gooey brownies, pull them out a minute earlier; they’ll firm up as they cool.
Proper storage keeps your brownies moist and prevents them from going stale. First, let the brownies cool completely on a wire rack. Then, cut them into squares and wrap each piece loosely in parchment or wax paper. This layer absorbs excess moisture and stops the brownies from sticking together.
Place the wrapped pieces in an airtight container. Store the container at room temperature for up to three days. If you need them to last longer, the freezer is your friend. Freeze the individually wrapped brownies for up to three months; they’ll stay soft and flavorful.
When you’re ready to eat frozen brownies, let them thaw at room temperature for about 30 minutes. If you like a warm treat, pop them in a microwave for 10‑15 seconds—just enough to melt the chocolate without drying them out.
Enjoying gluten‑free brownies doesn’t have to be a chore. With the right flour mix, a few baking tweaks, and proper storage, you can have a batch ready for any craving, any day. Happy baking!
Discover all the main types of brownies: classic, fudgy, vegan, gluten-free and more. Get baking tips, flavor ideas, and learn what makes each brownie style unique.