
Cookies that turn to dust. Cakes that feel like foam rubber. Ever bitten into a gluten free brownie and secretly wondered, “What dark sorcery created this dry, crumbly thing?” If gluten free baking seems like an unsolvable mystery, you’re definitely not alone. Even world-class bakeries mess it up. Turns out, there’s no one secret to gluten free baking—there’s a web of tricks, choices, and science that tie it all together. Let’s break the code, uncover what really works, and arm you with real-life strategies that mean your next bake is more “mmmmm!” than “meh.”
The Gluten Factor: Why It Matters In Baking
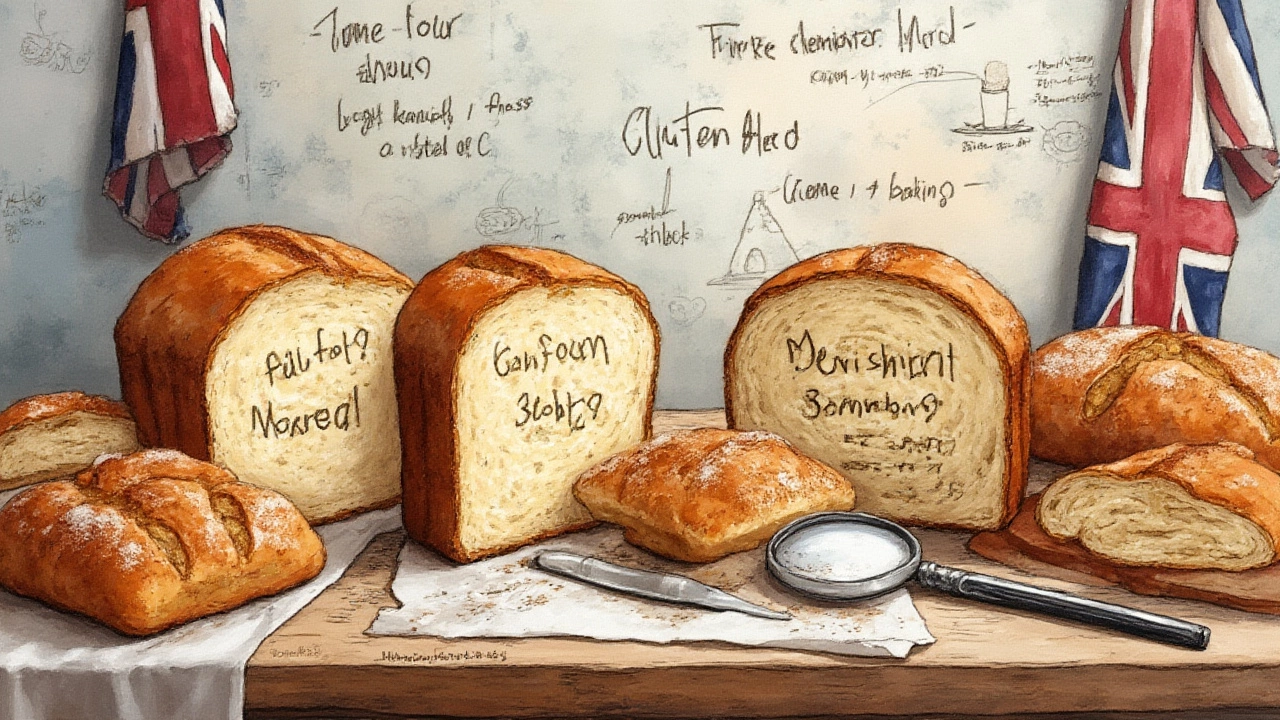
First, let’s expose the culprit: gluten. In standard flour—from all-purpose to bread flour—gluten is the protein hero that traps air, creates structure, and gives bread its lovely chew. When you knead dough, you’re actually building this microscopic elastic net. Take gluten away, and what happens? Texture falls apart. Cakes collapse. Cookies spread like pancakes or crack like deserts. This is why most straight swaps for regular flour in a family recipe fail miserably.
Most home bakers don’t realize: gluten free flour isn’t just one thing. That “white powder” on the shelves can be anything from rice flour to potato starch to nut flour. Each has its own personality—rice flour is gritty, potato starch is light, almond flour is heavy. They don’t naturally stick together. The real reason gluten free goods sometimes taste bland or feel gritty is that none of these natural replacements do the same job as gluten does in wheat flour.
That’s why commercial blends exist, but even those aren’t all perfect. Some use bean flours for protein, leaving an odd aftertaste. Others rely on tapioca starch, which can go slimy if overused. Whenever you swap gluten for something else, you trade in one science for another. The biggest trick is learning not to treat gluten free flour as an exact swap for regular flour—it needs more structure, more help, and more patience.
Building the Perfect Gluten Free Blend
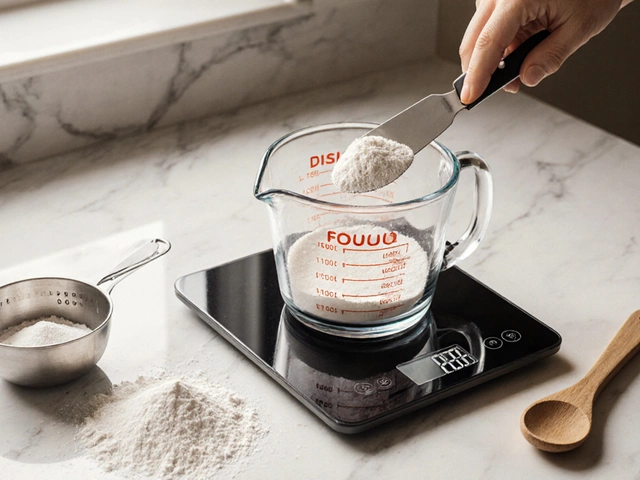
This brings us to custom flour blends—the real backbone of great gluten free baking. A 2023 survey by America’s Test Kitchen found more than 60% of their fans use custom mixes over grocery store ones. Why? Because control matters. The best blends combine at least three different types: a grain (like rice or sorghum), a starch (such as tapioca or potato), and another flour like millet or buckwheat for flavor or color. Here’s a formula that works for most cakes and cookies:
- 40% whole grain flour (like brown rice or sorghum)
- 40% starch (tapioca or potato)
- 20% protein-rich or specialty flour (almond, teff, oat, or even quinoa)
Seasoned bakers often keep bags of each ingredient and mix them as needed. This sounds like extra work, but it means your chocolate cake won’t taste like beans, and your shortbread can actually be crispy, not gritty. If you don’t have the patience to blend your own, King Arthur and Cup4Cup both have reliable, neutral-tasting commercial mixes that work in most recipes. Check labels—some contain xanthan gum, others don’t (more on that soon).
Here’s an interesting fact: the FDA recognizes at least 16 different grains and starches as gluten free. Some trendy bloggers swear by sorghum for whole grain muffins while others won’t bake cookies without a touch of arrowroot. The difference is real. Starch-heavy blends give you soft, cake-like crumb, but go light on flavor, while grain-heavy ones bring structure—but sometimes make things dry. Bakeries often guard their proprietary blends the way Coca-Cola guards its recipe. That’s how important blend balance is.
| Flour/Starch | Flavor | Texture | Typical Uses |
|---|---|---|---|
| Rice Flour | Mild, slightly sweet | Dry, gritty | Cakes, cookies, batter |
| Almond Flour | Nutty, rich | Moist, dense | Cakes, brownies, crusts |
| Potato Starch | Neutral | Light, soft crumb | Bread, cakes, thickener |
| Sorghum Flour | Earthy, mild | Fine, slightly sandy | Breads, muffins |
| Tapioca Starch | Bland | Chewy, stretchy | Bread, pizza, thickeners |
The Role of Binders and Structure Builders
You might notice that most gluten free recipes call for things like xanthan gum, guar gum, or psyllium husk. What’s the deal? Well, these are the ‘hold it together’ agents. Gluten is nature’s rubber band in traditional dough—elastic, stretchy, and strong. Without it, ingredients just, well, scatter! That’s where artificial or natural binders step in.
Xanthan gum is the most famous. It’s a powder made by fermenting sugar with a special bacteria. Use too little, your shortbread can crumble when you blink at it. Use too much, your muffins will have the texture of silly putty. Most recipes use about 1/2 teaspoon per cup of gluten free flour. Some people prefer guar gum or psyllium husk (especially in bread, for a better crumb and that springy feel). Psyllium even helps hold water, warding off that dreaded dryness in slices of gluten free sandwich bread.
There’s debate about which one’s best. For example, British bakers tend to reach for psyllium in gluten free scones and loaves, while many American bakers use xanthan gum for cookies and pie crusts. If you’re a label reader, watch out: some flour blends sneak in gums, others don’t. Doubling up can make baked goods sticky or heavy. If you’re baking from scratch, add the binder yourself and experiment with type and amount. Trial and error is your best friend here—there’s simply no one-size-fits-all.
And not all binders are created equal. If you have a sensitive gut, psyllium husk and chia seeds can be a game changer—they boost fiber and act as natural, plant-based binders, without the gassy effects some people get from gums. Soaking chia in water forms a gel that gives cookies and cakes strength without any aftertaste.
Texture Tricks: Making Gluten Free Taste Amazing
Here’s a brutal truth: gluten free baking is rarely just about flour substitution. Getting the right mouthfeel is an art. Seasoned GF bakers pull off light muffins, chewy cookies, and tender cakes using an arsenal of clever add-ins and tweaks.
Hydration is the first weapon. Gluten free batters and doughs often need extra liquid. Rice flour, oat flour, and almond flour are thirsty—too little liquid, and you’ve got dry goods that stale within hours. A tip from Sarah Kieffer (baker and author): once you’ve mixed your batter, let it rest for 20-30 minutes before baking. Those tricky flours will absorb moisture, plump up, and actually bake up softer.
Second, eggs matter even more than in regular baking. They build body, add moisture, and give rise. Egg alternatives (like flax or aquafaba) can work for vegan baking, but play around with proportions—sometimes you’ll need more or less than a direct swap. There’s even a hack called “double eggs” for GF pound cake: two whole eggs plus two extra yolks means a richer crumb and more tender texture.
Fat is your friend. Recipes with a higher butter or oil ratio (or even a mix of both) often turn out best. Gluten free rice flour can be a bit harsh, but a big dose of butter or coconut oil softens the crumb and keeps things moist. Don’t be scared—you can always cut back after you’ve found your sweet spot.
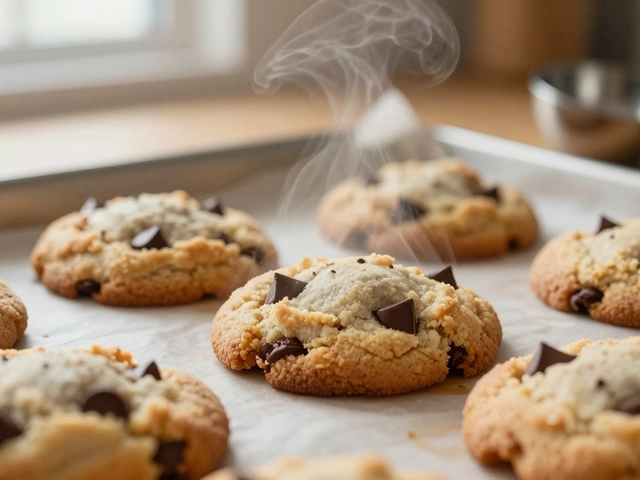
If you’re a fan of chewy cookies, try adding 1-2 tablespoons of cornstarch to your mix. It mimics some of gluten’s softness. For muffins with a bakery rise, a teaspoon of apple cider vinegar or lemon juice, mixed with baking soda, gives a reliable chemical lift and keeps things delightfully fluffy.
- Rest batters before baking
- Add extra eggs or egg yolks for cake and muffins
- Swap in oils for softer crumb
- Use cornstarch for chewy texture
- Don’t skimp on hydration—check that batter’s consistency
One more non-negotiable: high heat, short time. Why? Gluten free flours brown slower, so they can dry out if left in the oven too long. Bump up the oven temp by 15–25°F, and check bakes early.

Recipe Testing, Troubleshooting, and the Human Factor
No one talks about the amount of not-great gluten free banana bread that ends up fed to the birds. Here’s the thing: recipe testing is essential—one flour blend can totally flop in someone else’s favorite recipe. There’s a reason big names like America’s Test Kitchen tested their famous gluten free baking book recipes with six different flour blends in hundreds of home ovens before publishing.
A few things to keep in mind: altitude, humidity, and your oven’s quirkiness all mess with texture. A cookie that’s tender in Seattle will be dry in Denver. So, jot notes every time—did you add an extra egg? Were you generous with the xanthan gum? Split the recipe and bake two versions, side by side, for real comparison.
Bakeware matters, too. Cookies spread less on silicone mats, but plastic spatulas sometimes shred cakes. Metal pans brown faster than glass. Friends swapping tips in GF forums swear that lining pans with parchment and baking in smaller batches always gives more even results with tricky cakes.
Curious about the “flyaway” taste that even some big commercial brands have? It’s often due to poorly chosen starch or bean flour. Here, toasting your flour for a few minutes before baking can work wonders (especially for rice-based blends). Just heat your dry blend in the oven at 300°F for 10-12 minutes—flavors mellow, and those grassy off-notes fade away.
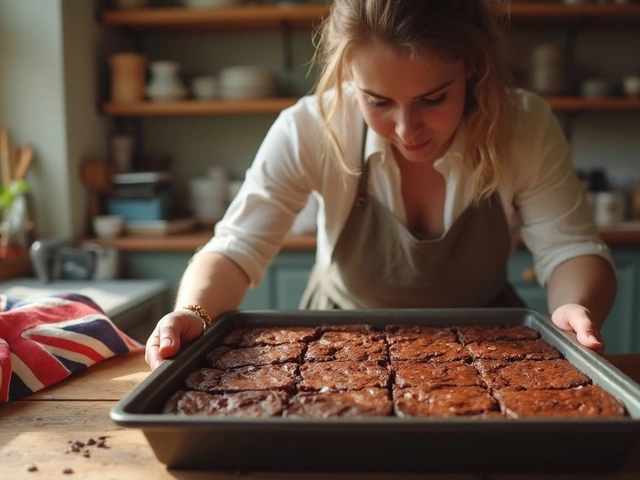
Gluten free baking is a journey, not a sprint. The good news: once you nail the method, it’s not “second best”—it’s honestly delicious. You’ll spot friends sneaking seconds and swearing they had no idea your fudgy brownies were gluten free. And really, that’s the only secret that matters: keep testing, keep tweaking, and always taste with an open mind.






Write a comment