
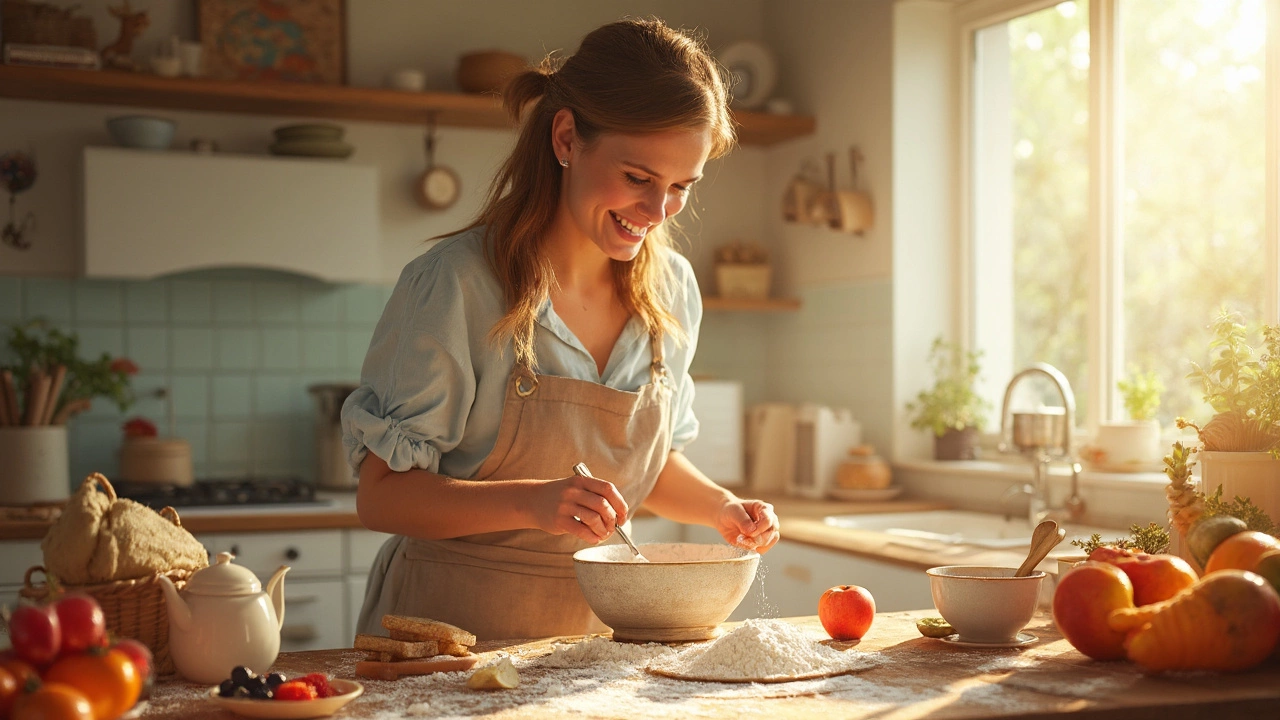
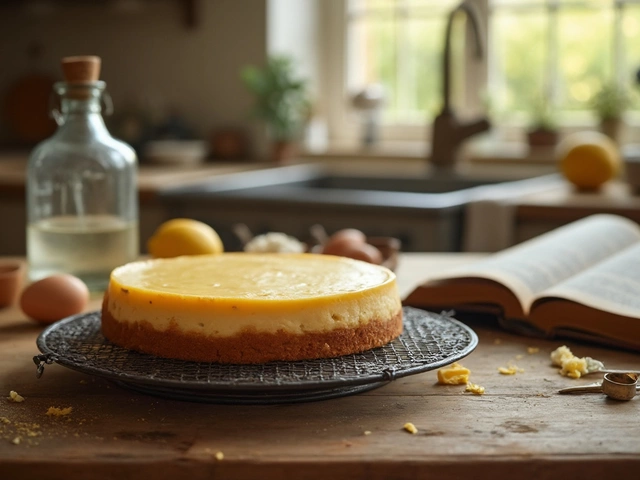
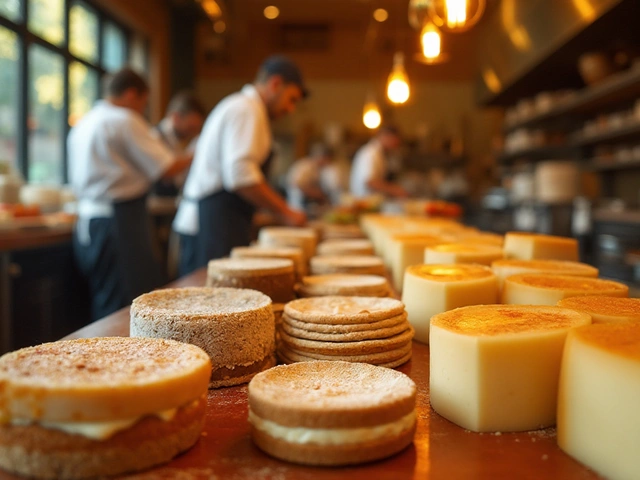
Ever had a gluten-free cake turn out as heavy as a brick? You're not alone! Gluten-free baking can feel like trying to nail a dance move—the kind that looks easy but leaves you stumbling. Understanding the mischievous ways of gluten-free ingredients is the first step to success. Avoiding common pitfalls makes your journey much smoother.
One of the biggest hurdles? Flour swaps! Replacing wheat flour with a gluten-free alternative isn't a 1:1 deal. Each type—be it almond, rice, or coconut—has its drama to bring to the table. Know what you're working with, so you don’t end up with a mess.
- Common Mistakes in Gluten-Free Baking
- Understanding Gluten-Free Ingredients
- Balancing Moisture
- Tackling Density and Texture
- The Role of Temperature
- Tips for Perfect Gluten-Free Cakes
Common Mistakes in Gluten-Free Baking
Baking gluten-free can feel like a science experiment gone rogue if you aren't careful. Whether you're new to the game or a seasoned gluten-free baker looking to up your cake game, knowing these mistakes can save you some serious frustration.
1. Assuming All Flours Are Created Equal
Not all gluten-free flours behave the same, and treating them as such is a rookie mistake. Unlike all-purpose wheat flour, each one—from almond to coconut—has its quirks and moisture levels. For example, coconut flour is highly absorbent and needs extra liquid, while rice flour can make the texture gritty if overused.
2. Skipping the Binding Agents
Gluten gives structure to baked goods, which means when you go gluten-free, you need a substitute to avoid that crumbly mess. Don't skip on the xanthan gum or psyllium husk powder—they're the glue that holds things together!
3. Ignoring Measurements
In gluten-free baking, measurements are everything. Unlike traditional baking where you might get away with eyeballing, here it could be the difference between delicious and disaster. Weighing ingredients using a digital scale can especially help you get those ratios just right.
4. Forgetting to Sift Flours
Another common slip-up is not sifting your gluten-free flours. This step ensures that there are no lumps and everything's well-mixed. You wouldn't want a clump of cornstarch in your cake, would you?
5. Overbaking or Underbaking
Without gluten’s elasticity, it can be tricky to determine doneness. Beware of both overbaking (hockey puck cakes sound fun but they’re really not) and underbaking. Invest in an oven thermometer to make sure your oven's true to temp and start checking just a bit earlier than you'd think.
6. Neglecting Trial and Error
Baking gluten-free is partly about trial and error. You might not get it perfect the first time, but don't lose hope. Keep adjusting and testing, and soon you'll get the hang of it. And hey, even the 'failures' can taste pretty good with a little frosting!
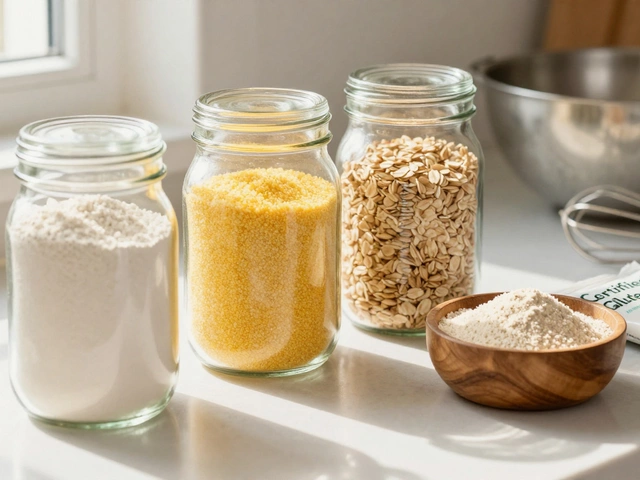
Understanding Gluten-Free Ingredients
Jumping into gluten-free baking? It's time to demystify what's really in those flour bags. The flour aisle is your new best friend, packed with options that can make or break your cake. Let's explore the world of gluten-free flours!
Gluten-Free Flour Basics
So, why not just switch out regular flour for gluten-free? Each type of gluten-free flour has its quirks and strengths. Almond flour is a fan favorite for its rich flavor, but it can make baked goods a bit dense. Rice flour, on the other hand, is lighter and gives a smoother texture but can be a tad crumbly if used alone. Good old coconut flour is another popular choice, known to absorb moisture like a sponge, so your recipes might need extra liquid.
Finding the Right Mix
Ever heard the saying, 'The whole is greater than the sum of its parts'? This couldn't be truer for gluten-free baking. Usually, a blend of flours works best. A mix might include rice flour for texture, almond flour for flavor, and tapioca starch for binding. Perfecting your flour blend is a bit of trial and error but worth it for that perfect cake.
The Role of Bindings
Since gluten is the glue in baking, its absence means we need a substitute. Xanthan gum and guar gum are like trusty sidekicks here. A tiny amount helps hold everything together. But be cautious—too much can make things too gummy.
Why Pay Attention to Moisture?
Not all gluten-free flours play well with liquids. Coconut flour, for example, drinks up liquid more than regular flour. Watch your consistency. Keep a glass of water or milk handy to get the texture right if things get too dry.
| Gluten-Free Flour | Flavor | Texture |
|---|---|---|
| Almond | Nutty | Dense |
| Rice | Bland | Smooth |
| Coconut | Sweet | Crumbly |
Remember, understanding these ingredients is key to getting confidence in your gluten-free baking adventure. Knowing how each flour reacts paves the way to tasty results without the fuss.
Balancing Moisture
In the world of gluten-free baking, getting the moisture right is a big deal. Too dry, and your cake crumbles into sad little pieces. Too wet, and you're left with what feels like a baked pudding posing as a cake. So, how do you nail that perfect balance?
The culprit behind many failures is often the flour used. Gluten-free flours absorb moisture differently. For instance, coconut flour is a sponge; it soaks up liquid like nobody's business. When using it, you'll want to increase the wet ingredients substantially or risk a desert-dry cake.
Ingredients like eggs and yogurt (or even apple sauce) are excellent moisture retainers. If you find your gluten-free cakes are consistently too dry, consider adding an extra egg or a few tablespoons of yogurt. This can often make the difference.
Measuring is Key
You might think you're a pro at eyeballing ingredients, but with gluten-free baking, precision is your friend. A kitchen scale can be your best buddy here. Measure meticulous quantities to ensure consistency. A dash more or less of liquid can take your cake from doughy to delectable.
- Tip: Wet your measuring cup before using sticky ingredients like honey. You'll pour with ease, and your measurements will be spot on.
Humidity and Temperature Plays
The environment matters, too. Baking on a humid day? You'll find flours might need less liquid. Conversely, if it's super dry out (thanks, winter), consider a tad more moisture to compensate. Your kitchen’s climate can hugely affect your baking results without you even realizing.
Being aware of these elements and adjusting accordingly can help perfect your gluten-free cakes. You'll move from frustrating failures to delightful successes in no time!
Tackling Density and Texture
Struggling with the right texture in your gluten-free cakes? You're not alone. The number one complaint—density! Without the elastic magic of gluten, getting that light, fluffy bite can feel elusive. But don't worry, we can fix that.
Choose the Right Flour Mix
Your best bet starts with a good blend. One single flour won't do the trick. You need a combination to mimic the properties of wheat flour. Aim for a mix of three to four, like rice, tapioca, and potato starch. Each brings something unique—rice for structure, tapioca for elasticity, and potato for moisture.
Leavening Agents Are Your Friends
Think of leavening agents as your secret weapon. Baking powder and baking soda work wonders by introducing more air bubbles into your batter. For extra lift, try adding a bit of cream of tartar—helps stabilize those bubbles, giving a better rise.
Don’t Forget the Binders
Binders are crucial. The most common are xanthan gum and guar gum. A pinch of these can prevent your cake from crumbling apart faster than a sandcastle at high tide. Use about 1/4 teaspoon per cup of flour; too much, and you'll wind up with a gummy mess.
- Baking at the Right Temperature: Oven temperature matters more than you'd think. Gluten-free cakes often benefit from a slightly lower temperature over a longer time. It allows even baking and moisture retention.
- Letting It Rest: Once out of the oven, let your cake cool on a wire rack. Not only does this prevent sogginess, but it also gives flavors time to mingle.
Experimentation Pays Off
Every kitchen can be a mad scientist's lab. Don’t be afraid to experiment. Sometimes, adding an extra egg can help with elevation, while buttermilk can add tenderness. Keep a baking journal—when you hit the right combo, you'll want to remember it!
The Role of Temperature
Playing with temperature is like playing with fire—quite literally, since baking is all about heat. When it comes to gluten-free baking, this becomes even more crucial. Let's break down why regulating your oven temperature and timing is key to tasty results.
Preheating Matters
You know that little instruction about preheating the oven? Turns out, it’s not just a suggestion. Ensuring your oven is at the correct temperature before putting your batter in can make a difference. Since gluten-free cakes can already be finicky, starting with the right temperature helps them rise properly and cook evenly.
Baking Thermometers: Your New Best Friend
If you're serious about getting the perfect bake, an oven thermometer is your friend. Why? Ovens can lie! A calibration off by just 25°F can mean the difference between fluffy and flat. Keeping your eye on the actual temperature saves you from a baking nightmare. Remember, gluten-free cakes might need different heat settings than your standard cake.
Don't Rush the Cooling
Patience is more than a virtue; it keeps your gluten-free cakes from collapsing. Let your cake cool in the pan for a bit before transitioning it to a rack. This allows it to set properly without losing that precious rise you've worked for.
Watch the Time
With gluten-free baking, it's not just the temperature that matters, but timing too. Always set a timer— guessing can lead to dry, hard cakes. Check a few minutes before the recommended time to gauge doneness, as different ovens and pan types can affect bake time.
| Temperature (°F) | Result |
|---|---|
| 325 | Slower rise, denser crumb |
| 350 | Even bake, good rise |
| 375 | Quicker crust, lighter bake |
Remember, gluten-free baking is an art, not just a science. Watching your temperature can bring you one step closer to that perfect cake.
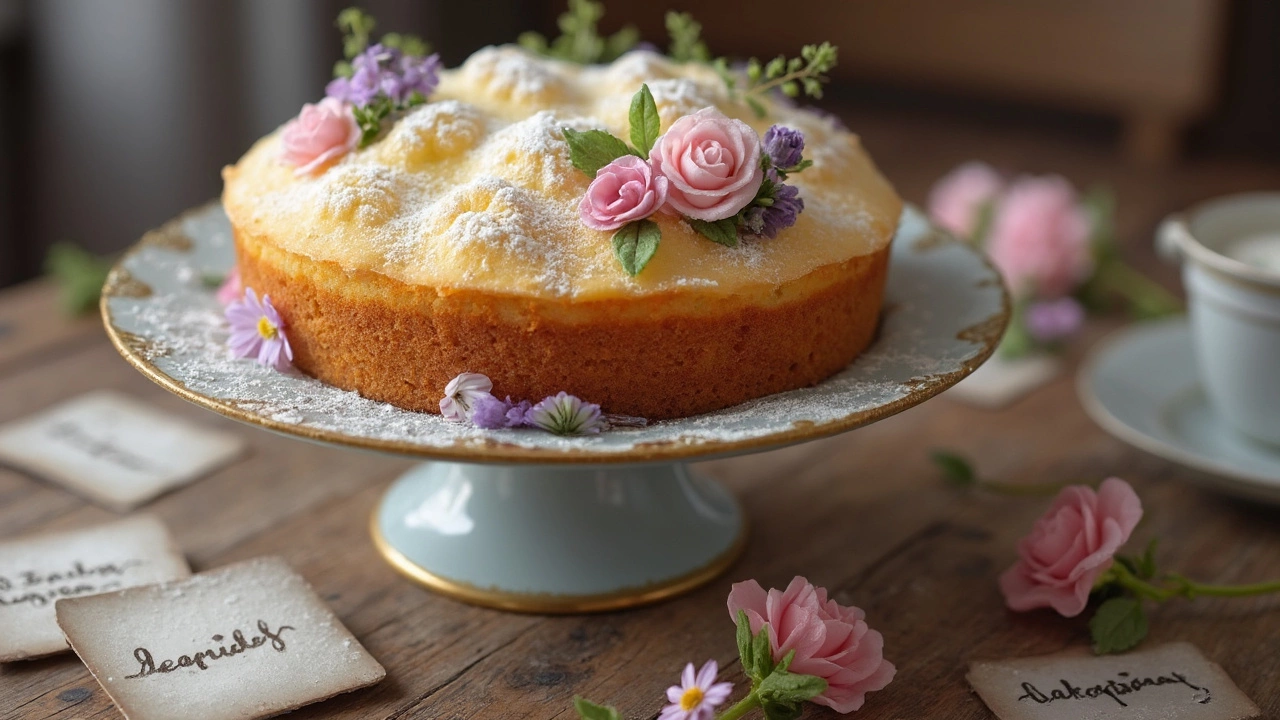
Tips for Perfect Gluten-Free Cakes
Baking gluten-free cakes can be a bit of a puzzle, but with the right moves, you'll be mixing like a seasoned pro. The key is knowing what tweaks to make, so your cakes come out just the way you want them—light, fluffy, and downright delicious.
Finding the Right Flour Mix
First things first, not all gluten-free flours are equal. A common rookie mistake is using just one type of flour. For best results, a blend works wonders. Mix strong flours like rice or sorghum with lighter ones like almond. A good blend typically includes:
- 60% whole grain or starch flour, such as rice or tapioca
- 40% lighter flour, like almond or potato
Experiment a bit to find what suits your taste, but sticking close to these ratios helps avoid dense or crumbly cakes.
Adding Moisture
One thing gluten-free cakes often lack is moisture. To remedy this, add ingredients that will keep your cake from drying out. Think mashed bananas, applesauce, or even Greek yogurt. A little extra moisture makes a big difference.
Using Binders
Without trusty gluten, you'll need a binder to keep things together. Popular choices include xanthan gum or guar gum, but don't overdo it—about 1 teaspoon per cup of flour is usually enough. They blend your ingredients without turning your masterpiece into a brick.
Don't Rush the Baking
Patience is a virtue in baking. Let your batter sit for about 30 minutes before popping it in the oven. This allows the flour to absorb liquids properly, leading to a more even bake. It also gives time for flavors to meld, creating a richly textured cake.
| Ingredient | Recommended Amount |
|---|---|
| Gluten-free Flour Mix | 2 cups |
| Eggs | 3 large |
| Xanthan Gum | 1 teaspoon |
| A Wet Ingredient (Banana, Applesauce, etc.) | 1/2 cup |
Follow these tips, and you're well on your way to creating perfect gluten-free cakes. Remember, every bake is a learning opportunity. Adjust, taste, and don't forget to have fun with it!


Write a comment