

Cracking open a can of sweetened condensed milk feels like a guilty pleasure. But have you ever noticed that in so many homes, people don’t just use it straight from the tin? They roll up their sleeves and boil that can for hours, sometimes with crossed fingers, as if revealing a culinary magic trick. A funny thing—my own cat Whiskers tries to swipe at the empty cans when I’m not looking, but even she can’t figure out what’s going on. So what exactly happens in that pot, and why is the practice stubbornly popular? Let’s peel back the lid—just not too soon.
What Really Happens When You Boil Condensed Milk?
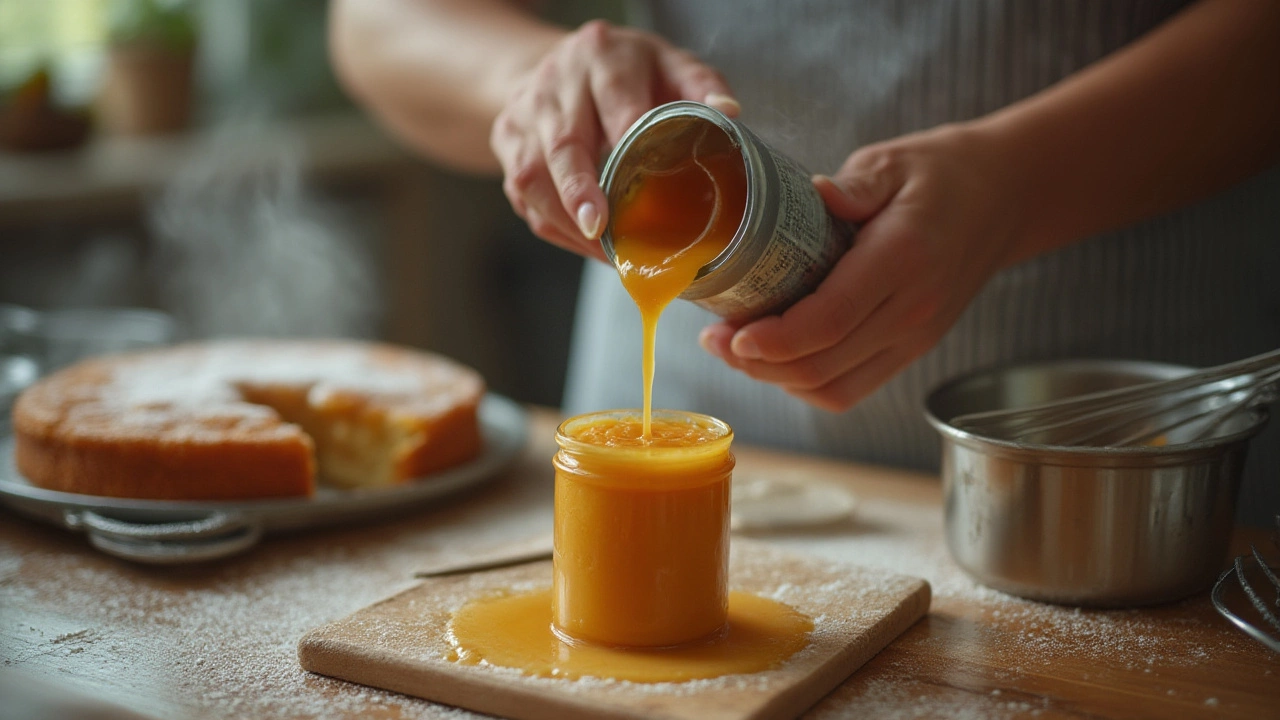
Boiling condensed milk isn’t some weird generational dare—it’s a makeshift chemistry experiment that transforms a can of humble, sticky sweetness into a thick, ridiculously good caramel treat called dulce de leche. When you simmer a can, the sugars inside go through the Maillard reaction. That’s a fancy term for when proteins and sugars get cozy at high temps, turning pale condensed milk into a buttery, amber spread. It thickens, deepens in color, and the flavor gets notably richer—think fudge plus toffee, with a dash of childhood nostalgia.
The beauty is in its simplicity: You plop the unopened can (label peeled off, just in case) into a pot of water, making sure the can stays submerged. Three hours later (for deeper color and thick texture), you get a spreadable, spoonable caramel that’s stronger and much less cloying than store-bought stuff. If you only cook it for one hour, you’ll get a paler, runnier sauce—also great over ice cream. A two-hour boil lands somewhere in the middle. Some folks even use pressure cookers or slow cookers for slightly less anxiety about boiling cans.
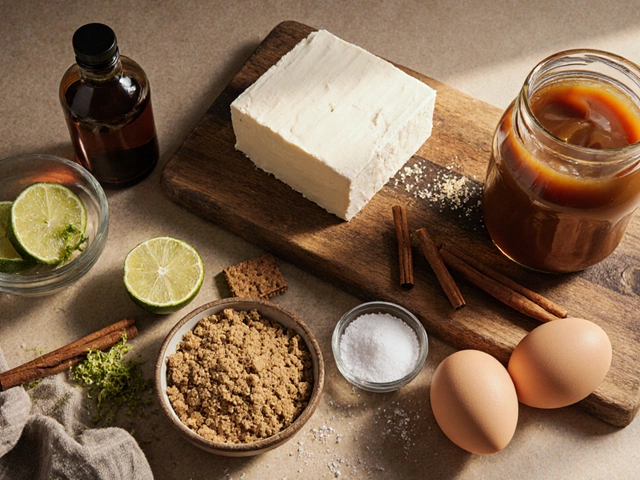
Right out of the can, sweetened condensed milk is mostly milk, sugar, and a pinch of mystery. Here’s a look at what’s inside:
| Component | Typical Amount per 100g |
|---|---|
| Milk solids | 28g |
| Sugar | 55g |
| Water | 15g |
| Fat | 8g |
| Protein | 7g |
That sugar content is what makes this transformation possible. Sugar is fragile—if you overboil or let the water get too low and the can explodes (horror stories abound), you’ll be cleaning caramel off your stovetop for ages. So, safety tip: Always keep the can fully covered with simmering water, don’t use high heat, and let the can cool completely before opening. People boil cans for nostalgia and for taste. In some places, like Argentina and Russia, homemade dulce de leche is a cherished family treat. For others, it’s just way tastier than the bottled variety. And honestly, who can resist the transformation from plain to magic?
How Boiled Condensed Milk Became a Pantry Staple
Believe it or not, boiling condensed milk wasn’t always about dessert. Back in the 19th century, condensed milk was invented as a safe, shelf-stable way to transport milk, especially for soldiers and sailors. When families got their hands on it, they quickly discovered it was just the thing for sweetening coffee, cakes, and pies. But in Latin America and Eastern Europe, the tradition of caramelizing it—by boiling unopened cans—took on a life of its own. Instead of running to the corner bakery, people made their own rich caramel at home, mostly because it was cheap, simple, and delicious.
Dulce de leche made this hack famous in Argentina and Uruguay. Russian moms had their own version too—varenye—where you spread the gooey result over pancakes or stuff it into cookies called oreshki. Filipino kitchens even have leche flan, a type of steamed custard that sometimes stars boiled condensed milk for extra flavor.
By the 1980s, boiling cans of milk was a full-on trend worldwide, passed along in family cookbooks and TV segments. Home cooks got creative, turning boiled condensed milk into cake fillings, pie layers (hello, banoffee pie), and ice cream swirls. Some bakers swear by spreading boiled milk between sponge cake layers for a sticky, fudgy kick. People with sweet tooth cravings even eat it with a spoon.
Social media turned the “boiling the can” technique into a rite of passage for foodie DIY’ers. On TikTok and Instagram, you’ll find videos showing off the slow color change of condensed milk, with satisfying time-lapse reveals. While commercial dulce de leche is available pretty much everywhere now, die-hard fans insist homemade is creamier, with a deeper flavor. Plus, you get major bragging rights.
Different Ways to Make Caramel With Condensed Milk
Maybe you’re not keen on the idea of boiling an unopened can for hours. I get it—Whiskers gets nervous too when I hover over a simmering pot for so long. Luckily, there are other ways to caramelize condensed milk that are a little less suspenseful (and much less likely to leave caramel splatter on your ceiling).
- Stovetop Safety: Instead of using the whole can, dump the condensed milk into a heavy-bottom saucepan, cook gently over medium-low heat, and stir constantly. It’ll thicken and turn golden in about 30-40 minutes—just don’t stop stirring or it scorches fast.
- Oven-Baked Method: Pour condensed milk into a baking dish, cover tightly with foil, and bake it in a water bath at 425°F (220°C) for 1-1.5 hours. Stir once or twice. The result: creamy, lump-free dulce de leche—perfect for spreading on toast or filling cakes.
- Microwave Hack: Pour condensed milk into a large microwave-safe bowl (it expands!), zap in 2-minute bursts at medium power, stirring between each. Keep an eye—it thickens fast and can bubble over before you know it. Done in about 10-12 minutes.
- Pressure Cooker: Yes, you can still do the can method, but a pressure cooker reduces the time to just 30-40 minutes. It’s faster, but still requires the can to be fully submerged. Let it cool to room temp before opening—burns are no joke.
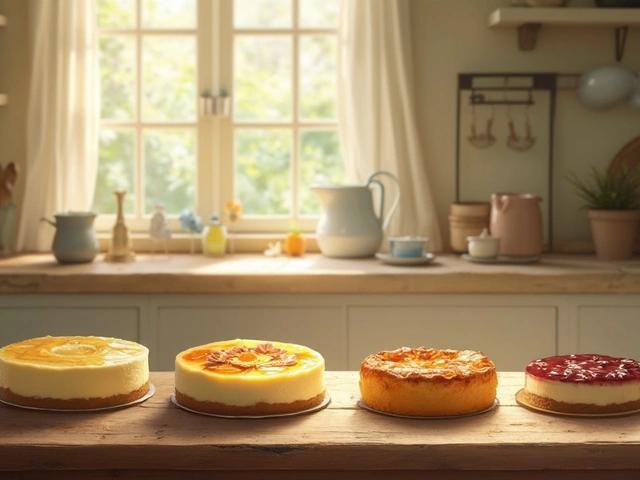
Each method has its own vibe. The classic can-boiling method gives a firmer, sliceable caramel, perfect for alfajores or homemade Twix bars. The oven and stovetop versions are silkier and less dense. It depends on what kind of dessert you’re aiming for. Remember, high water and sugar content makes condensed milk both a food safety hero (hence why it keeps forever) and a caramel wonder—just watch the pot!
Swoon-Worthy Ways to Use Boiled Condensed Milk
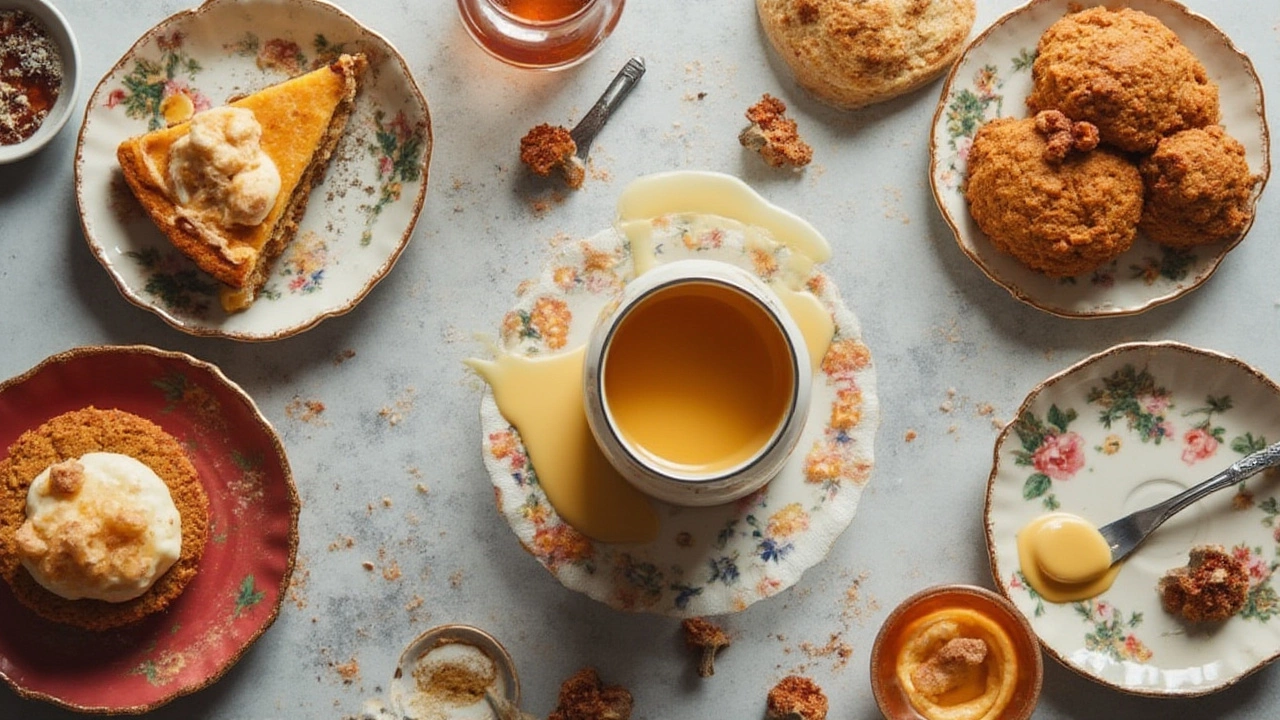
Once you’ve taken the plunge and made your own dulce de leche, you’ll find yourself slapping it onto or into just about everything—if you don’t eat it straight from the spoon, that is. One of the all-time classics is banoffee pie: a British invention where a layer of boiled condensed milk sits smugly under bananas and whipped cream, all on a crumbly biscuit crust.
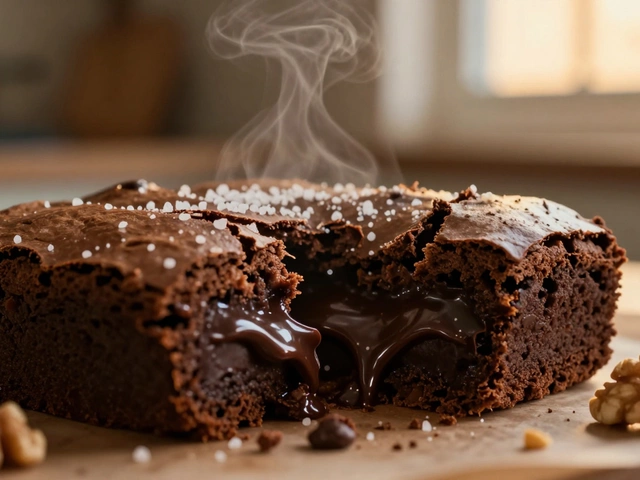
Elsewhere, you can stuff it into cupcakes, swirl into brownies (trust me, it’s life-changing), or sandwich it between butter cookies. Some people get wild and stir spoonfuls into their coffee instead of sugar and cream. My friend swears boiled condensed milk makes the world’s best ice cream topping—heated briefly and poured over vanilla scoops. You’ll also spot it in Russian tortes and Argentine cake rolls, or just as a decadent pancake filling.
Here are some snappy ideas for using homemade dulce de leche:
- Layer between graham crackers for instant cheat s’mores
- Top cheesecake with a swirl before baking
- Stir into oatmeal for caramel flavor
- Dip churros right into it
- Fill thumbprint cookies or sandwich cookies with it
It’s also a game changer for holiday desserts—think caramel pecan pie bars or as an upgrade to your usual chocolate fondue.
Tips, Facts, and Myths: Get the Most Out of Boiling Condensed Milk
Safety is the top headline here. Always keep those cans fully submerged in water—if the water gets low and the can is exposed, it can literally blow up from the pressure. A splattered kitchen, or worse, a caramel burn, is never fun. When the boil is done, let the can cool absolutely completely before opening—it can stay hot for hours. Pop it in the fridge if you’re impatient, but don’t pry or poke while it’s still warm.
Is it safe? Yes, when done right. But never use dented or rusty cans, and avoid boiling cans with easy-open tabs, as they leak under pressure. Some people add a splash of vinegar to the water, thinking it helps—but that’s a myth. It’s all about the boil and the sugar chemistry.
Interesting fact: The world’s record for the largest can of dulce de leche was made in Argentina in 2015, weighing about 7,400 pounds. That’s enough caramel to fill a bathtub. Not that I’d let Whiskers near that scene.
If you’re worried about sugar content, remember this: even after boiling, the calorie count doesn’t drop. A tablespoon of boiled condensed milk still delivers about 60 calories and 10g sugar. Enjoy it as a treat, not a diet food.
- Always label your homemade dulce de leche with the date—boiled or baked, it keeps in the fridge for a month.
- Don’t try to "speed things up" by cranking the heat; a slow simmer is key.
- The exact color and thickness depends on the length of boil—taste test different cooking times to pick your favorite consistency.
- Bakers sometimes call the caramel “cajeta” (goat's milk version), “arequipe” (Colombia), or “milk jam” (France), but the process stays the same: slow heat does the magic.
- As of July 2025, homemade dulce de leche is still a TikTok trend, especially as part of #nostalgiadessert challenges.
Whichever way you try it, boiling condensed milk is a bit of edible alchemy and a ticket to some of the world’s most beloved desserts. Just don’t be surprised if you end up hoarding cans in your pantry—you never know when the caramel craving will strike.


Write a comment