

Billy Cake Recipe Calculator
Enter how many bars you want to make, and we'll calculate the precise ingredients based on the classic ratio.
Biscuits
--
digestives/grahamButter
--
unsalted, meltedCocoa
--
unsweetened powderSugar
--
granulated whitePreparation Tips
- Crush Mix fine crumbs with chunks for texture.
- Melt Butter should be warm, not sizzling hot.
- Press Pack firmly to prevent crumbling.
- Chill Minimum 2 hours in refrigerator.
Estimated Yield & Storage
Total Weight: --
Refrigerator Life: Up to 5 days
Freezer Life: Up to 3 months (wrapped)
Ever seen a dense, chocolatey bar with a crumbly topping and wondered what on earth it is? If you've been scrolling through social media lately, you might have stumbled upon the term billy cake. It’s not a new invention from a high-end patisserie, but rather a nostalgic treat that has made a massive comeback. Understanding what this dessert actually is helps demystify the hype and shows you exactly how easy it is to make at home.
Billy cake is a simple, no-bake or low-bake dessert consisting of crushed biscuits, butter, sugar, and cocoa powder, often set in a loaf pan and sliced into bars. Unlike traditional cakes that rely on eggs and flour for structure, billy cake relies on the binding power of melted butter and the texture of crushed cookies. This makes it incredibly forgiving for beginners who might struggle with measuring leavening agents or timing oven temperatures perfectly.
The Origins: From Prisons to Party Favors
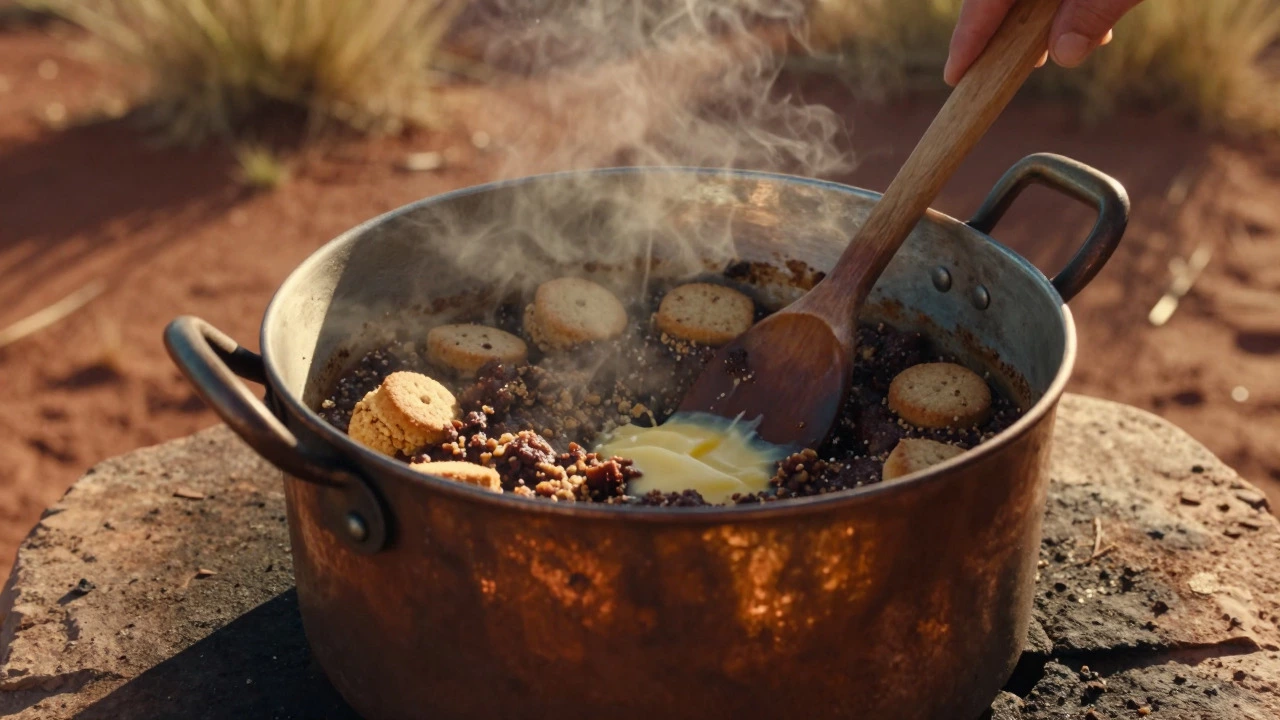
To understand the appeal of billy cake, you have to look at its roots. The name "billy" comes from Australian slang, where a "billy" refers to a small pot used for boiling water over a fire. Historically, these treats were popular in Australian prisons and remote outback camps because they required minimal equipment. You didn't need an oven; you just needed a heat source to melt the butter and a container to press the mixture into.
This practical origin story explains why the recipe is so stripped back. There are no complex techniques involved. No whipping egg whites to stiff peaks. No folding in delicate meringue. Just crush, mix, press, and chill. This simplicity is precisely why it has exploded in popularity again. In a world of intricate, Instagram-worthy pastries, there is something deeply comforting about a dessert that tastes like childhood and takes ten minutes to assemble.
Anatomy of a Classic Billy Cake
While variations exist, the core components remain consistent. Let's break down the essential elements that define the authentic version.
- Crushed Biscuits: Typically, you use plain digestive biscuits or graham crackers. They provide the structural base. The finer you crush them, the denser the final product will be. Coarser pieces add a pleasant crunch.
- Melted Butter: This is the glue. Unsalted butter is preferred to control the saltiness, as most store-bought biscuits already contain a pinch of salt. The ratio of butter to biscuits is critical; too little, and the cake falls apart. Too much, and it becomes greasy.
- Cocoa Powder: Unsweetened natural cocoa powder adds depth of flavor without adding moisture. Dutch-processed cocoa works too but results in a darker, slightly more bitter profile.
- Sugar: Granulated white sugar balances the bitterness of the cocoa and the richness of the butter. Some recipes call for brown sugar to add a molasses note, which pairs well with the biscuit base.
- Optional Add-ins: Chopped nuts (walnuts or pecans), dried cranberries, or a drizzle of dark chocolate ganache can elevate the basic recipe.
Why It’s Different from Brownies and Blondies
A common question is how billy cake compares to other bar-style desserts. While they share similarities, the texture and method are distinct.
| Feature | Billy Cake | Traditional Brownie | Blondie |
|---|---|---|---|
| Base Ingredient | Crushed biscuits | Flour + Cocoa | Flour + Vanilla |
| Cooking Method | No-bake or brief bake | Baked in oven | Baked in oven |
| Texture | Dense, crumbly, fudgy | Fudgy or cakey | Chewy, cookie-like |
| Prep Time | 10-15 mins + chilling | 30 mins + baking | 30 mins + baking |
| Gluten Status | Often gluten-free (if using GF biscuits) | Contains wheat flour | Contains wheat flour |
The key takeaway here is versatility. Because billy cake doesn't rely on wheat flour for its structure, it is naturally adaptable. If you swap standard digestives for gluten-free alternatives, you have a gluten-free dessert without needing to overhaul a complex recipe. This makes it a favorite among those managing dietary restrictions without sacrificing taste.
Step-by-Step: How to Make Your First Batch
Making billy cake is straightforward, but a few tips ensure you get the perfect consistency every time. Here is the process broken down into manageable steps.
- Prepare the Base: Place your biscuits in a large zip-top bag. Seal it tightly. Use a rolling pin to crush them. Aim for a mix of fine crumbs and small chunks. Fine crumbs bind better, while chunks provide texture.
- Mix the Wet Ingredients: In a saucepan over low heat, melt the butter. Remove from heat and stir in the sugar and cocoa powder until smooth. Be careful not to burn the cocoa; it scorches easily.
- Combine Everything: Pour the warm butter-cocoa mixture over the crushed biscuits. Stir thoroughly until every crumb is coated. The mixture should look damp and hold together when pressed.
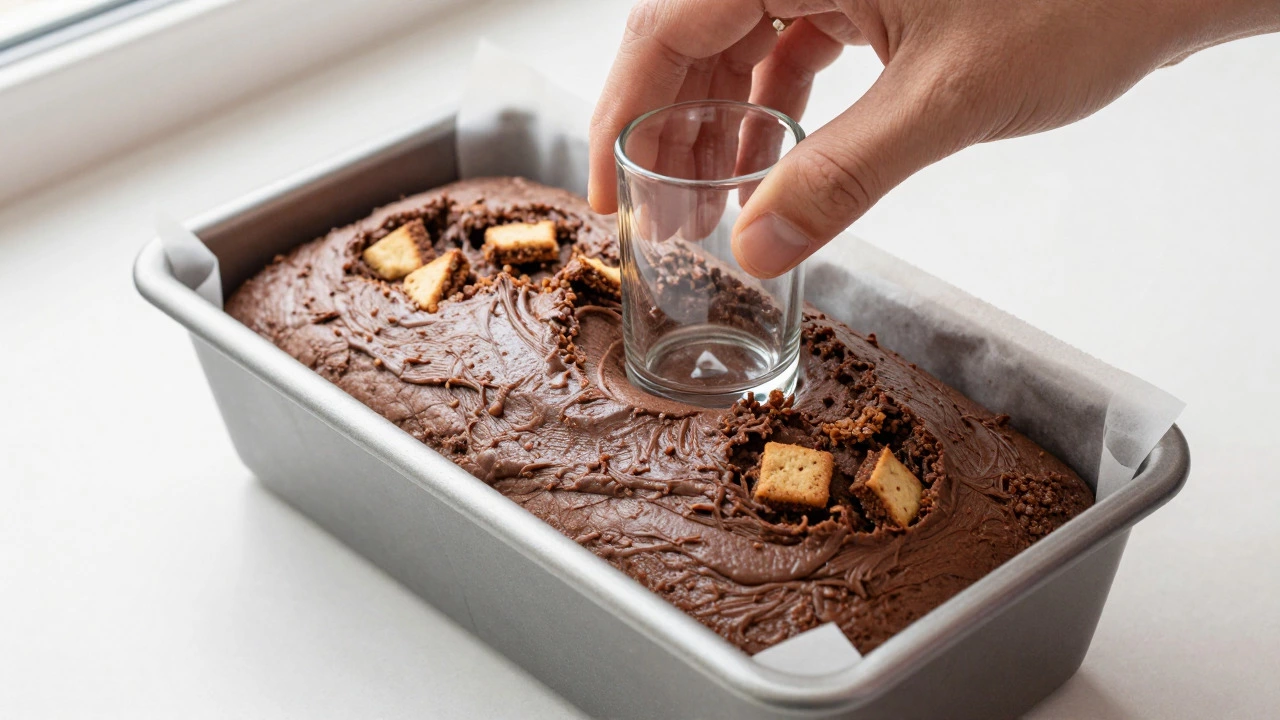
- Press into Pan: Line a 9x5 inch loaf pan with parchment paper, leaving some overhang for easy removal. Pour the mixture in. Use the bottom of a glass or a flat spatula to press it down firmly and evenly. Compactness is key to preventing crumbling later.
- Chill: Refrigerate for at least two hours, or overnight if possible. This allows the fats to solidify and the flavors to meld. Cutting it too early is the number one mistake people make.
- Serve: Lift the cake out using the parchment paper overhang. Slice into squares or rectangles with a sharp knife dipped in hot water for clean cuts.
Troubleshooting Common Issues
Even simple recipes can go wrong. Here is how to fix the most common problems.
My cake is too crumbly. This usually means you didn't press it hard enough or used too little butter. Next time, increase the butter by one tablespoon and pack the mixture down with significant force. You want it to feel almost too tight in the pan.
My cake is too soft/greasy. You likely used too much butter or didn't chill it long enough. Ensure the butter is fully melted but not sizzling hot before mixing. Also, don't skip the chilling step. A minimum of two hours in the fridge is non-negotiable for structural integrity.
The flavor is bland. Billy cake can sometimes taste one-dimensional. To fix this, add a pinch of sea salt to the cocoa mixture. Salt enhances sweetness and balances the fat. Alternatively, try swapping half the sugar for dark brown sugar for a deeper, caramelized flavor profile.
Variations to Try
Once you master the basic recipe, you can experiment with different flavors. The structure remains the same, but the additions change the character of the dessert.
- Peanut Butter Billy Cake: Mix creamy peanut butter into the melted butter before combining with the crumbs. This creates a rich, nutty variant that appeals to fans of peanut butter cups.
- White Chocolate Version: Replace the cocoa powder with melted white chocolate. Add chopped macadamia nuts for a luxurious twist.
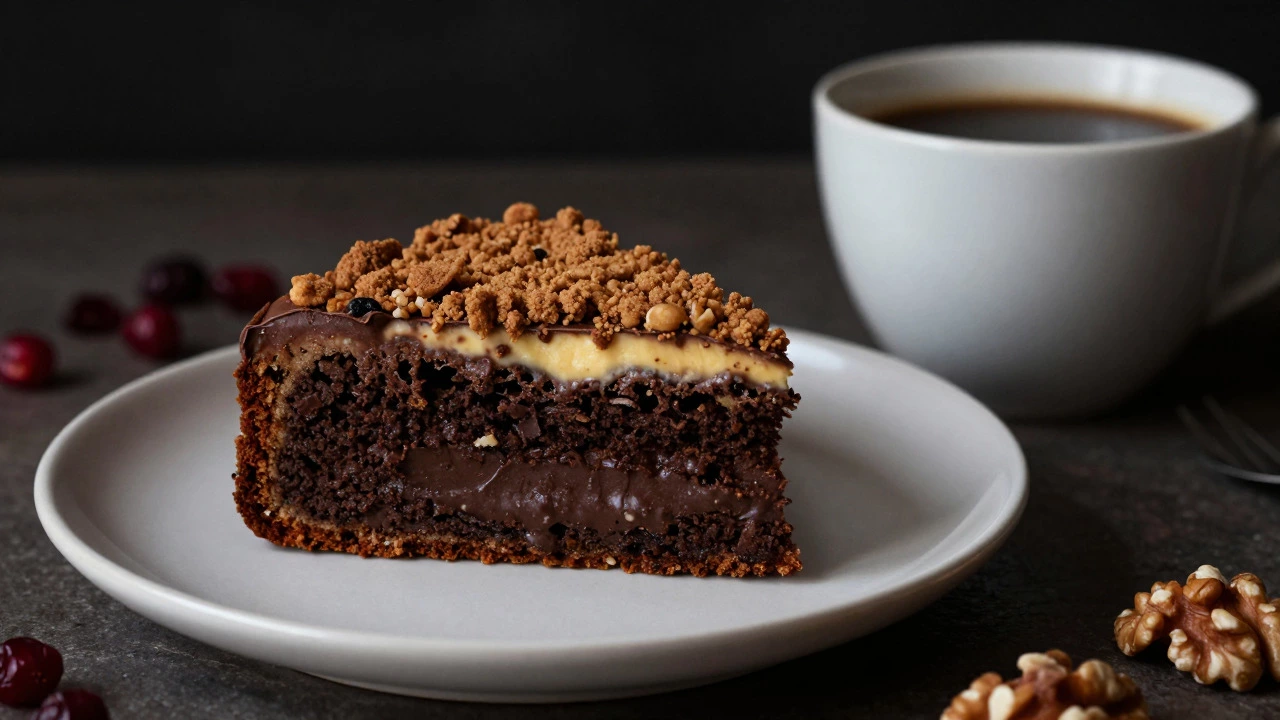
- Spiced Ginger: Add ground ginger and cinnamon to the dry ingredients. This variation pairs beautifully with black coffee and feels cozy during colder months.
- Espresso Infused: Dissolve a shot of espresso in the butter mixture. The bitterness of the coffee complements the sweetness of the biscuits and deepens the chocolate notes.
Storage and Shelf Life
Because billy cake contains butter and lacks preservatives, storage matters. Keep it in an airtight container in the refrigerator. It stays fresh for up to five days. For longer storage, you can freeze individual slices wrapped in plastic wrap for up to three months. Thaw them at room temperature for about 30 minutes before serving. Avoid storing it at room temperature for more than a day, as the butter can become rancid or overly soft in warm climates.
Frequently Asked Questions
Is billy cake healthy?
Like most desserts, billy cake is high in sugar and saturated fat due to the butter and biscuits. However, it is free from refined wheat flour if you use gluten-free biscuits, making it a lighter option for those avoiding gluten. It is best enjoyed in moderation as a treat rather than a daily staple.
Can I use any type of biscuit?
Plain digestive biscuits or graham crackers are the standard choice because they have a neutral, slightly sweet flavor that complements chocolate. You can use flavored biscuits like chocolate chip or oatmeal, but the result will be less predictable. Avoid very soft or thin wafers as they may not provide enough structural integrity.
Do I need to bake billy cake?
No, traditional billy cake is a no-bake dessert. It sets in the refrigerator. Some modern variations involve a brief bake to crisp the top, but the classic method requires only melting butter and chilling the mixture.
What is the difference between billy cake and trifle?
Trifle is a layered dessert typically containing sponge cake, custard, fruit, and cream. Billy cake is a single-layer, dense bar made from crushed biscuits and butter. Trifle is light and airy; billy cake is compact and fudgy.
How do I prevent my billy cake from sticking to the pan?
Always line your loaf pan with parchment paper or wax paper. Leave extra hanging over the sides so you can lift the entire cake out once it has chilled. Greasing the pan alone is not sufficient for this dense mixture.




Write a comment