Sugar Crystals: Easy Edible Glitter for Your Cakes
Ever wonder why some cakes look like they’re wearing a party dress? The secret is often sugar crystals – tiny, shiny bits that catch the light and make any dessert pop. They’re not just for looks; they add a subtle crunch and a sweet burst when you bite into them. Whether you’re a beginner baker or a seasoned cake artist, sugar crystals are a quick way to upgrade your cake toppers without spending a lot of time or money.
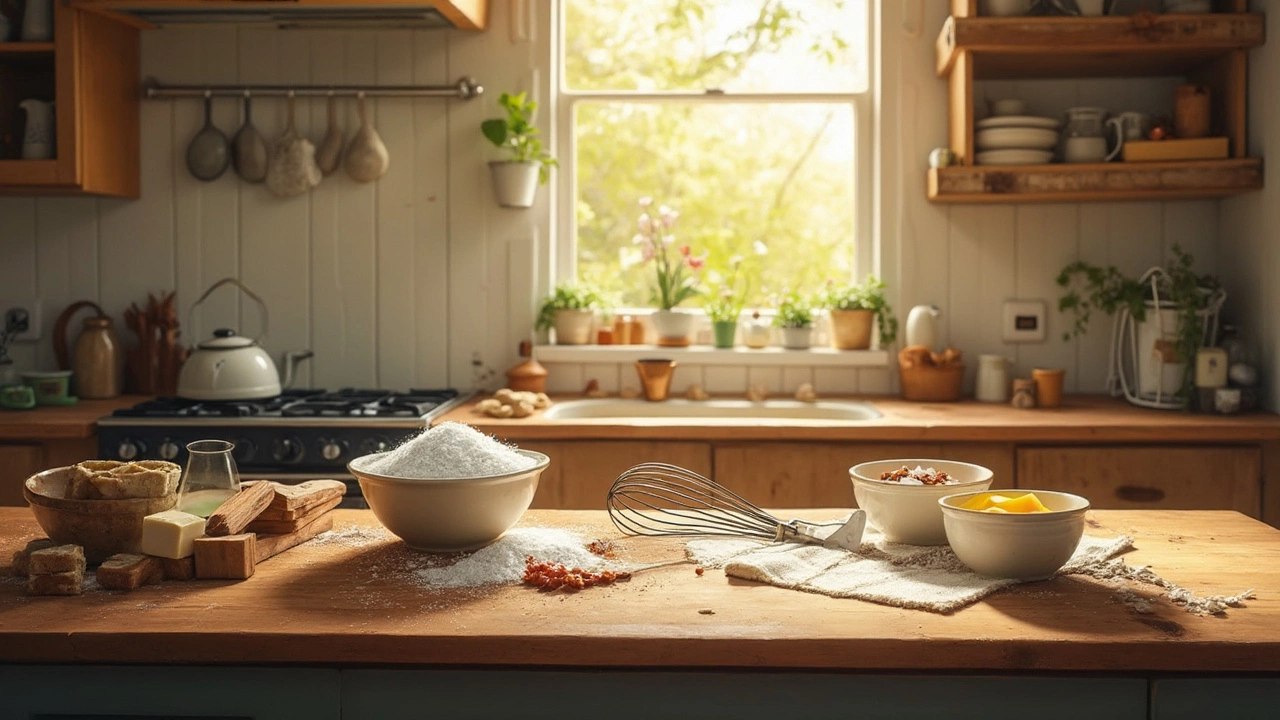
How to Make Sugar Crystals at Home
Making your own sugar crystals is easier than you think. All you need is regular granulated sugar, a little water, and patience. Start by heating a cup of water until it’s just warm, then stir in about two cups of sugar until it dissolves completely. Keep the mixture on low heat for a few minutes – you don’t want it to boil, just stay warm. Once it’s clear, let it cool for a few minutes, then pour it onto a silicone mat or parchment paper in a thin layer.
Leave the sugar to air‑dry for several hours or overnight. As the water evaporates, the sugar forms tiny crystals that look like glitter. If you want extra sparkle, you can add a dash of food‑grade mica or a few drops of flavored extract before the mixture dries. The result is a batch of edible glitter you can store in an airtight container for up to a month.
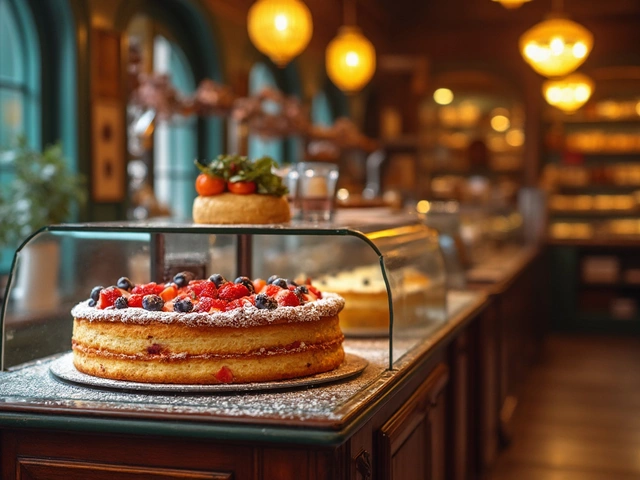
Using Sugar Crystals on Cakes and Toppers
Now that you have your crystals, it’s time to use them. The simplest trick is to brush a light coating of frosting or buttercream onto the part of the cake you want to highlight, then sprinkle the crystals over it. The frosting acts like glue, keeping the crystals in place. For cake toppers, lightly mist the topper with a spray of water or a thin glaze, then dust the crystals on top. This works great on fondant cars, letters, or any 3‑D shape you’ve crafted.
Mixing sugar crystals with other decorations can create cool effects. Try layering them with pastel sprinkles for a gradient look, or combine them with edible pearls for a luxe finish. Because the crystals are edible, there’s no worry about safety – they melt away in the mouth, leaving a sweet crunch. If you’re making a themed cake, match the crystal color to your theme by adding a tiny pinch of food coloring to the sugar mixture before it dries.
Remember, a little goes a long way. You don’t need to cover the whole cake; a strategic dusting on the edges, a border, or the focal point of your topper is enough to catch attention. This keeps the cake looking elegant rather than overloaded with sparkle.
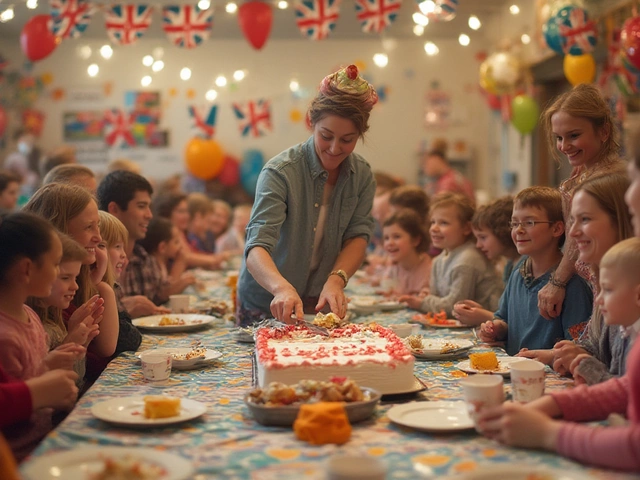
So next time you’re planning a birthday, graduation, or just a weekend treat, reach for sugar crystals. They give you that professional‑look finish without the hassle, and you can even make them in the colors you need. Grab a spoon, sprinkle a bit, and watch your cake turn into a show‑stopping masterpiece.