Plant-Based Jam Made Simple: Your Go-To Vegan Guide
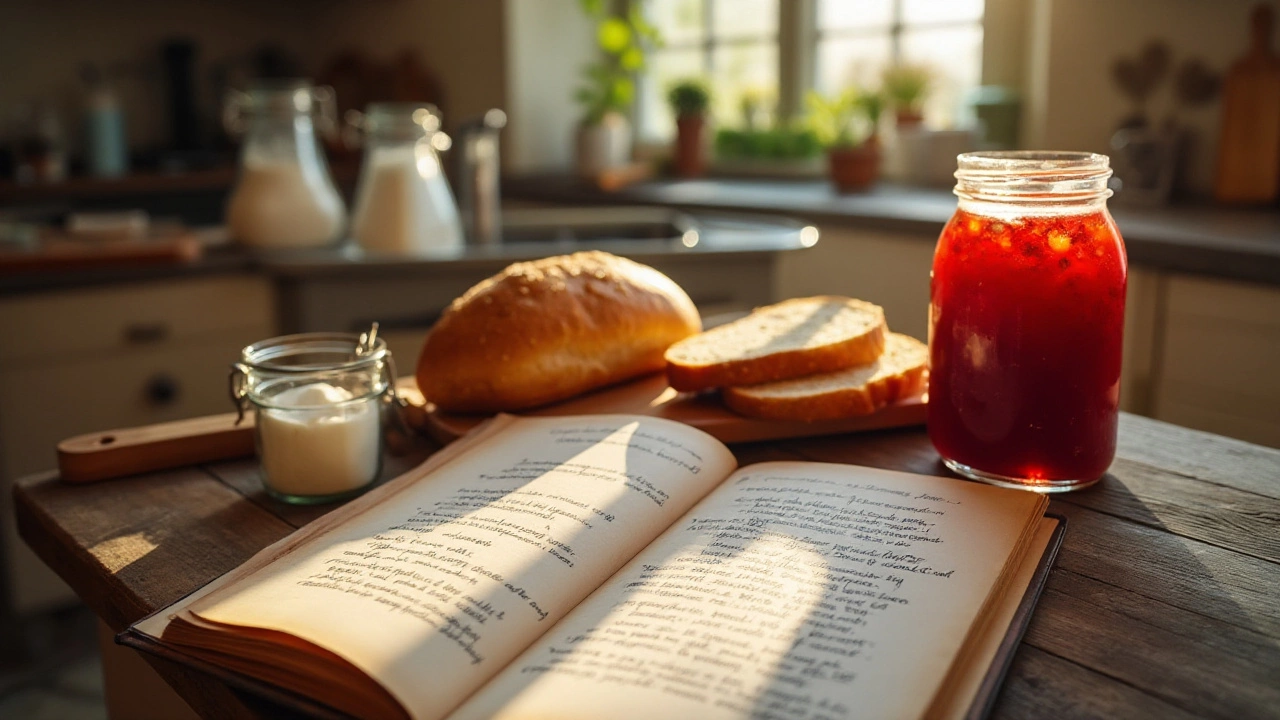
Ever wanted a tasty jam that fits a plant‑based lifestyle? You’re in the right spot. We’ll walk through the basics, show a few quick recipes, and give you the storage hacks that keep your jam fresh for weeks.
Core Ingredients You Need
All you really need are three things: fresh fruit, a sweetener, and a thickening agent. For fruit, pick ripe berries, stone fruit, or whatever’s in season. Sweeteners work best when they dissolve well – think cane sugar, agave, or maple syrup. The thickener is where the vegan twist matters. Instead of pectin from animal sources, use commercial pectin (made from citrus), arrowroot, or a simple agar‑agar mix.
Step‑By‑Step Jam Basics
1. Prep the fruit. Wash, hull, and chop it into small pieces. If you like a smoother jam, blend it briefly before cooking.
2. Combine with sweetener. Toss the fruit and sweetener together in a pot. Let it sit for 10‑15 minutes; this draws out the juices and makes the later cooking easier.
3. Heat and thicken. Bring the mixture to a gentle boil, stirring constantly. Add your chosen thickener according to the package – usually a teaspoon of citrus pectin or a pinch of agar‑agar for every cup of fruit. Keep stirring until it reaches a gel‑like consistency, about 5‑10 minutes.
4. Test the set. Drop a small spoonful on a chilled plate. If it firmly holds its shape after a minute, it’s ready. If it’s still runny, cook a bit longer.
5. Jar it up. Transfer the hot jam into sterilized jars, leaving a half‑inch headspace. Seal and turn the jars upside down for a few minutes to create a vacuum.
That’s it – a basic vegan jam you can customize any way you like.
Want some flavor ideas? Try strawberry‑rhubarb with a splash of vanilla, blueberry‑lavender using just a pinch of dried flowers, or mango‑chili for a sweet‑heat twist. Experiment with low‑sugar versions by swapping half the sugar for mashed banana or unsweetened applesauce – the fruit’s natural pectin will still give a nice set.
Storage is straightforward. Keep sealed jars in the fridge for up to a month, or process them in a water bath for longer shelf life (up to a year). Always check the lid’s seal before using; a pop or wobble means the jam needs refrigeration.
Finally, a quick tip for smooth texture: after cooking, run the jam through a fine‑mesh sieve. This removes seeds and skin, leaving a glossy spread that’s perfect for toast, pastries, or even dairy‑free cheesecake topping.
Now you have everything to make plant‑based jam that’s tasty, clean, and totally your own. Grab a pot, pick your fruit, and start spreading the love.