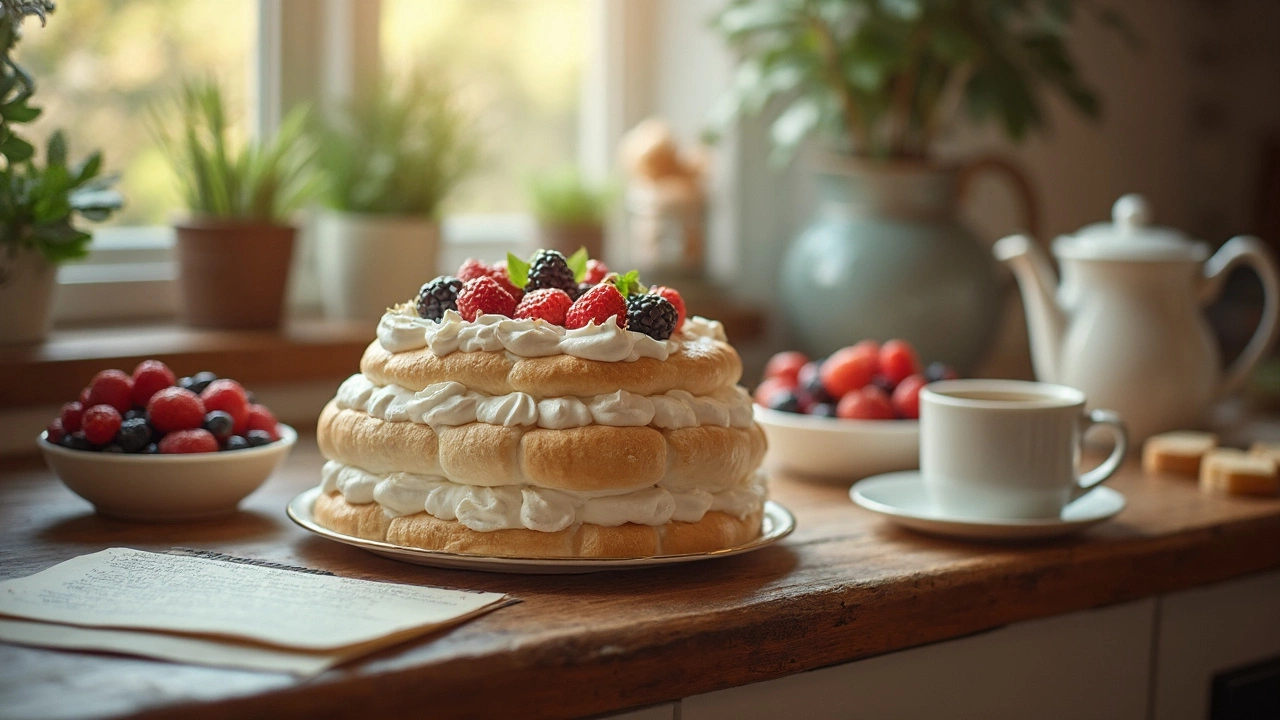
How to Make Pavlova Ahead Without Losing Crunch
If you love pavlova but hate the rush of finishing it just before guests arrive, you’re in the right spot. You can bake the meringue base days early, keep it crisp, and add the topping when you’re ready to serve. Below are the steps that work every time.
Bake the Meringue Base in Advance
Whisk egg whites, sugar, and a pinch of salt until stiff peaks form. Add a teaspoon of vinegar and a little corn‑starch – this keeps the interior soft while the outside stays firm. Spread the mix onto a parchment‑lined tray, shape it into a circle, and bake at low heat (about 120°C/250°F) for 1½ hours. Let it cool in the oven with the door ajar; the slow cooldown prevents cracks.
Once cool, store the meringue in an airtight container. A large zip‑lock bag with the air squeezed out works fine, or a tin with a lid. Keep it in a cool, dry pantry – no fridge, because humidity will make it soggy.
Store the Topping Separately
Whipped cream, fresh fruit, and kiwi are the classic toppings. Whip the cream with a little sugar and vanilla right before serving; it holds better when kept chilled. Slice fruit, toss with a touch of lemon juice to stop browning, and keep in a separate bowl in the fridge.
When the day arrives, simply pull the meringue out, top with the chilled cream, and pile on the fruit. The contrast of airy meringue, smooth cream, and juicy fruit is what makes pavlova special.
Tips to Keep the Meringue Crisp
1. Avoid any moisture. If the kitchen is humid, place a silica‑gel packet in the storage bag.
2. If you notice a slight soft spot, pop the meringue back in a warm oven (90°C/200°F) for 10‑15 minutes. It refreshes the crunch without cooking it again.
3. For longer storage, you can freeze the baked meringue. Wrap it tightly in plastic wrap, then foil, and freeze up to a month. Thaw at room temperature and give it a quick 5‑minute bake at 90°C to restore crispness.
Making pavlova ahead saves you stress and lets you enjoy the party instead of worrying about a soggy dessert. Follow these steps, and you’ll have a show‑stopping treat that stays perfect from the kitchen to the table.