Cheesecake Baking Made Easy
Ever wonder why some cheesecakes turn out silky while others end up grainy or cracked? The trick isn’t magic; it’s about a few simple steps that anyone can follow. Below you’ll find the basics from crust to topping, plus a couple of pro shortcuts that keep the process stress‑free.
Build a Solid Crust
Start with a buttery base. Mix 1½ cups of crushed graham crackers (or digestive biscuits) with ¼ cup melted butter and a pinch of salt. Press the mixture into the bottom of a 9‑inch springform pan, making sure it’s even. If you like a chocolate twist, swap half the crackers for cocoa‑flavored ones. Chill the crust for at least 10 minutes – this helps it hold together when the filling hits the heat.
Mix the Filling Right
The filling is where most mistakes happen. Use room‑temperature cream cheese; cold cheese will stay lumpy no matter how long you whisk. Beat 24 oz of cream cheese until smooth, then slowly add ¾ cup sugar, 2 eggs, 1 tsp vanilla, and ½ cup sour cream. Mix on low speed; high speed can over‑aerate the batter and cause cracks later. If you want extra flavor, fold in a swirl of fruit puree or chocolate chips now.
When the batter is ready, pour it over the chilled crust. Tap the pan gently on the counter to release any air bubbles – that tiny tap can save you from a bumpy surface.
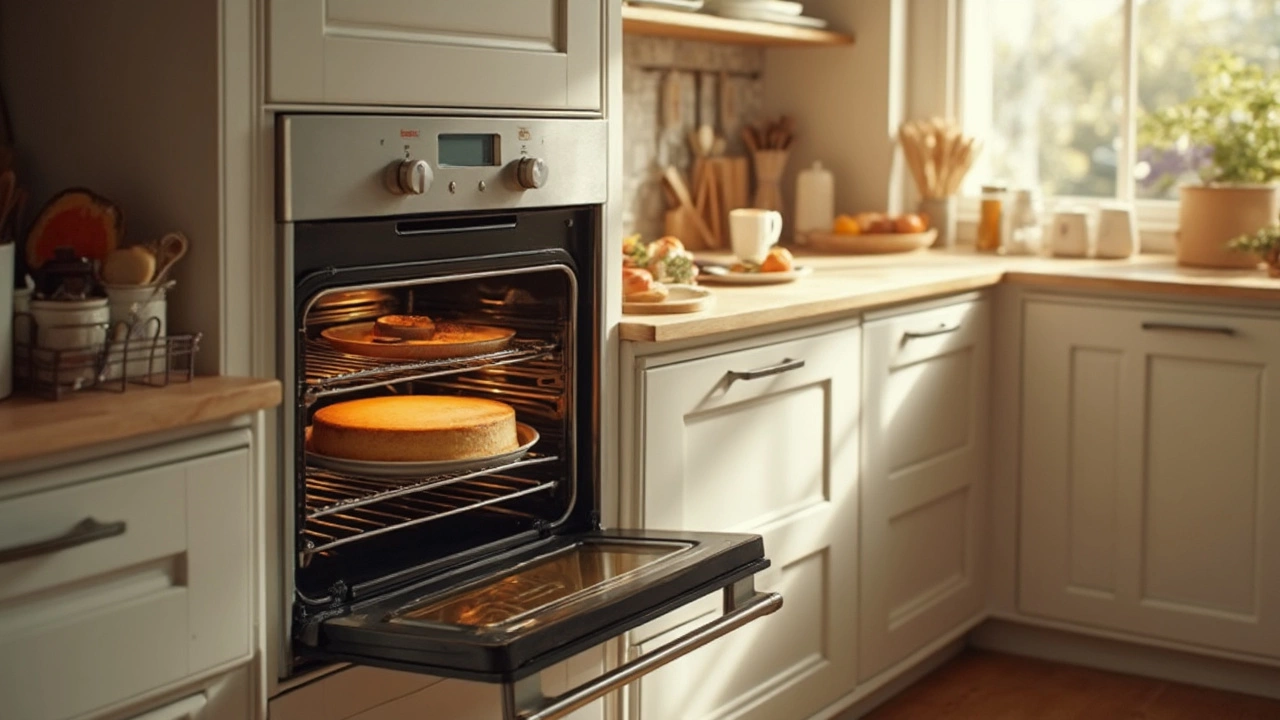
Bake with Care
Most cheesecakes bake best in a water bath. Wrap the springform pan in foil to stop water from seeping in, then place it in a larger pan filled with hot water up to halfway up the sides. This gentle heat keeps the cake from moving too fast, reducing cracks. Set the oven to 325°F (165°C) and bake for about 45‑55 minutes. The edges should look set while the center still has a tiny jiggle.
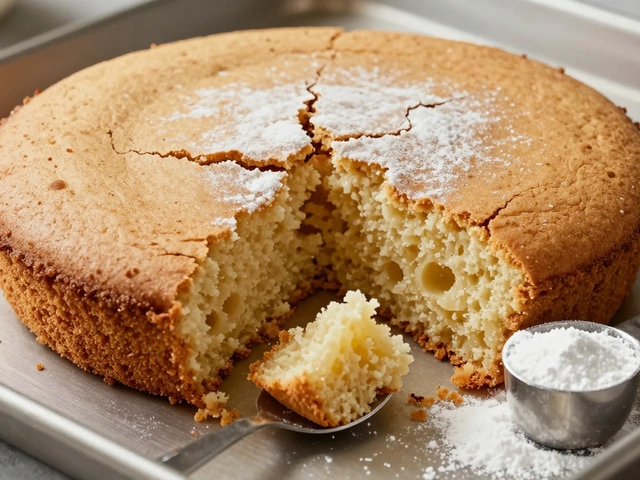
Once the timer goes off, turn off the oven, crack the door open, and let the cake cool inside for an hour. This slow cooldown prevents a sudden temperature drop that can cause the top to split.
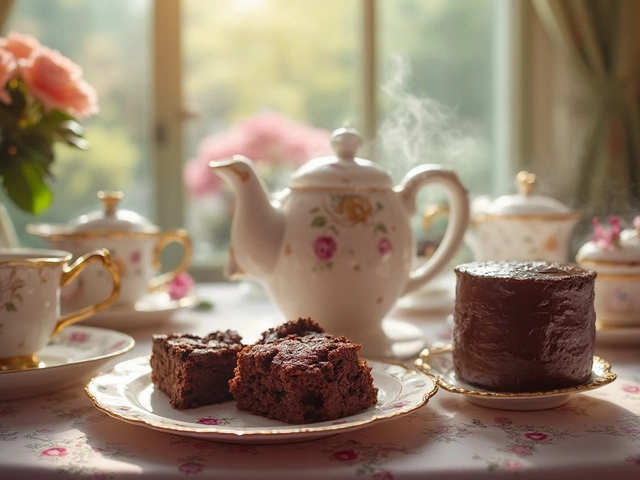
Cool, Chill, and Serve
After the cake is room‑temperature, refrigerate it for at least 4 hours, preferably overnight. This firm up step lets the flavors meld and gives you a slice that holds its shape. When you’re ready to serve, run a thin knife around the edge, release the springform, and top with fresh berries, caramel drizzle, or a dollop of whipped cream.
Quick tip: If you notice a small crack, spread a thin layer of fruit glaze or chocolate ganache over the top. It not only hides the flaw but adds extra flavor.
That’s it – a straightforward cheesecake baking process you can repeat again and again. Grab your ingredients, follow these steps, and enjoy a dessert that looks as good as it tastes. Happy baking!