Buttercream Art: Easy Tips and Creative Ideas
If you’ve ever stared at a smooth cake and wished you could turn it into a masterpiece, you’re in the right place. Buttercream art is all about using a simple frosting to create stunning designs without needing fancy fondant or expensive tools. Let’s break down the basics so you can start decorating like a pro today.
Essential Tools for Buttercream Decorating
The first step is getting the right gear. You don’t need a whole bakery setup—just a few key items:
- Offset spatula: Perfect for spreading a thin, even layer of buttercream.
- Pastry bags and tips: A small set of plain, star, and round tips covers most designs.
- Turntable: Makes it easy to spin the cake while you work, keeping your hands steady.
- Smoothing comb: Ideal for creating a flawless surface before you add details.
Investing in these basics gives you control over texture, shape, and finish—all without breaking the bank.
Quick Techniques to Wow Your Guests
Now that you have the tools, try these three simple techniques that look impressive but are beginner‑friendly.
1. Smooth Canvas: Chill the cake for 15 minutes, then spread a thin crumb coat. After it sets, apply a thicker layer and smooth it with an offset spatula or a bench scraper. A smooth base makes any design pop.
2. Rosettes and Swirls: Fit a large star tip, hold the bag at a 45‑degree angle, and pipe a continuous “S” shape around the cake’s edge. Overlap each curve gently for a full‑rose look. Switch to a smaller round tip for delicate center points.
3. Textured Waves: Use a flat spatula to spread buttercream, then pull a small offset spatula across the surface at a slight angle. You’ll create soft, wave‑like ridges that catch the eye and add depth.
Experiment with color blends—mix a tiny amount of food‑grade gel at a time to avoid a watery frosting. Gradient fades look especially striking on smooth cakes.
Want to add a personal touch? Try hand‑piped messages or simple cut‑out shapes using a small round tip and a leaf stencil. Even a single word or a tiny heart can turn an ordinary cake into a memorable surprise.
Remember, practice beats perfection. Start with a small cupcake before moving to a full‑size cake, and you’ll quickly see what works for your style. Keep your buttercream at a workable consistency—if it’s too stiff, add a splash of milk; if too runny, blend in a bit more powdered sugar.
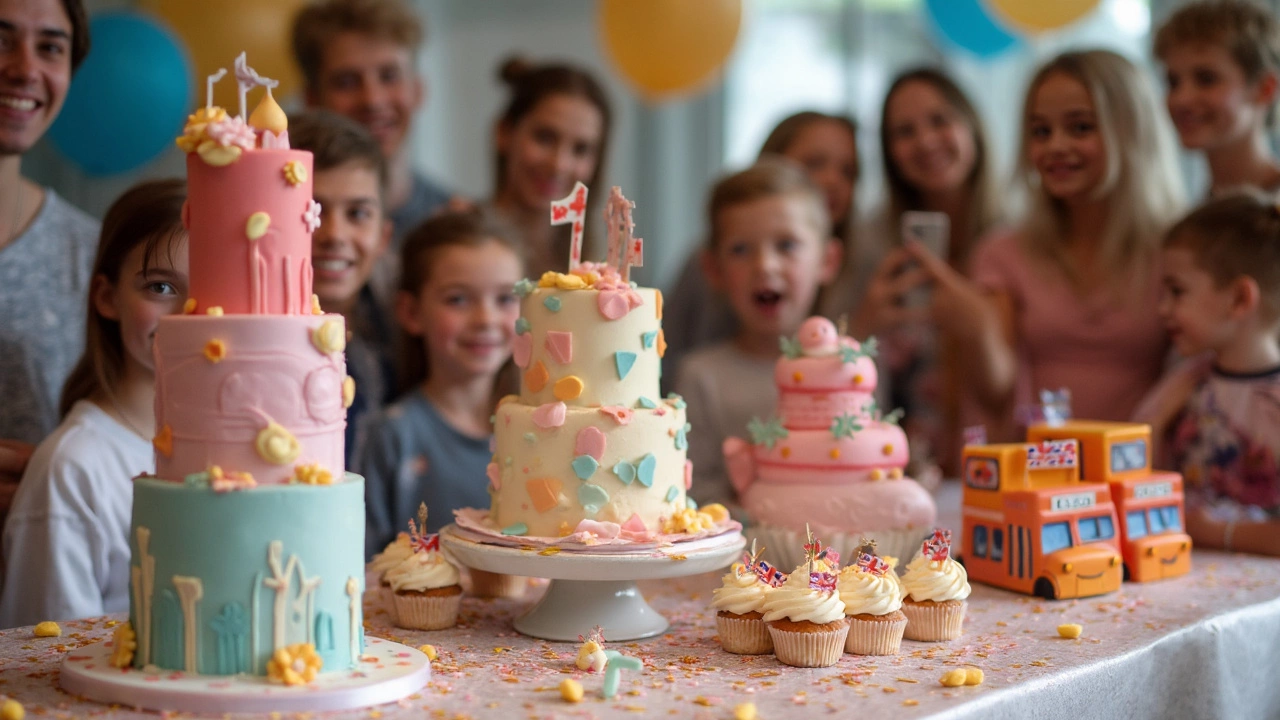
Buttercream art opens endless possibilities, from elegant wedding tiers to goofy birthday characters. With the right tools, a few easy techniques, and a willingness to experiment, you’ll be creating edible art that tastes as good as it looks. Grab your piping bag, turn up the music, and let your creativity flow—your next show‑stopping cake is just a few swirls away.